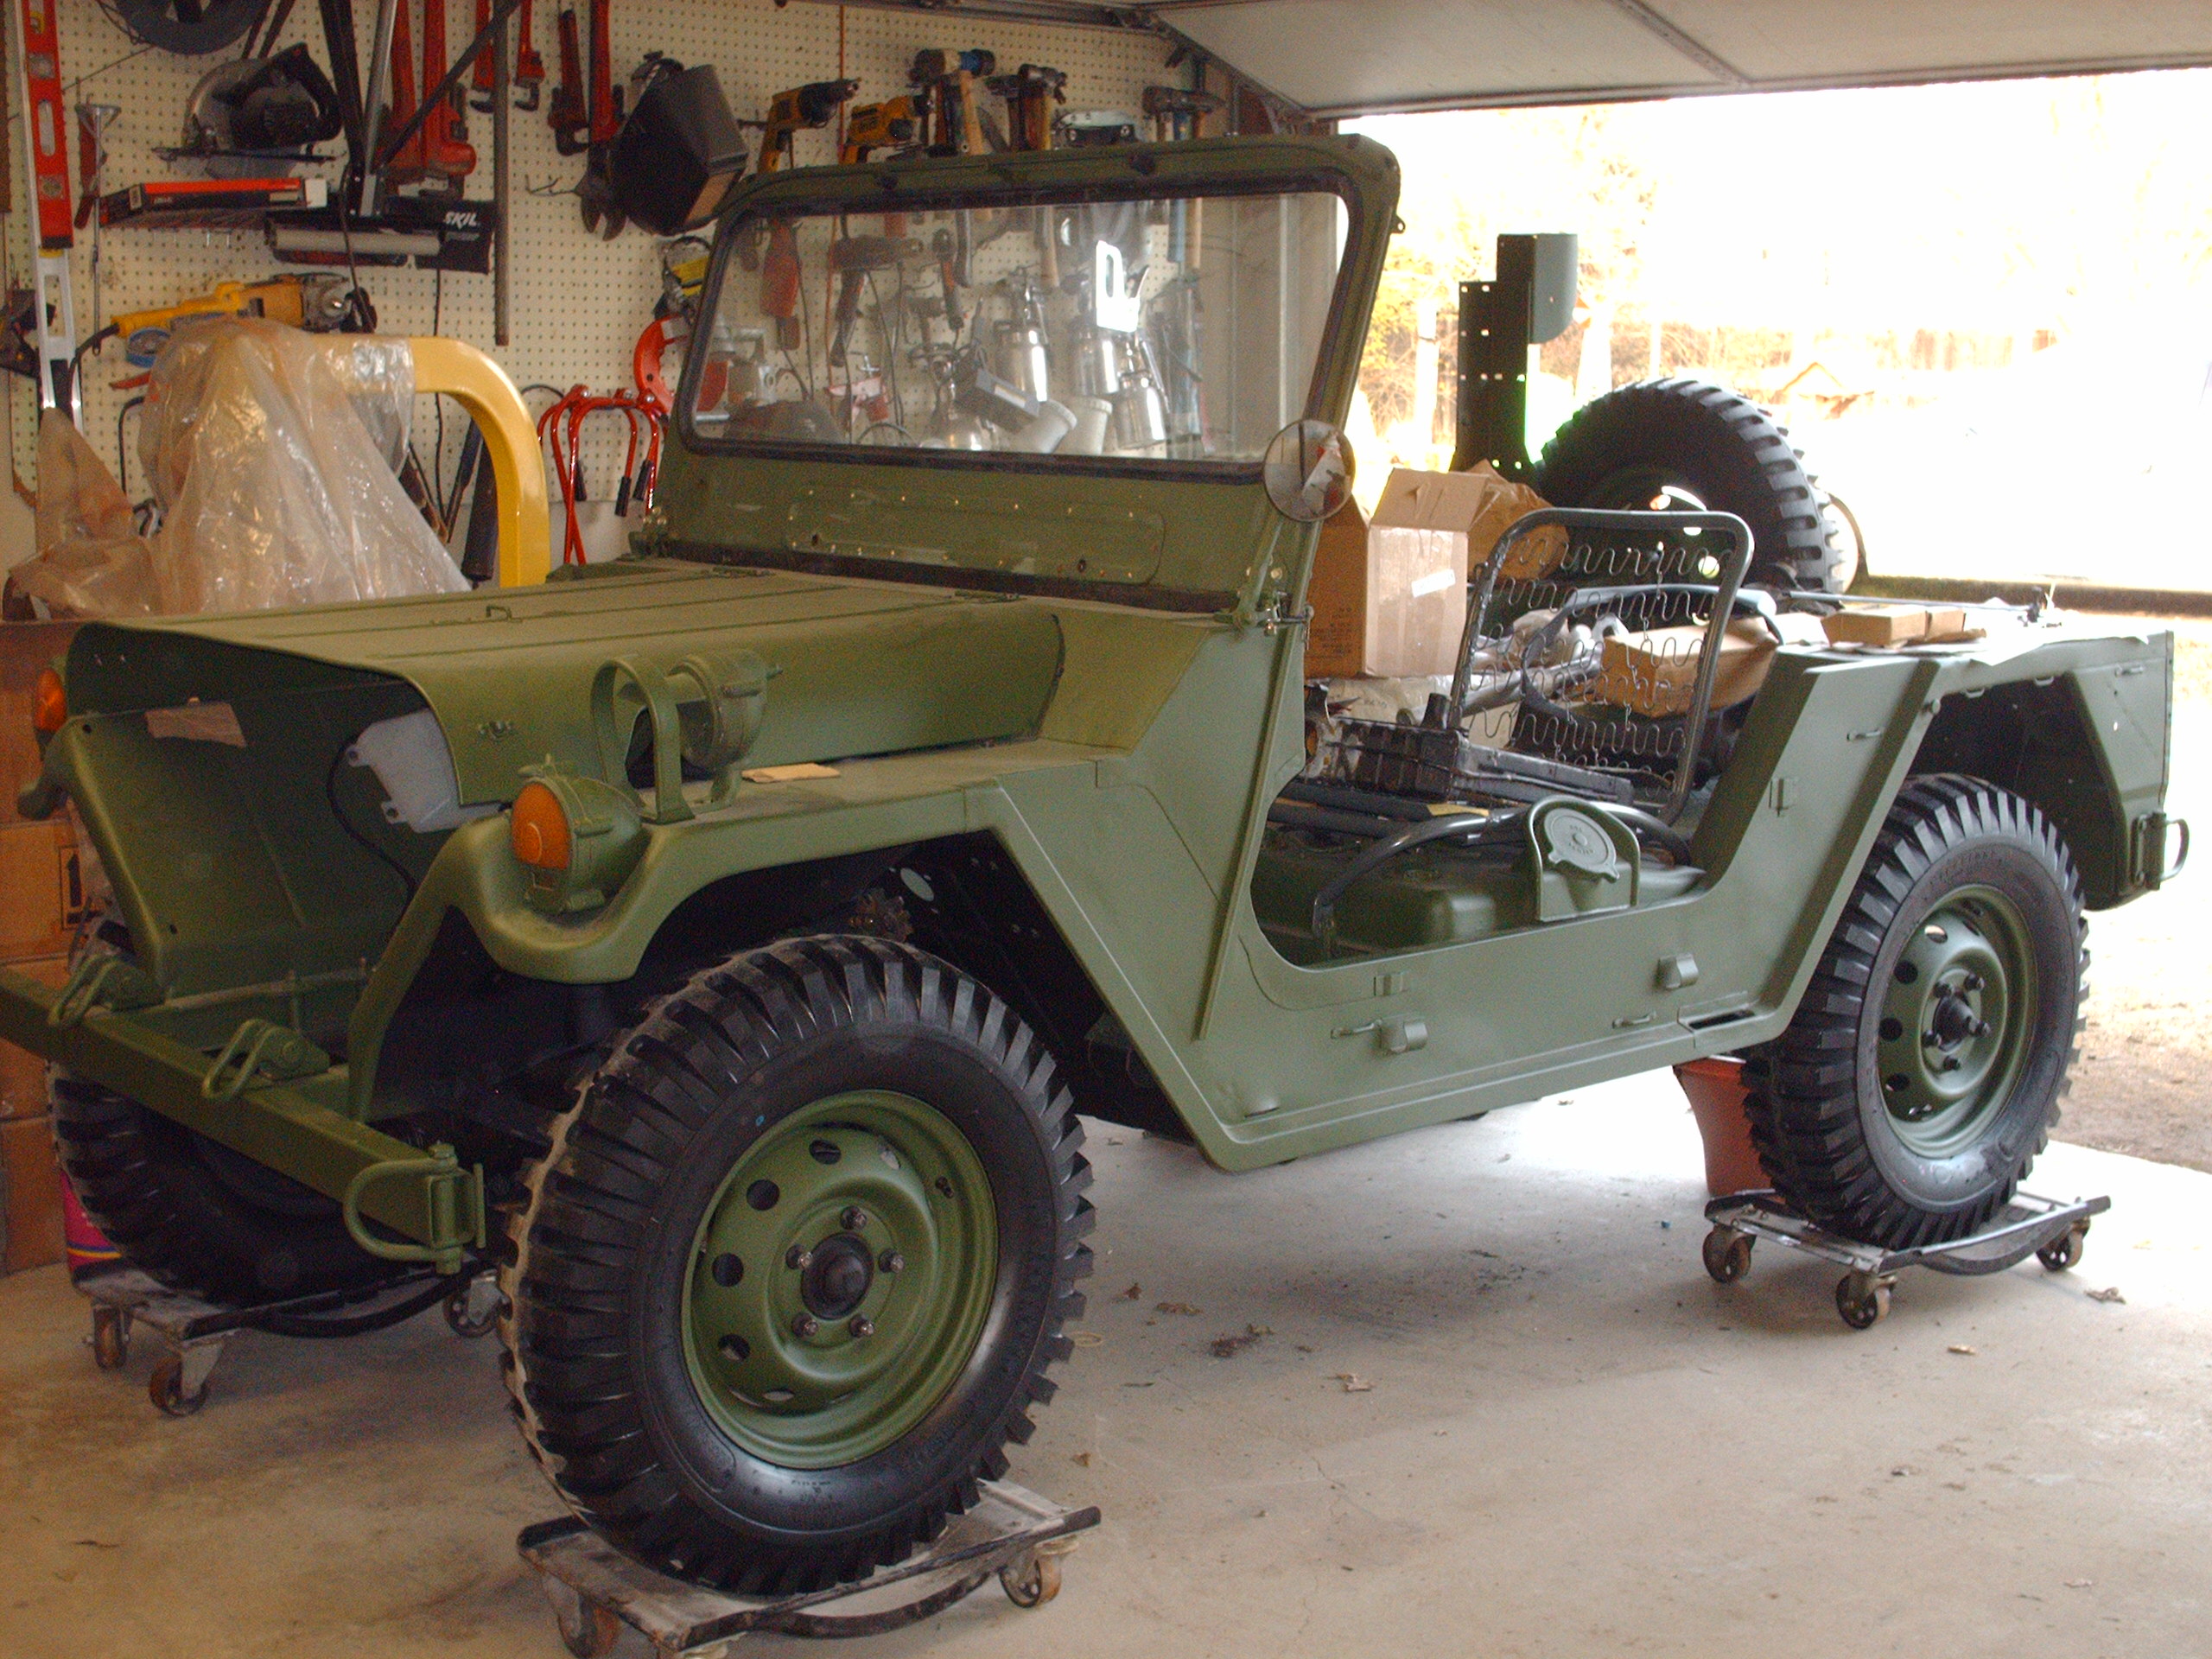
M151A2
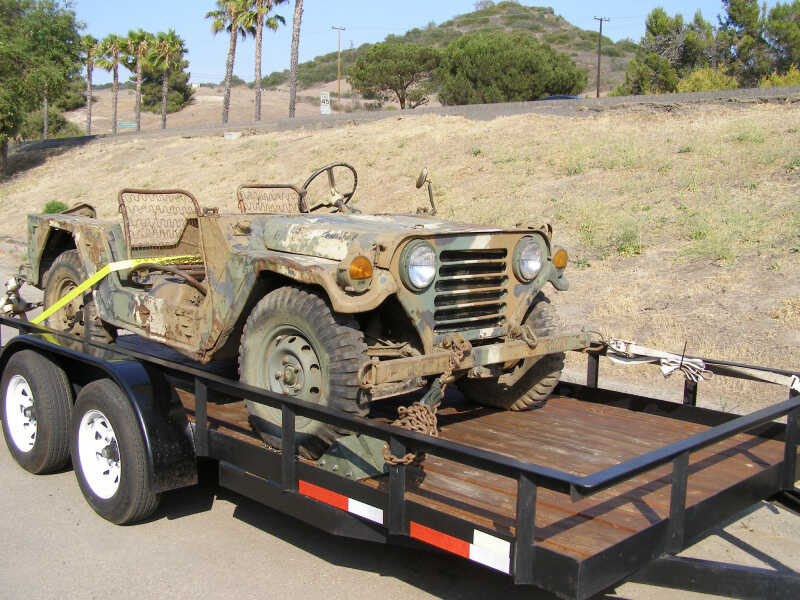
Picked up August 4, 2007. Vista, California.

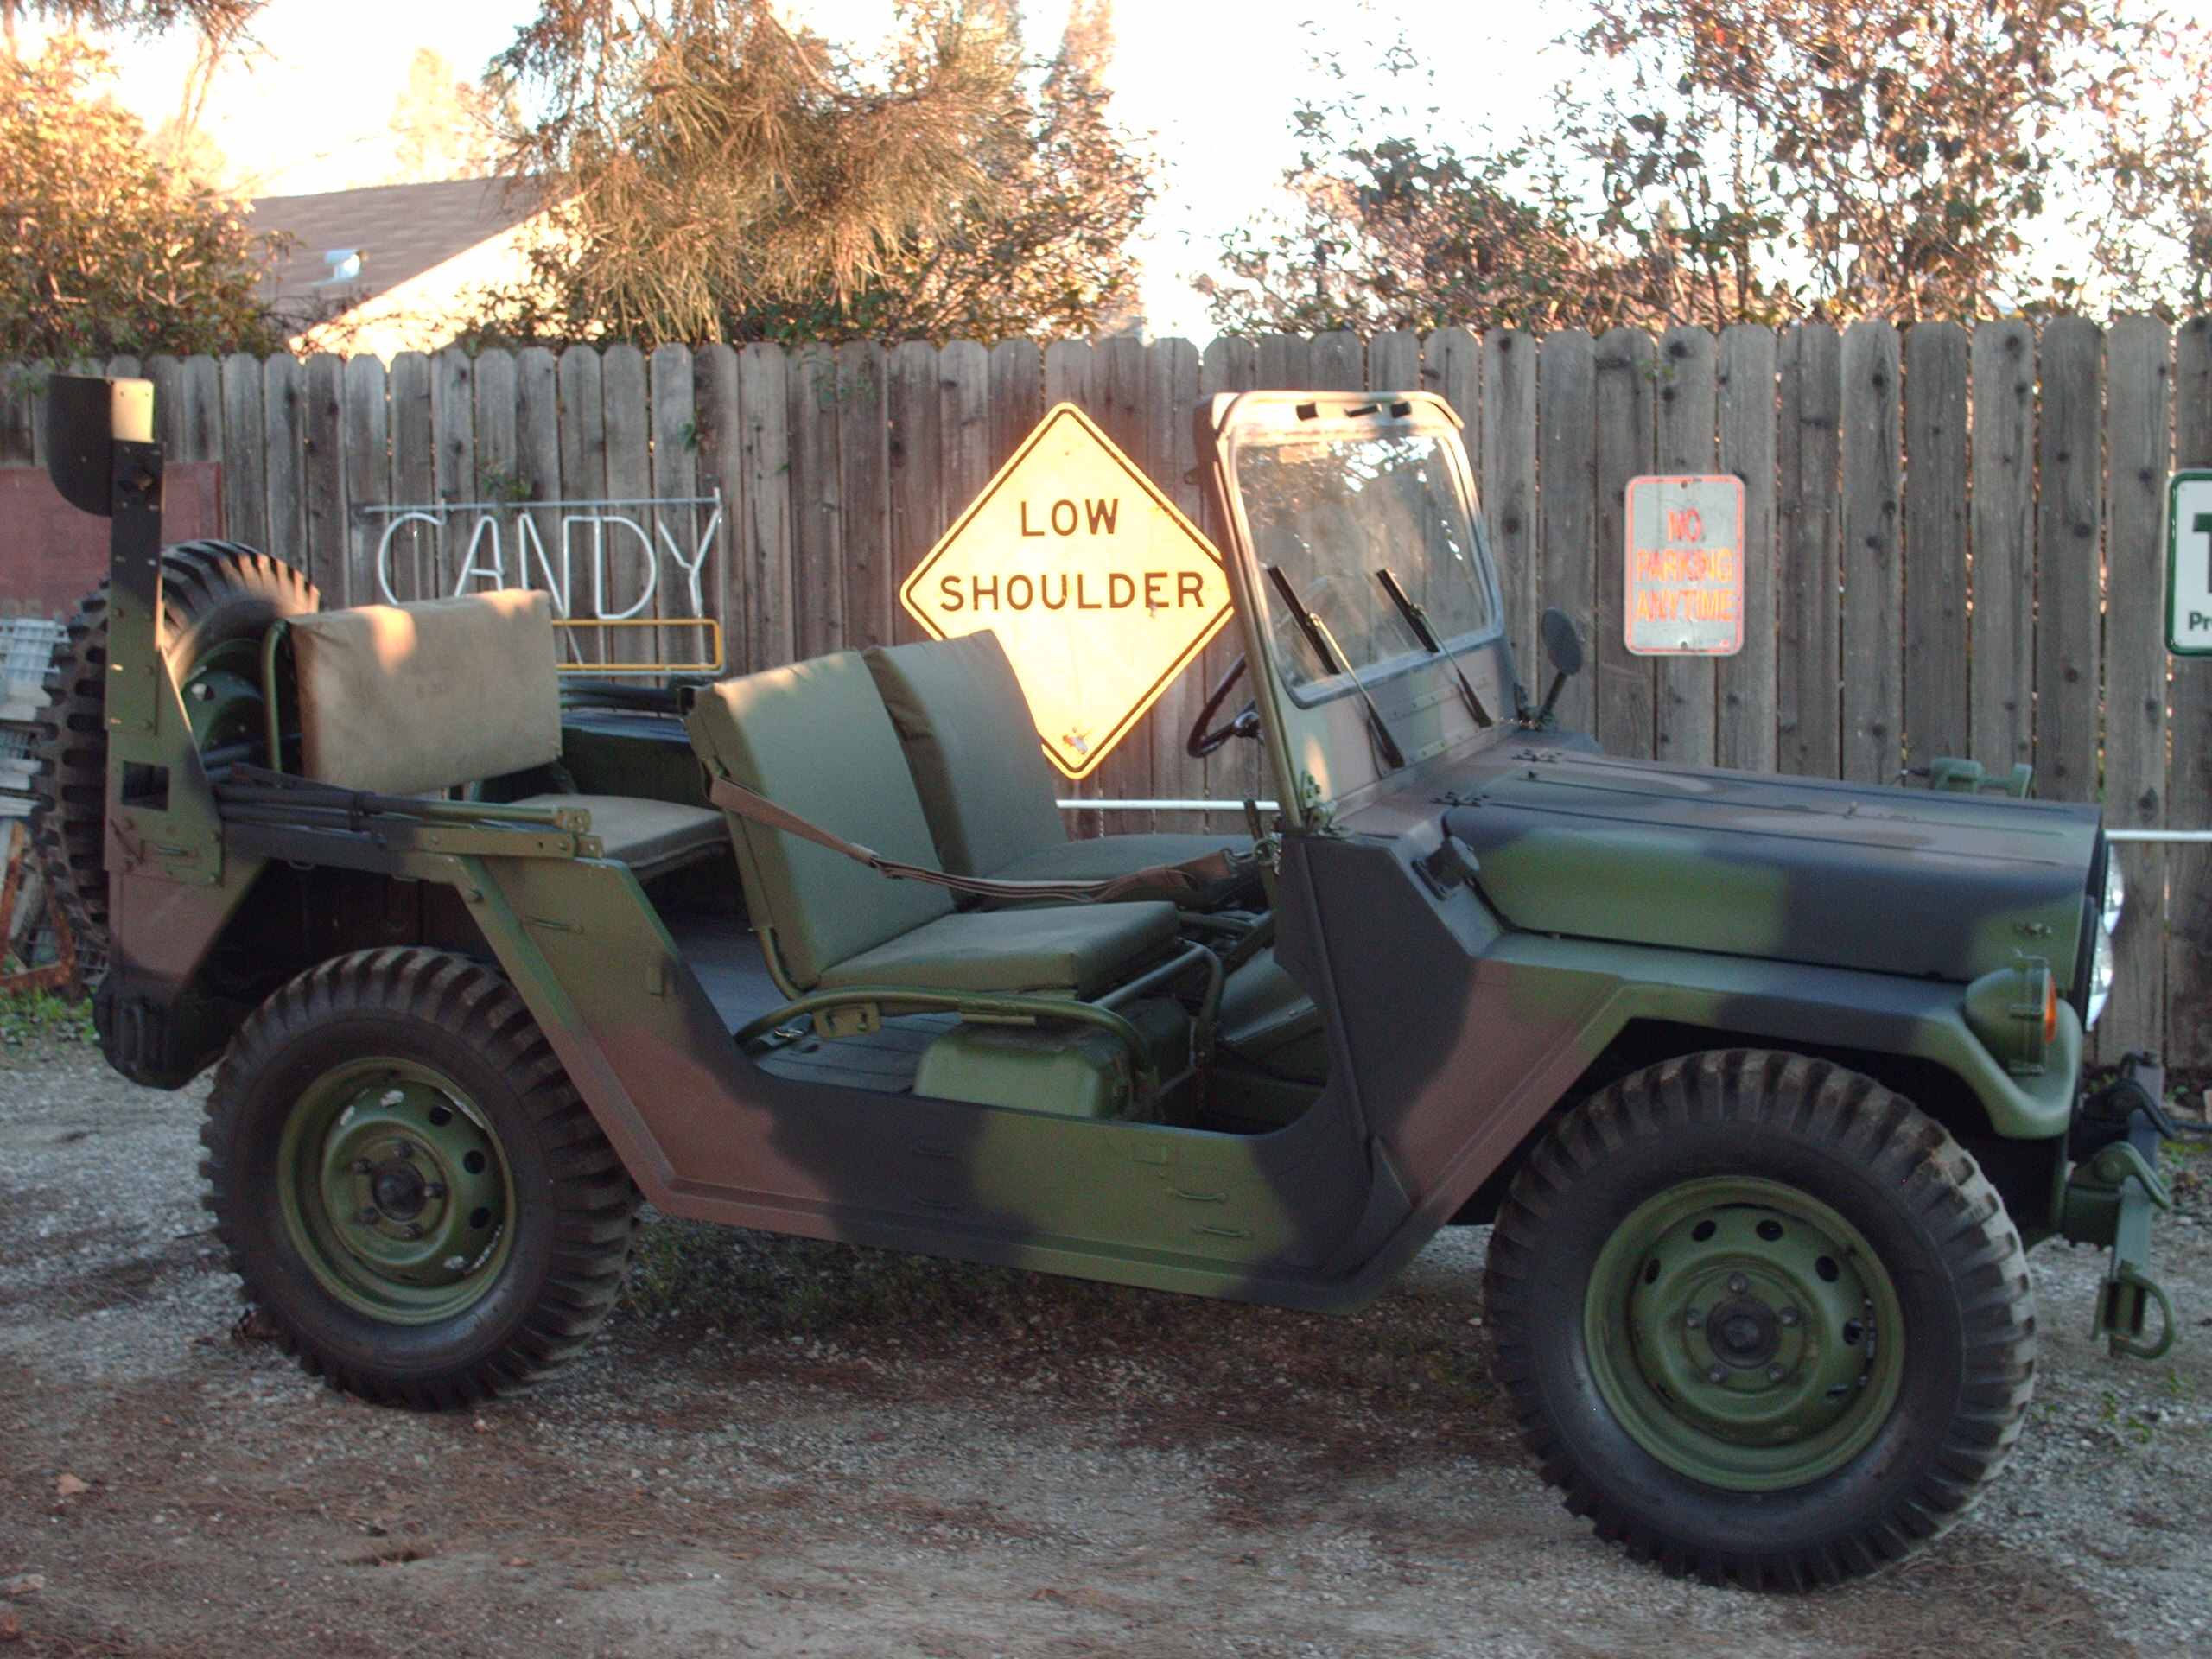
At it's new home in Paso Robles, California.
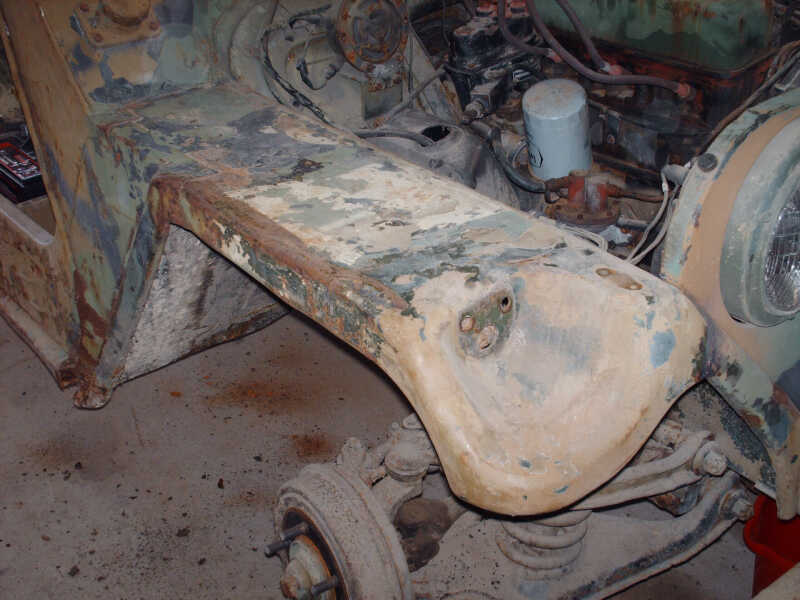
Restoration started, 02/27/2010
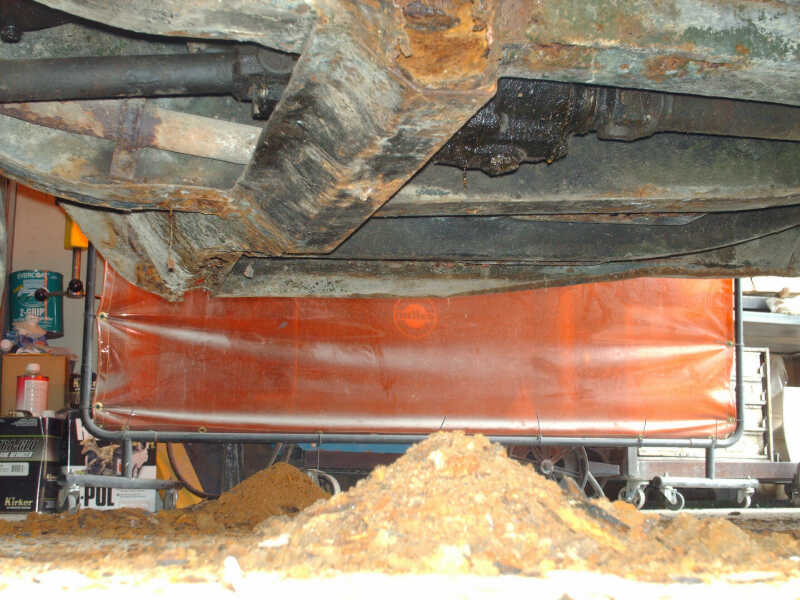
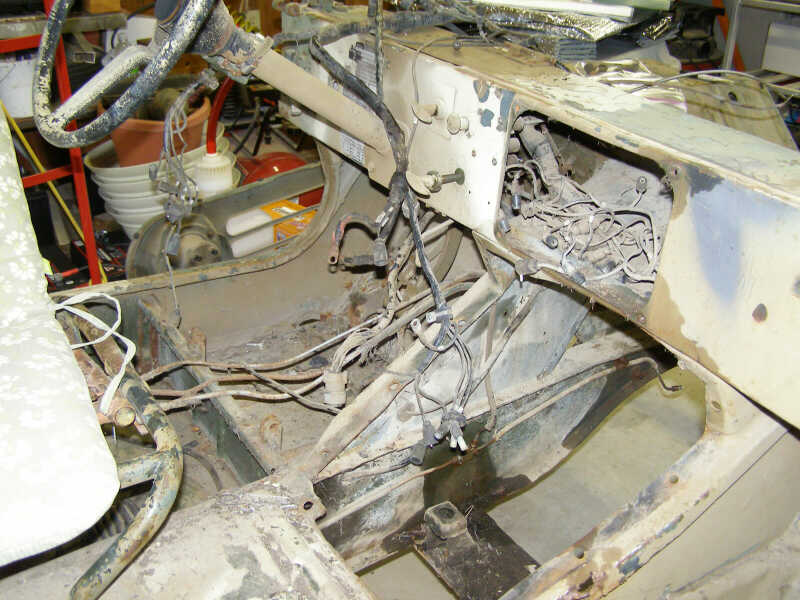
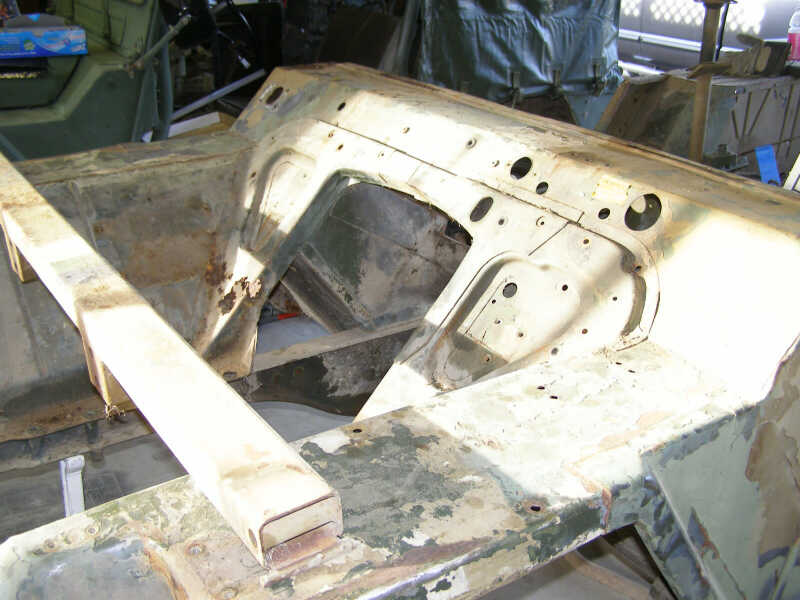
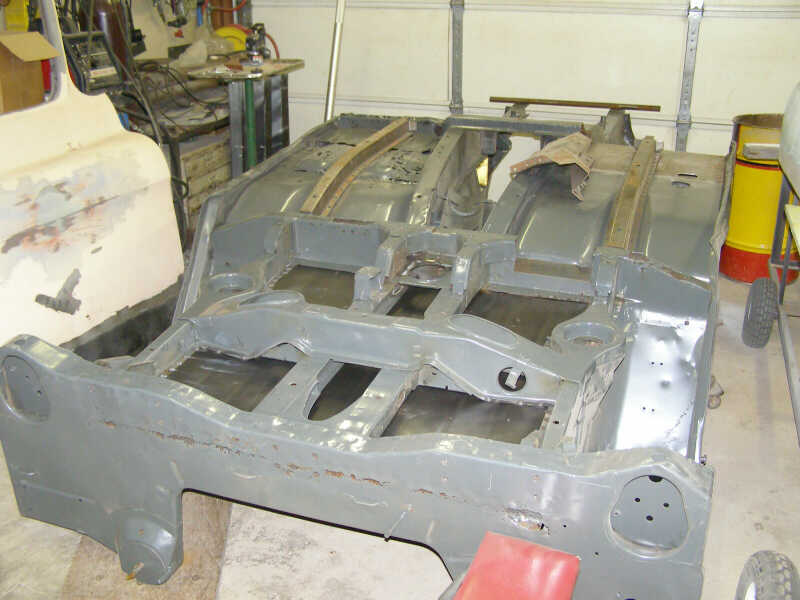
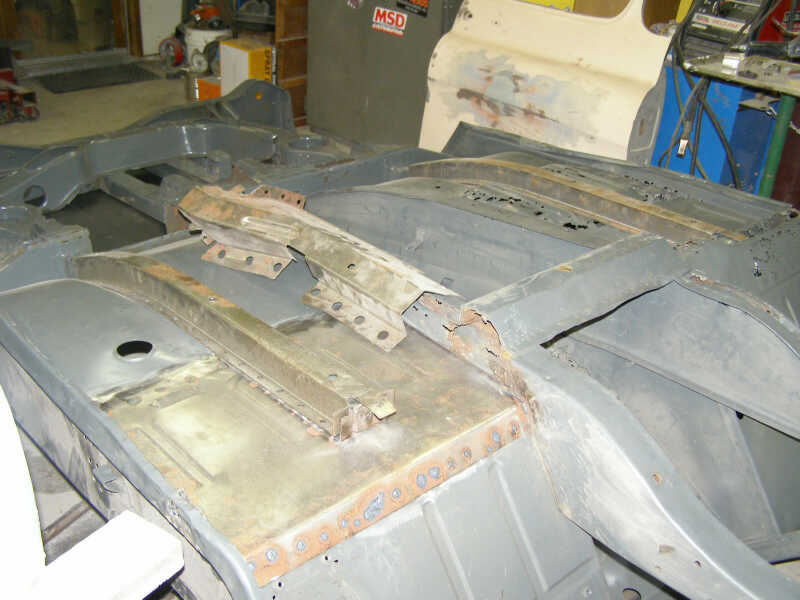
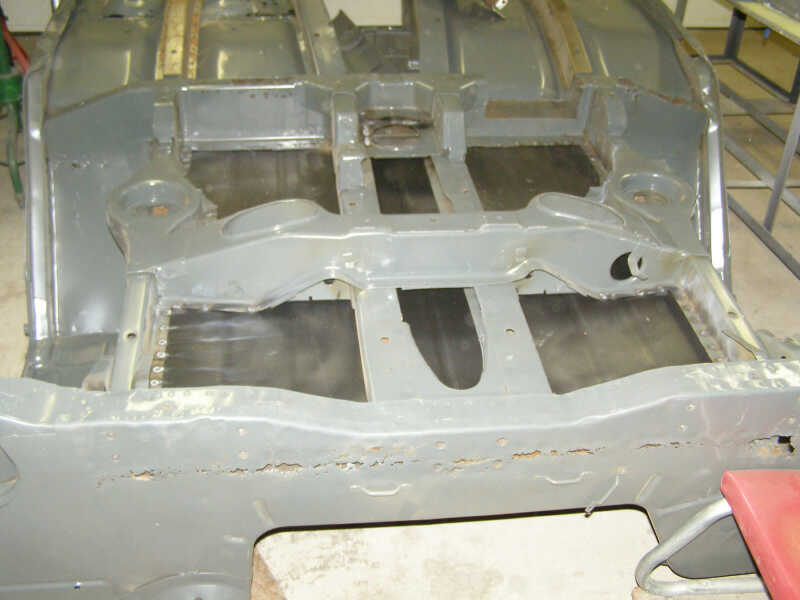
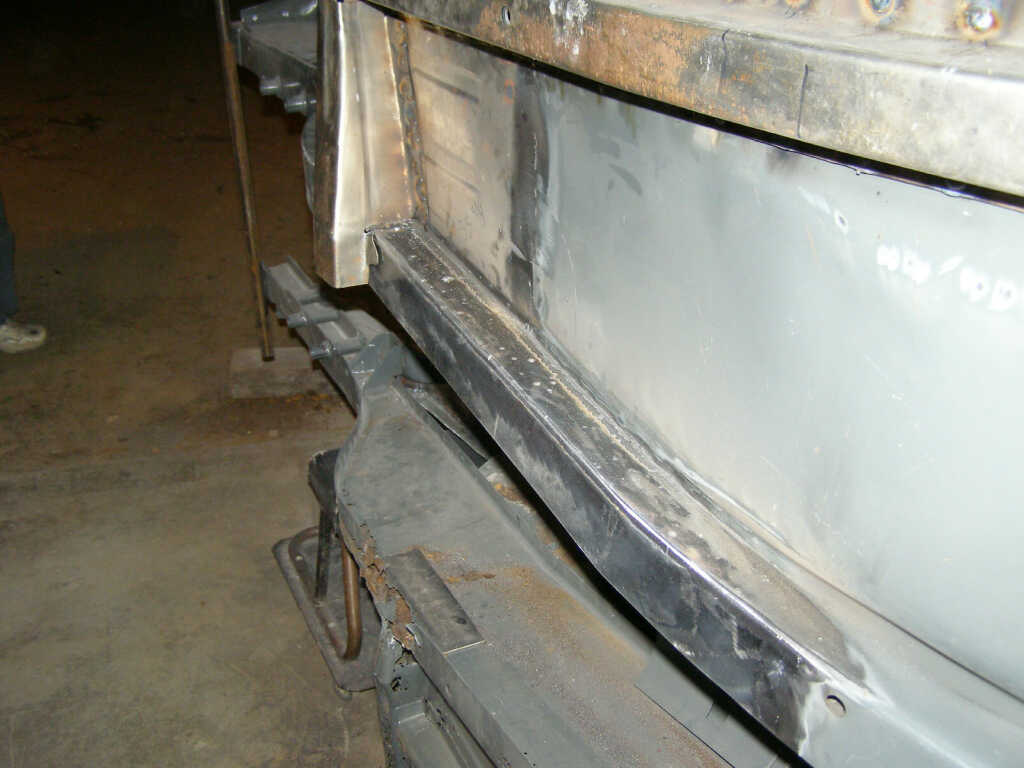
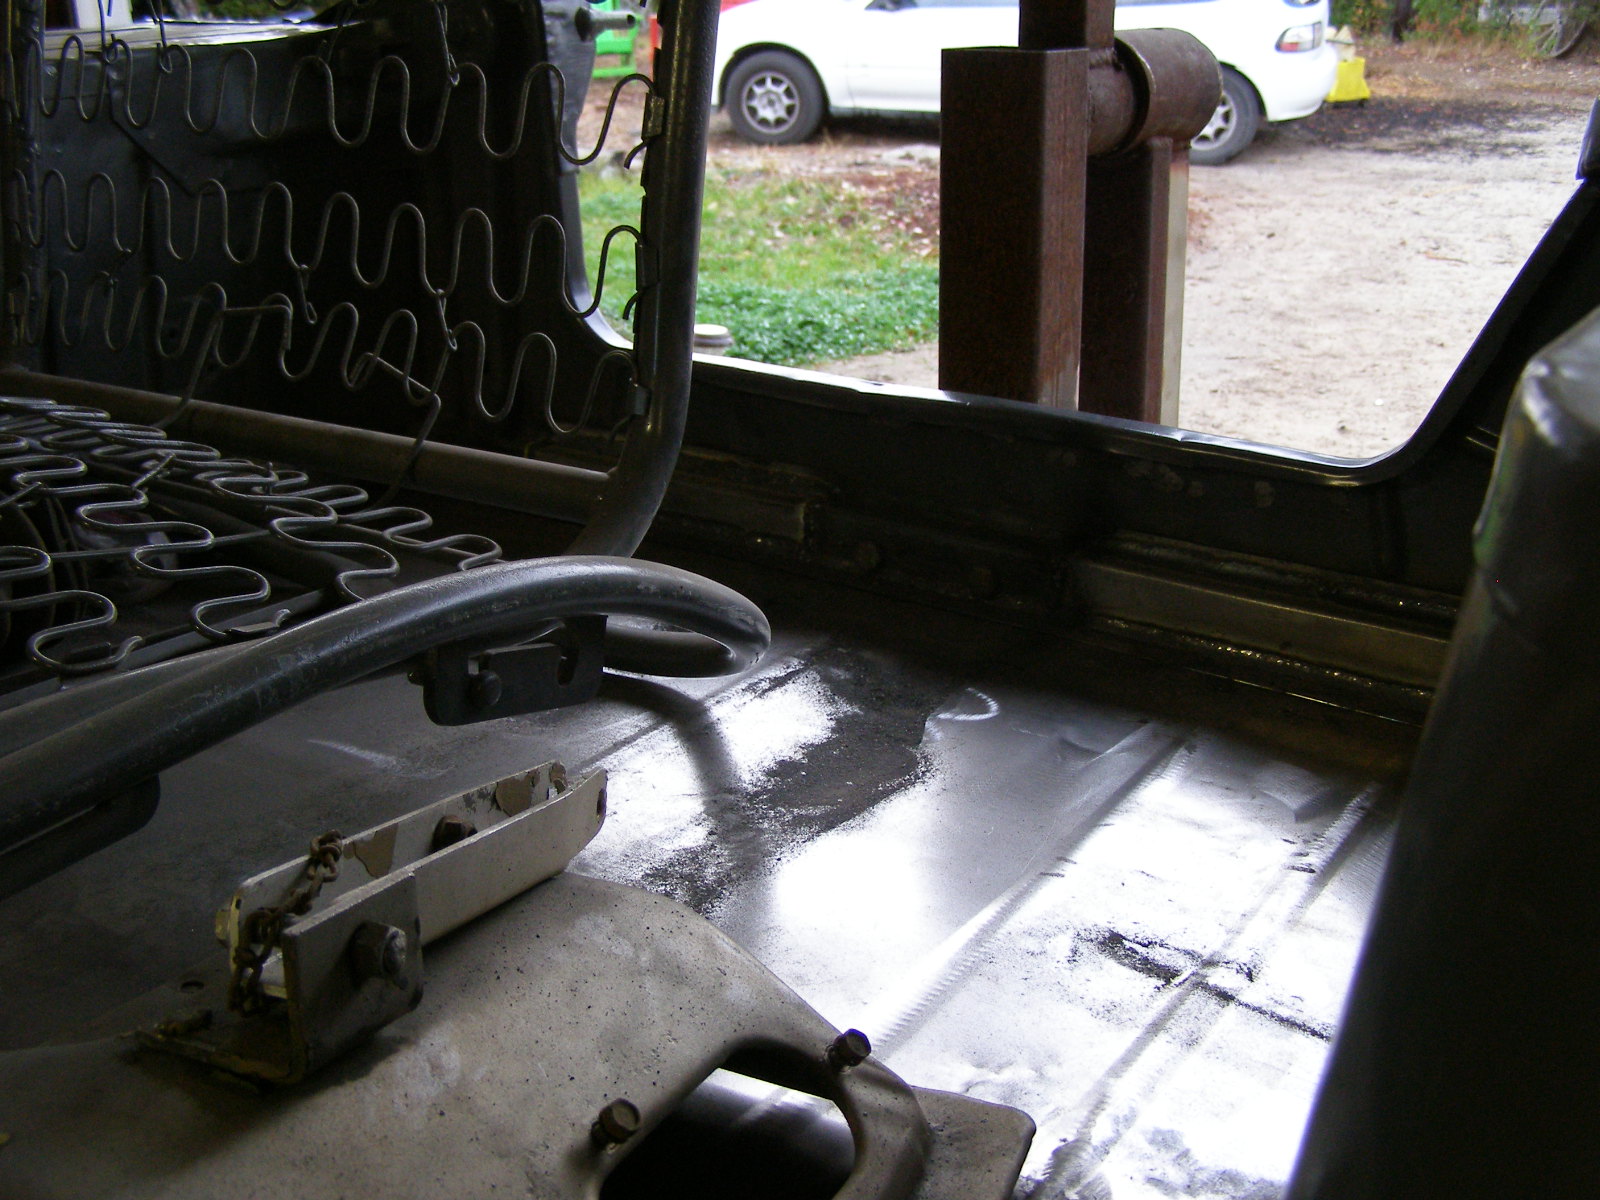
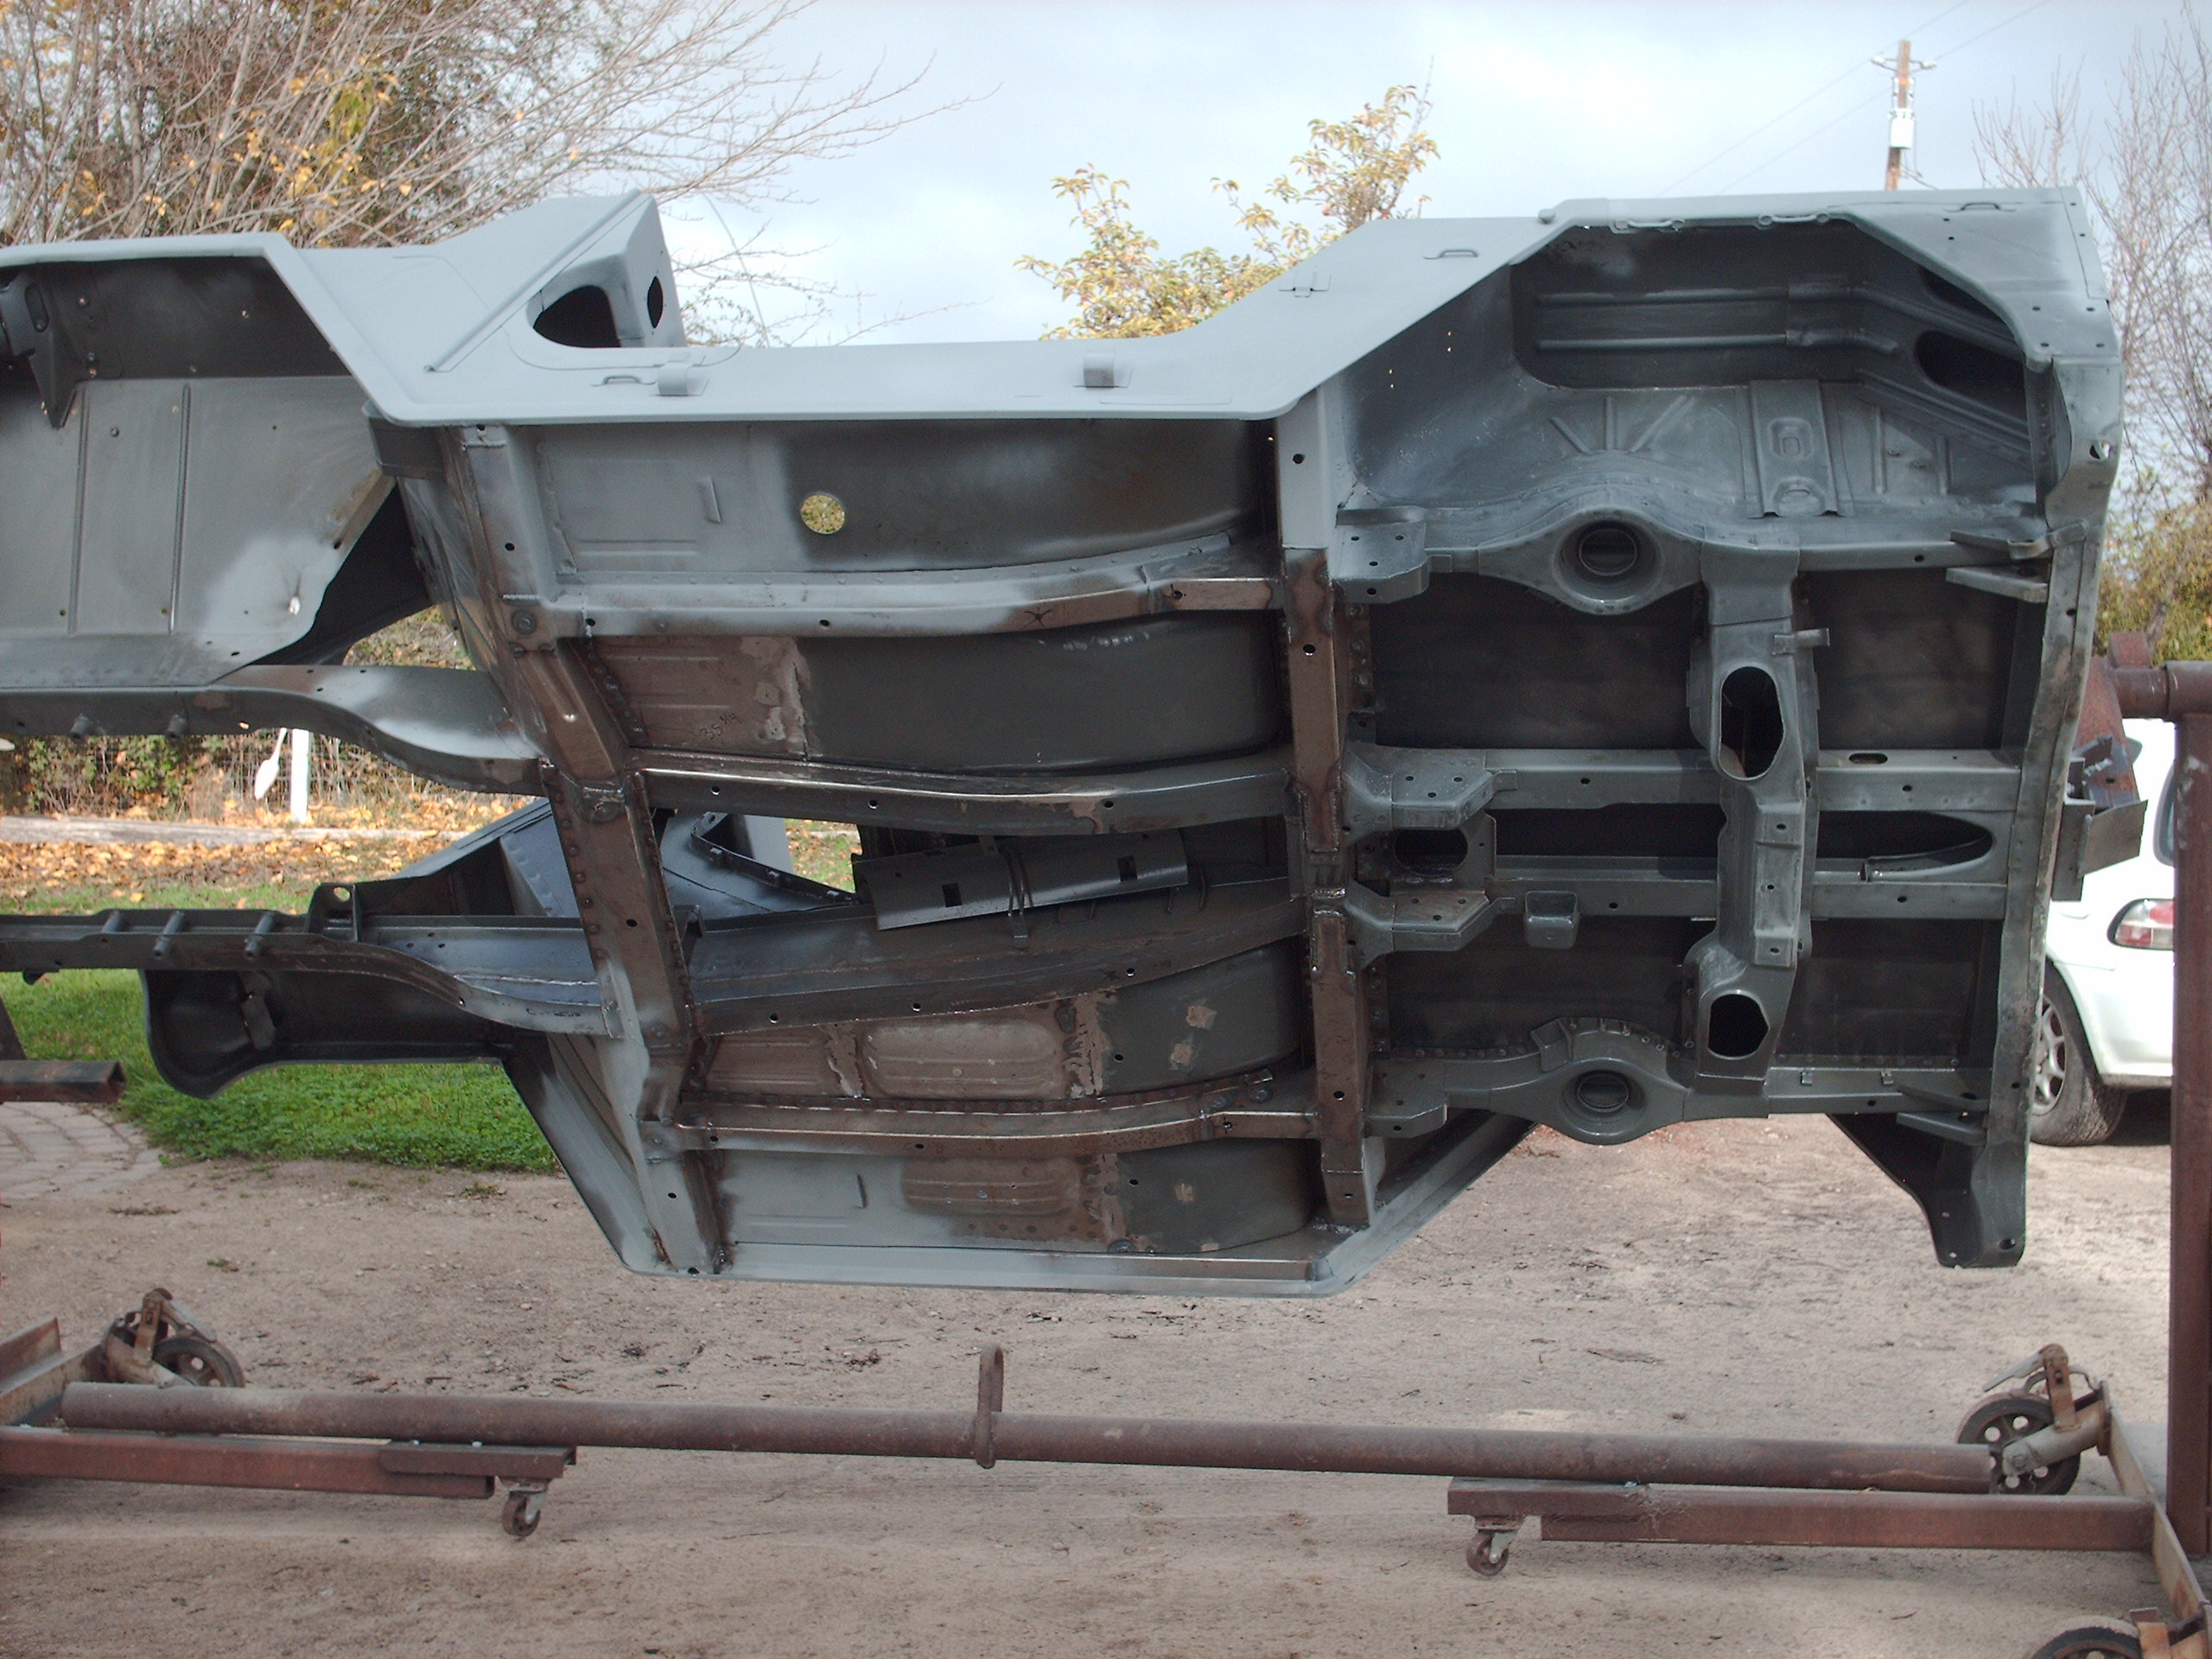
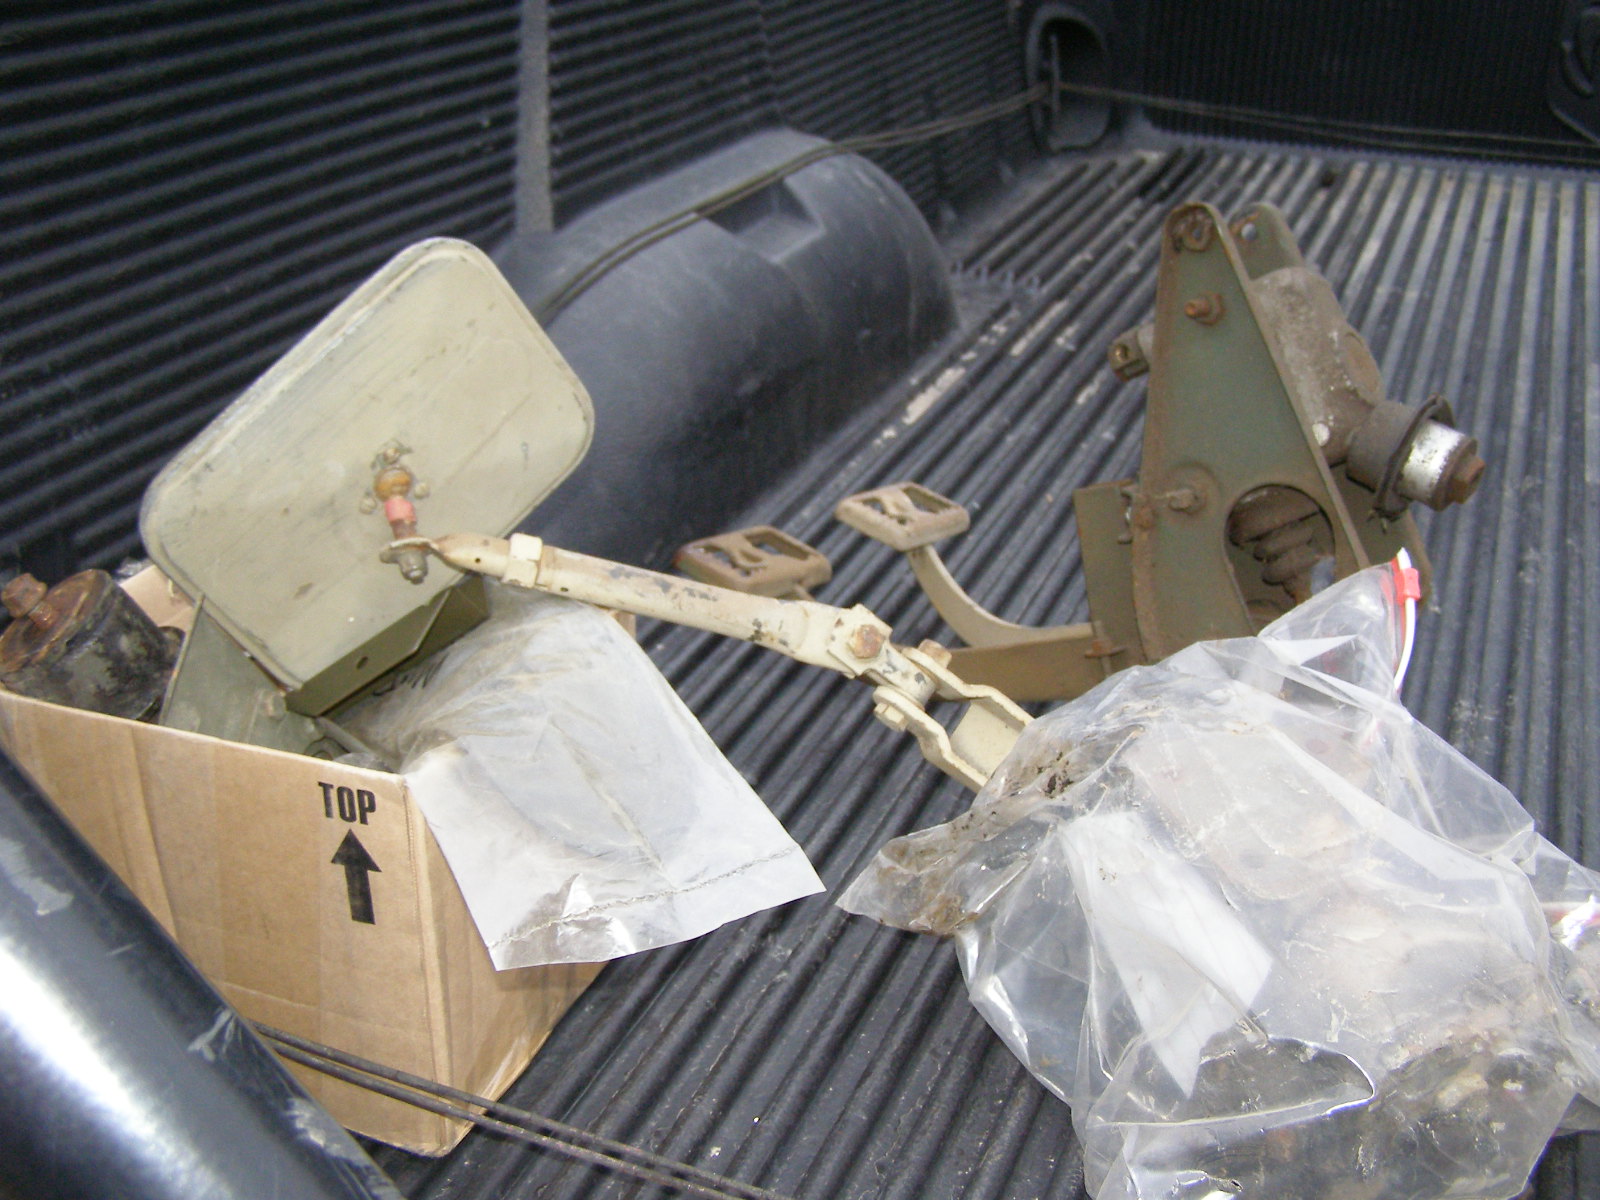
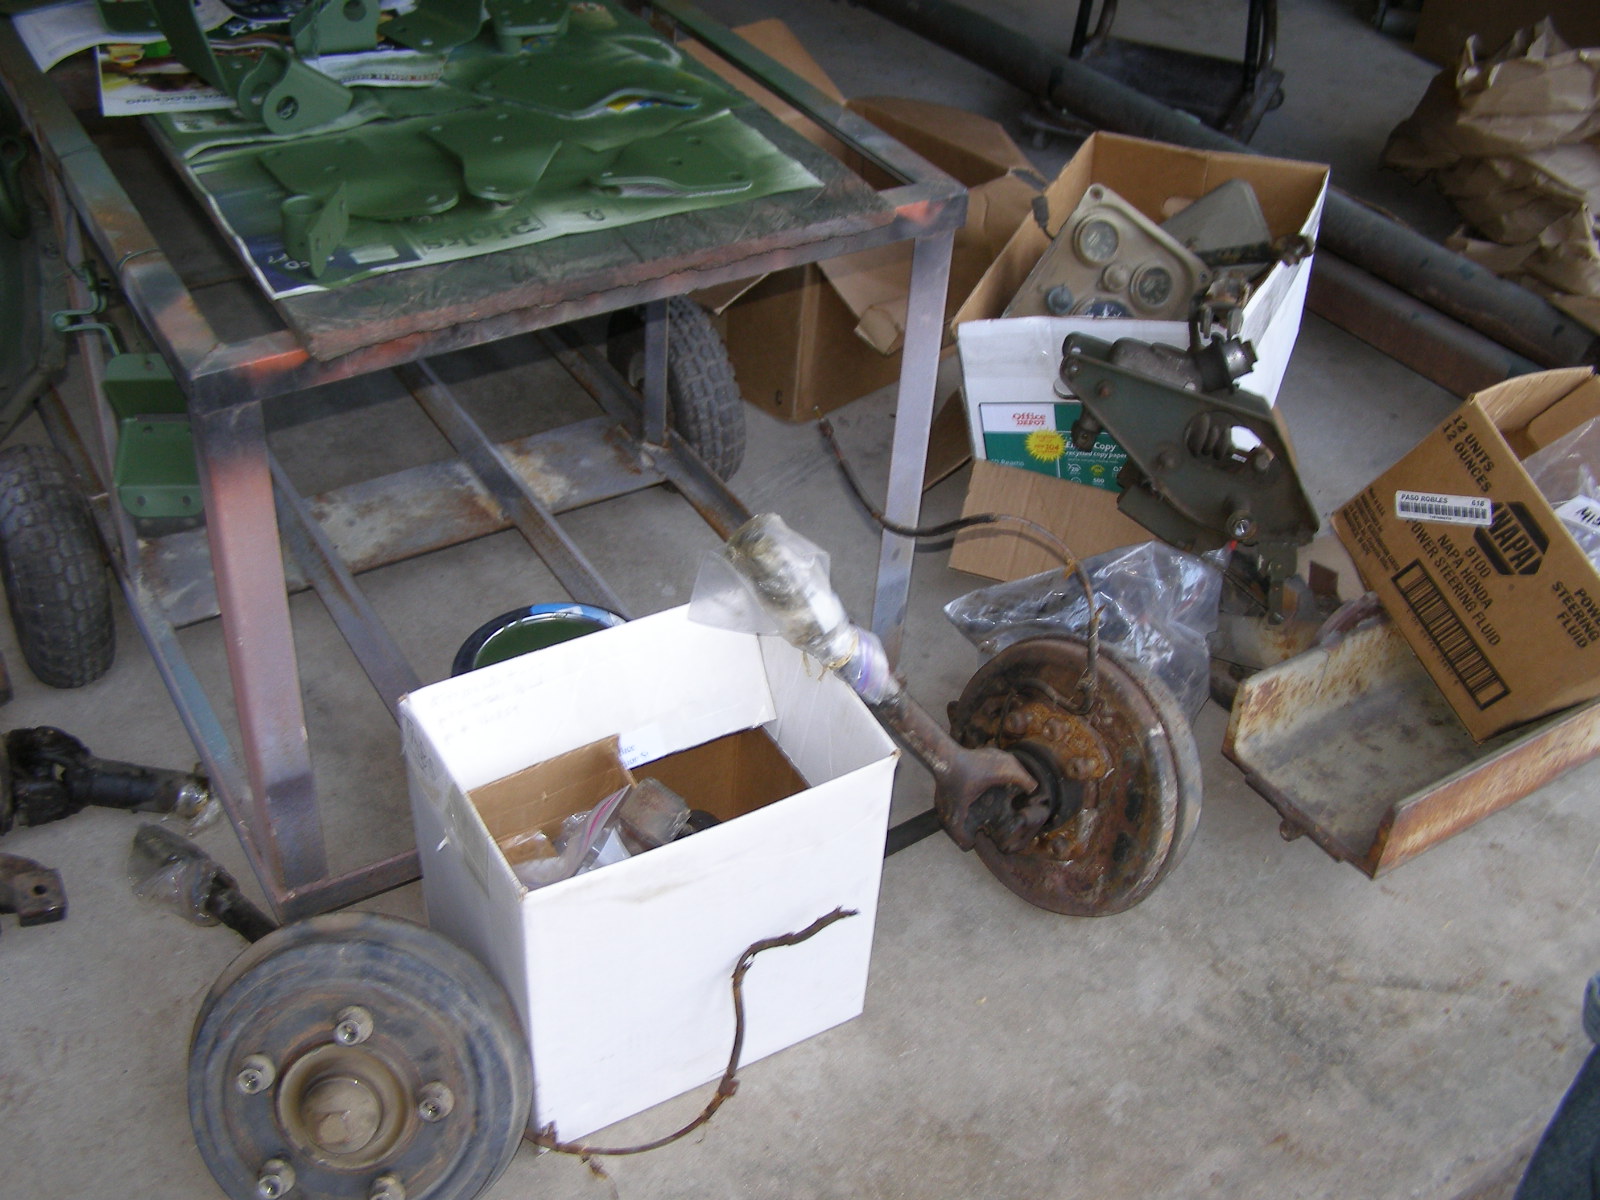
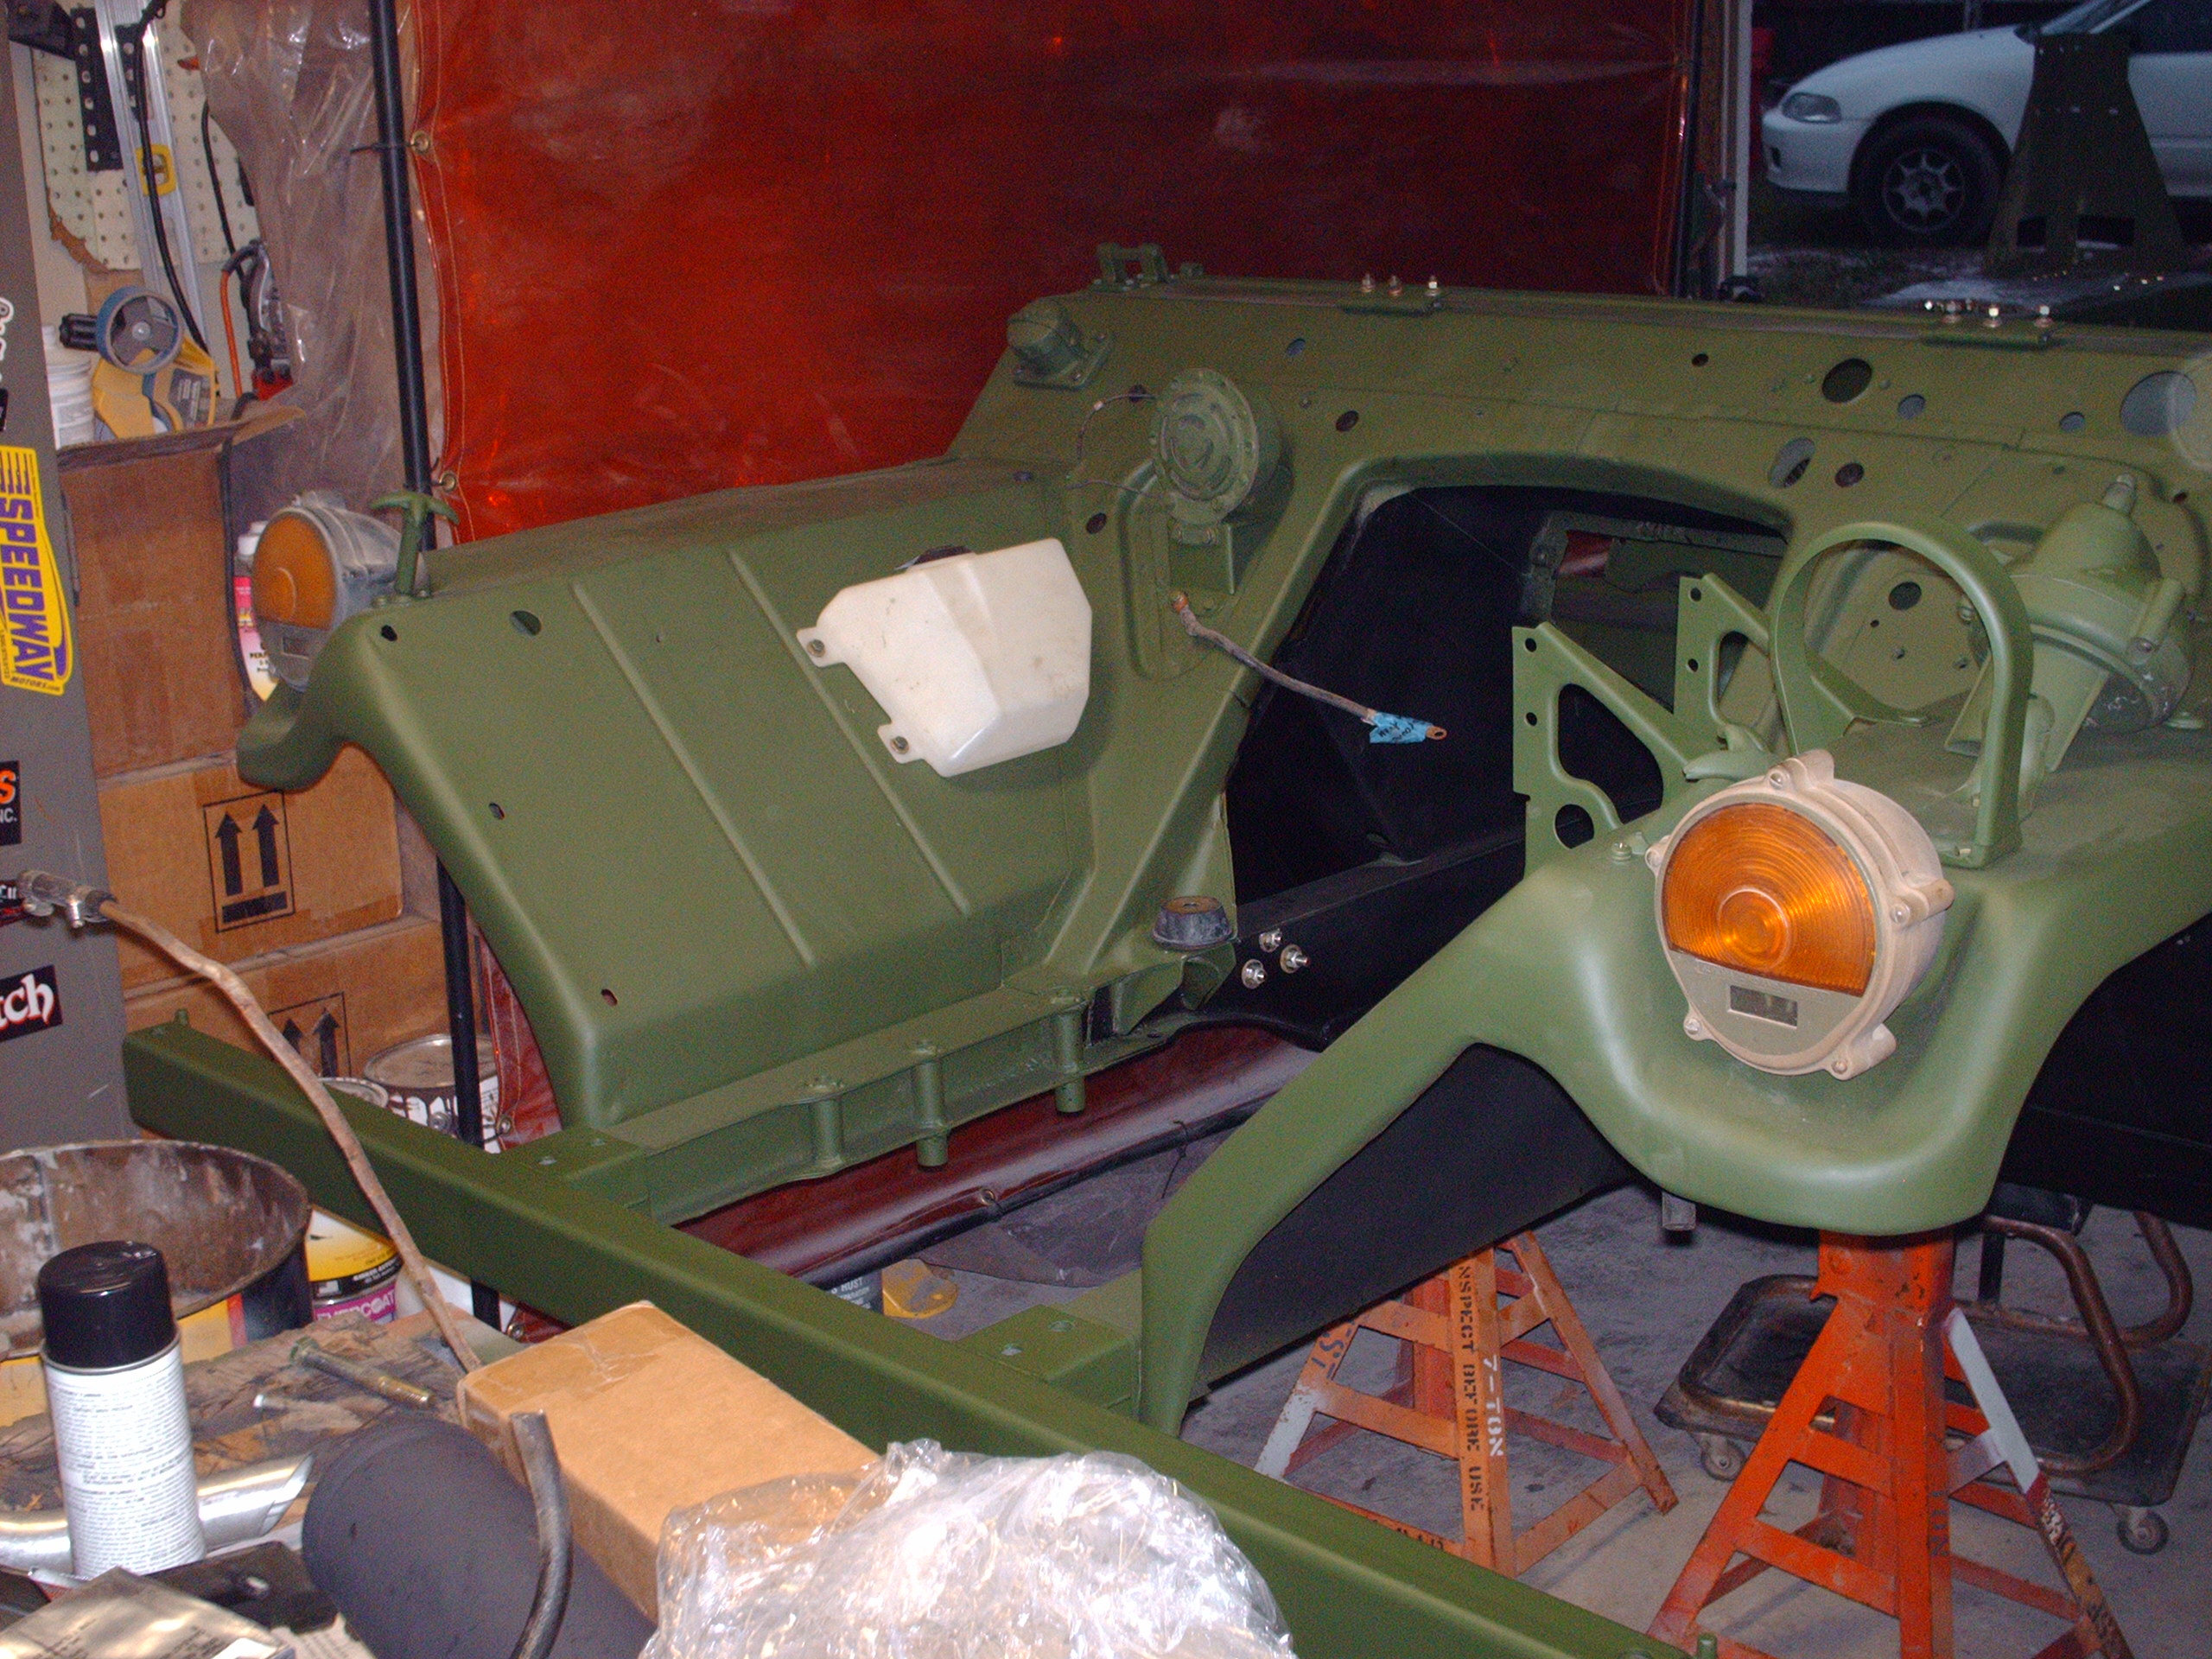
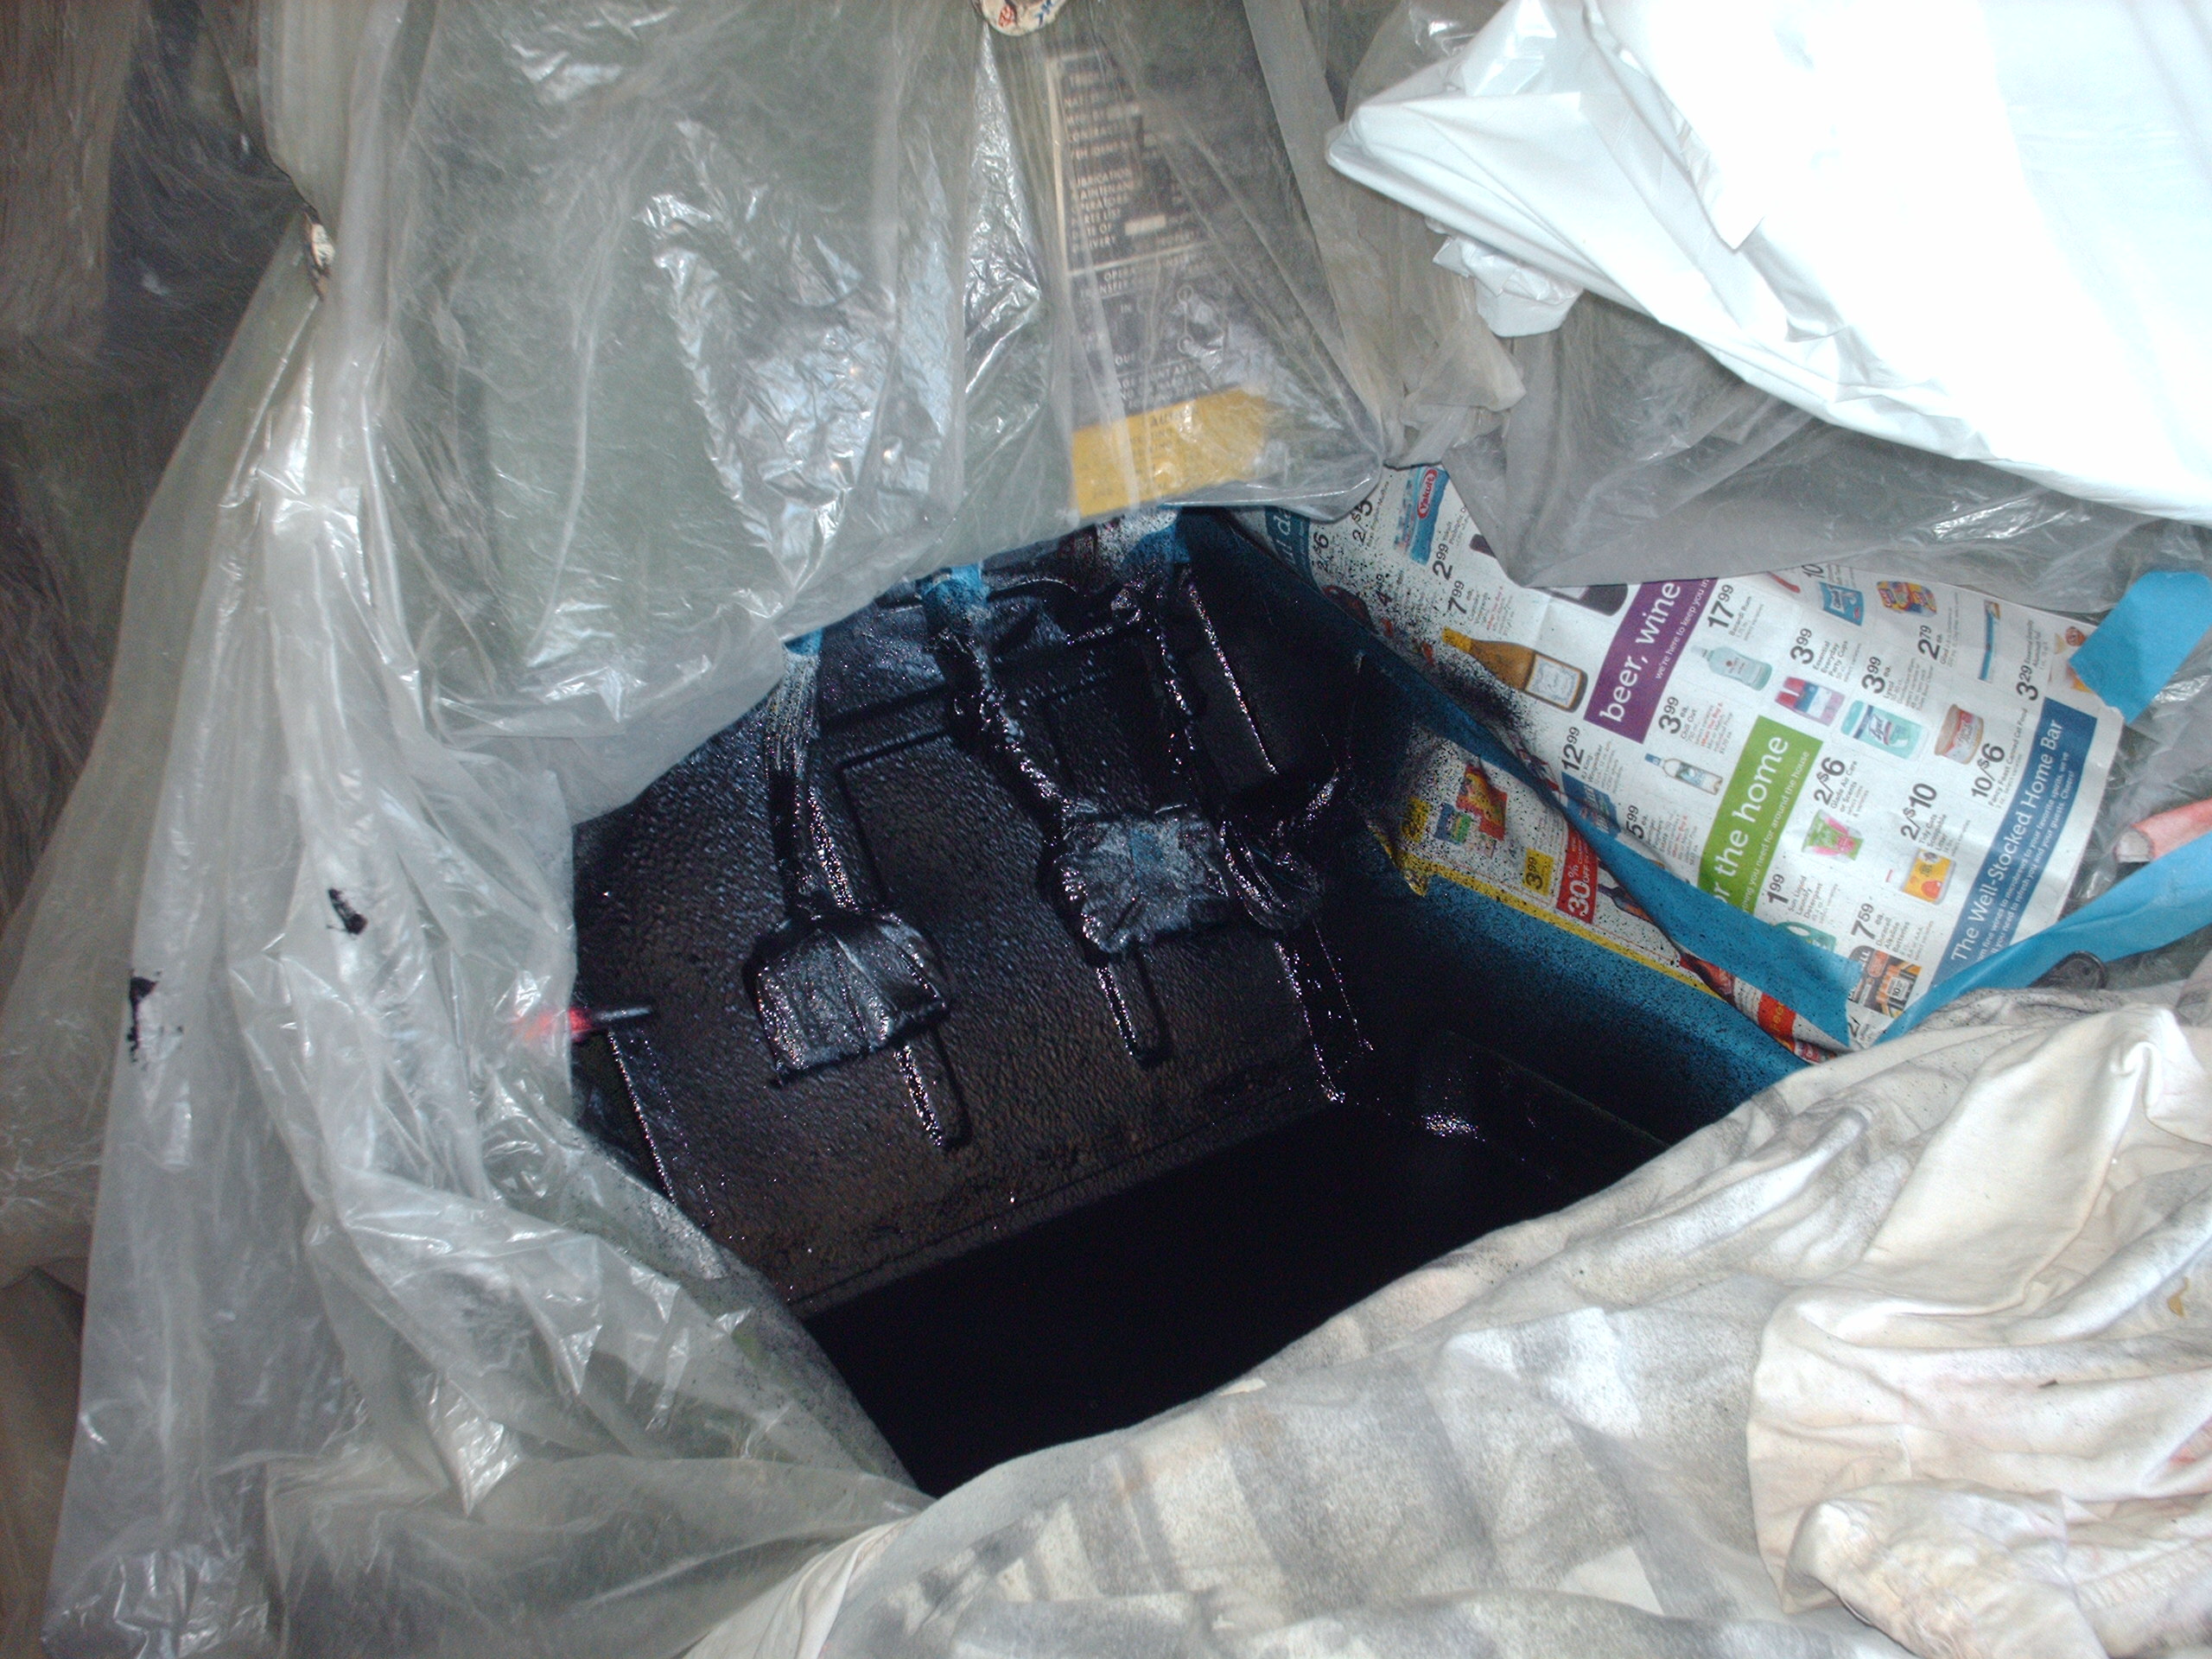
A view of the under carriage prior to restoration
03/16/2010
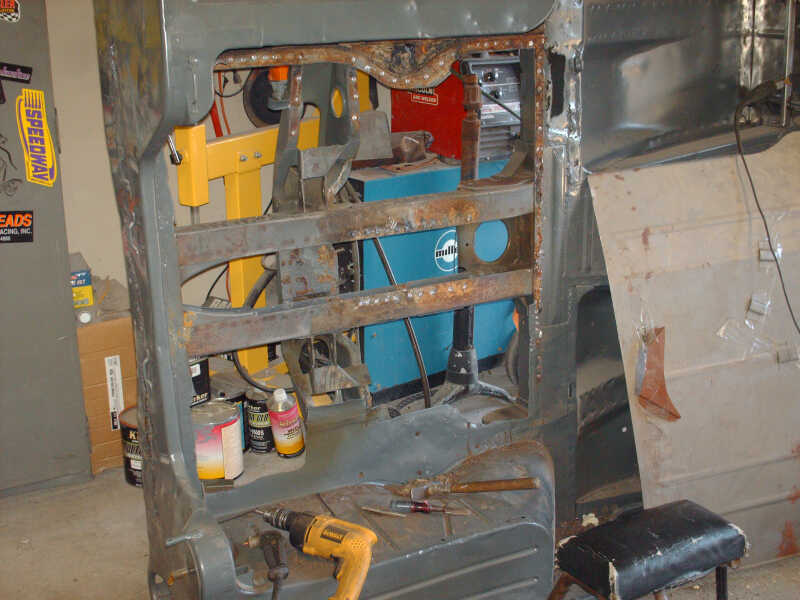
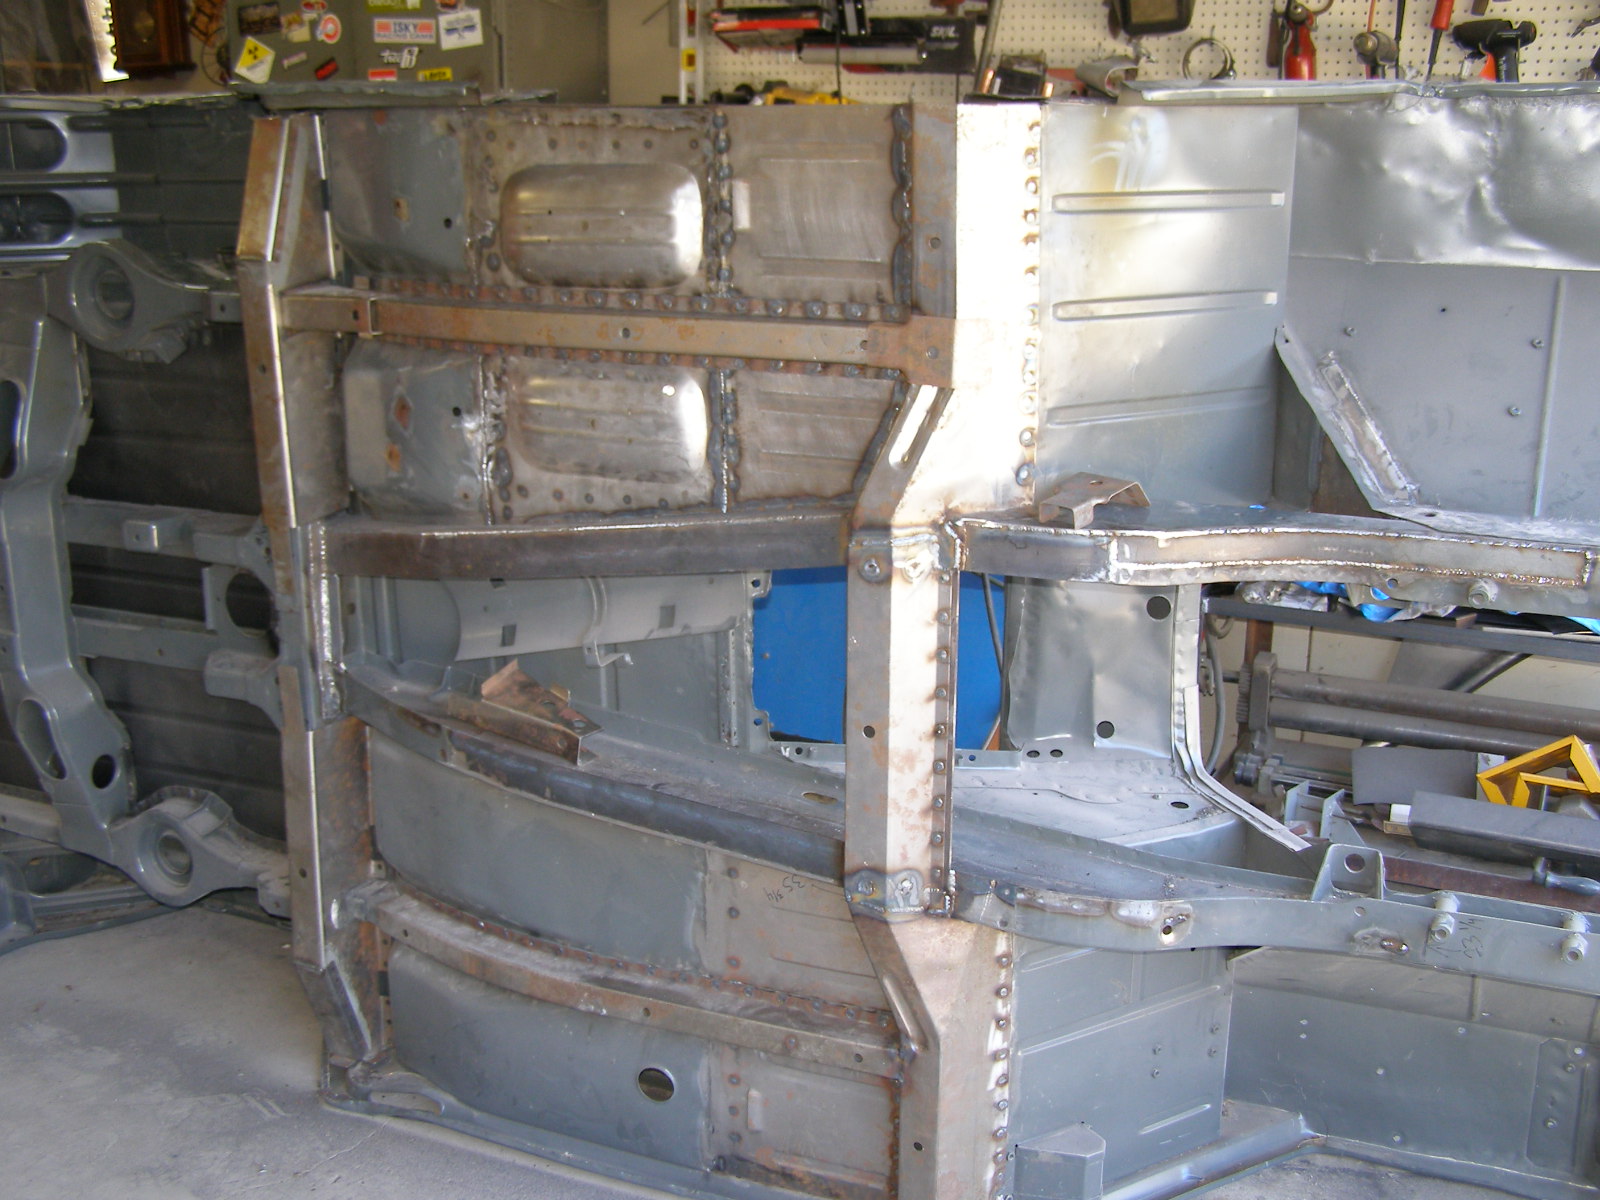
All striped down, ready for sand blasting.......what a job.


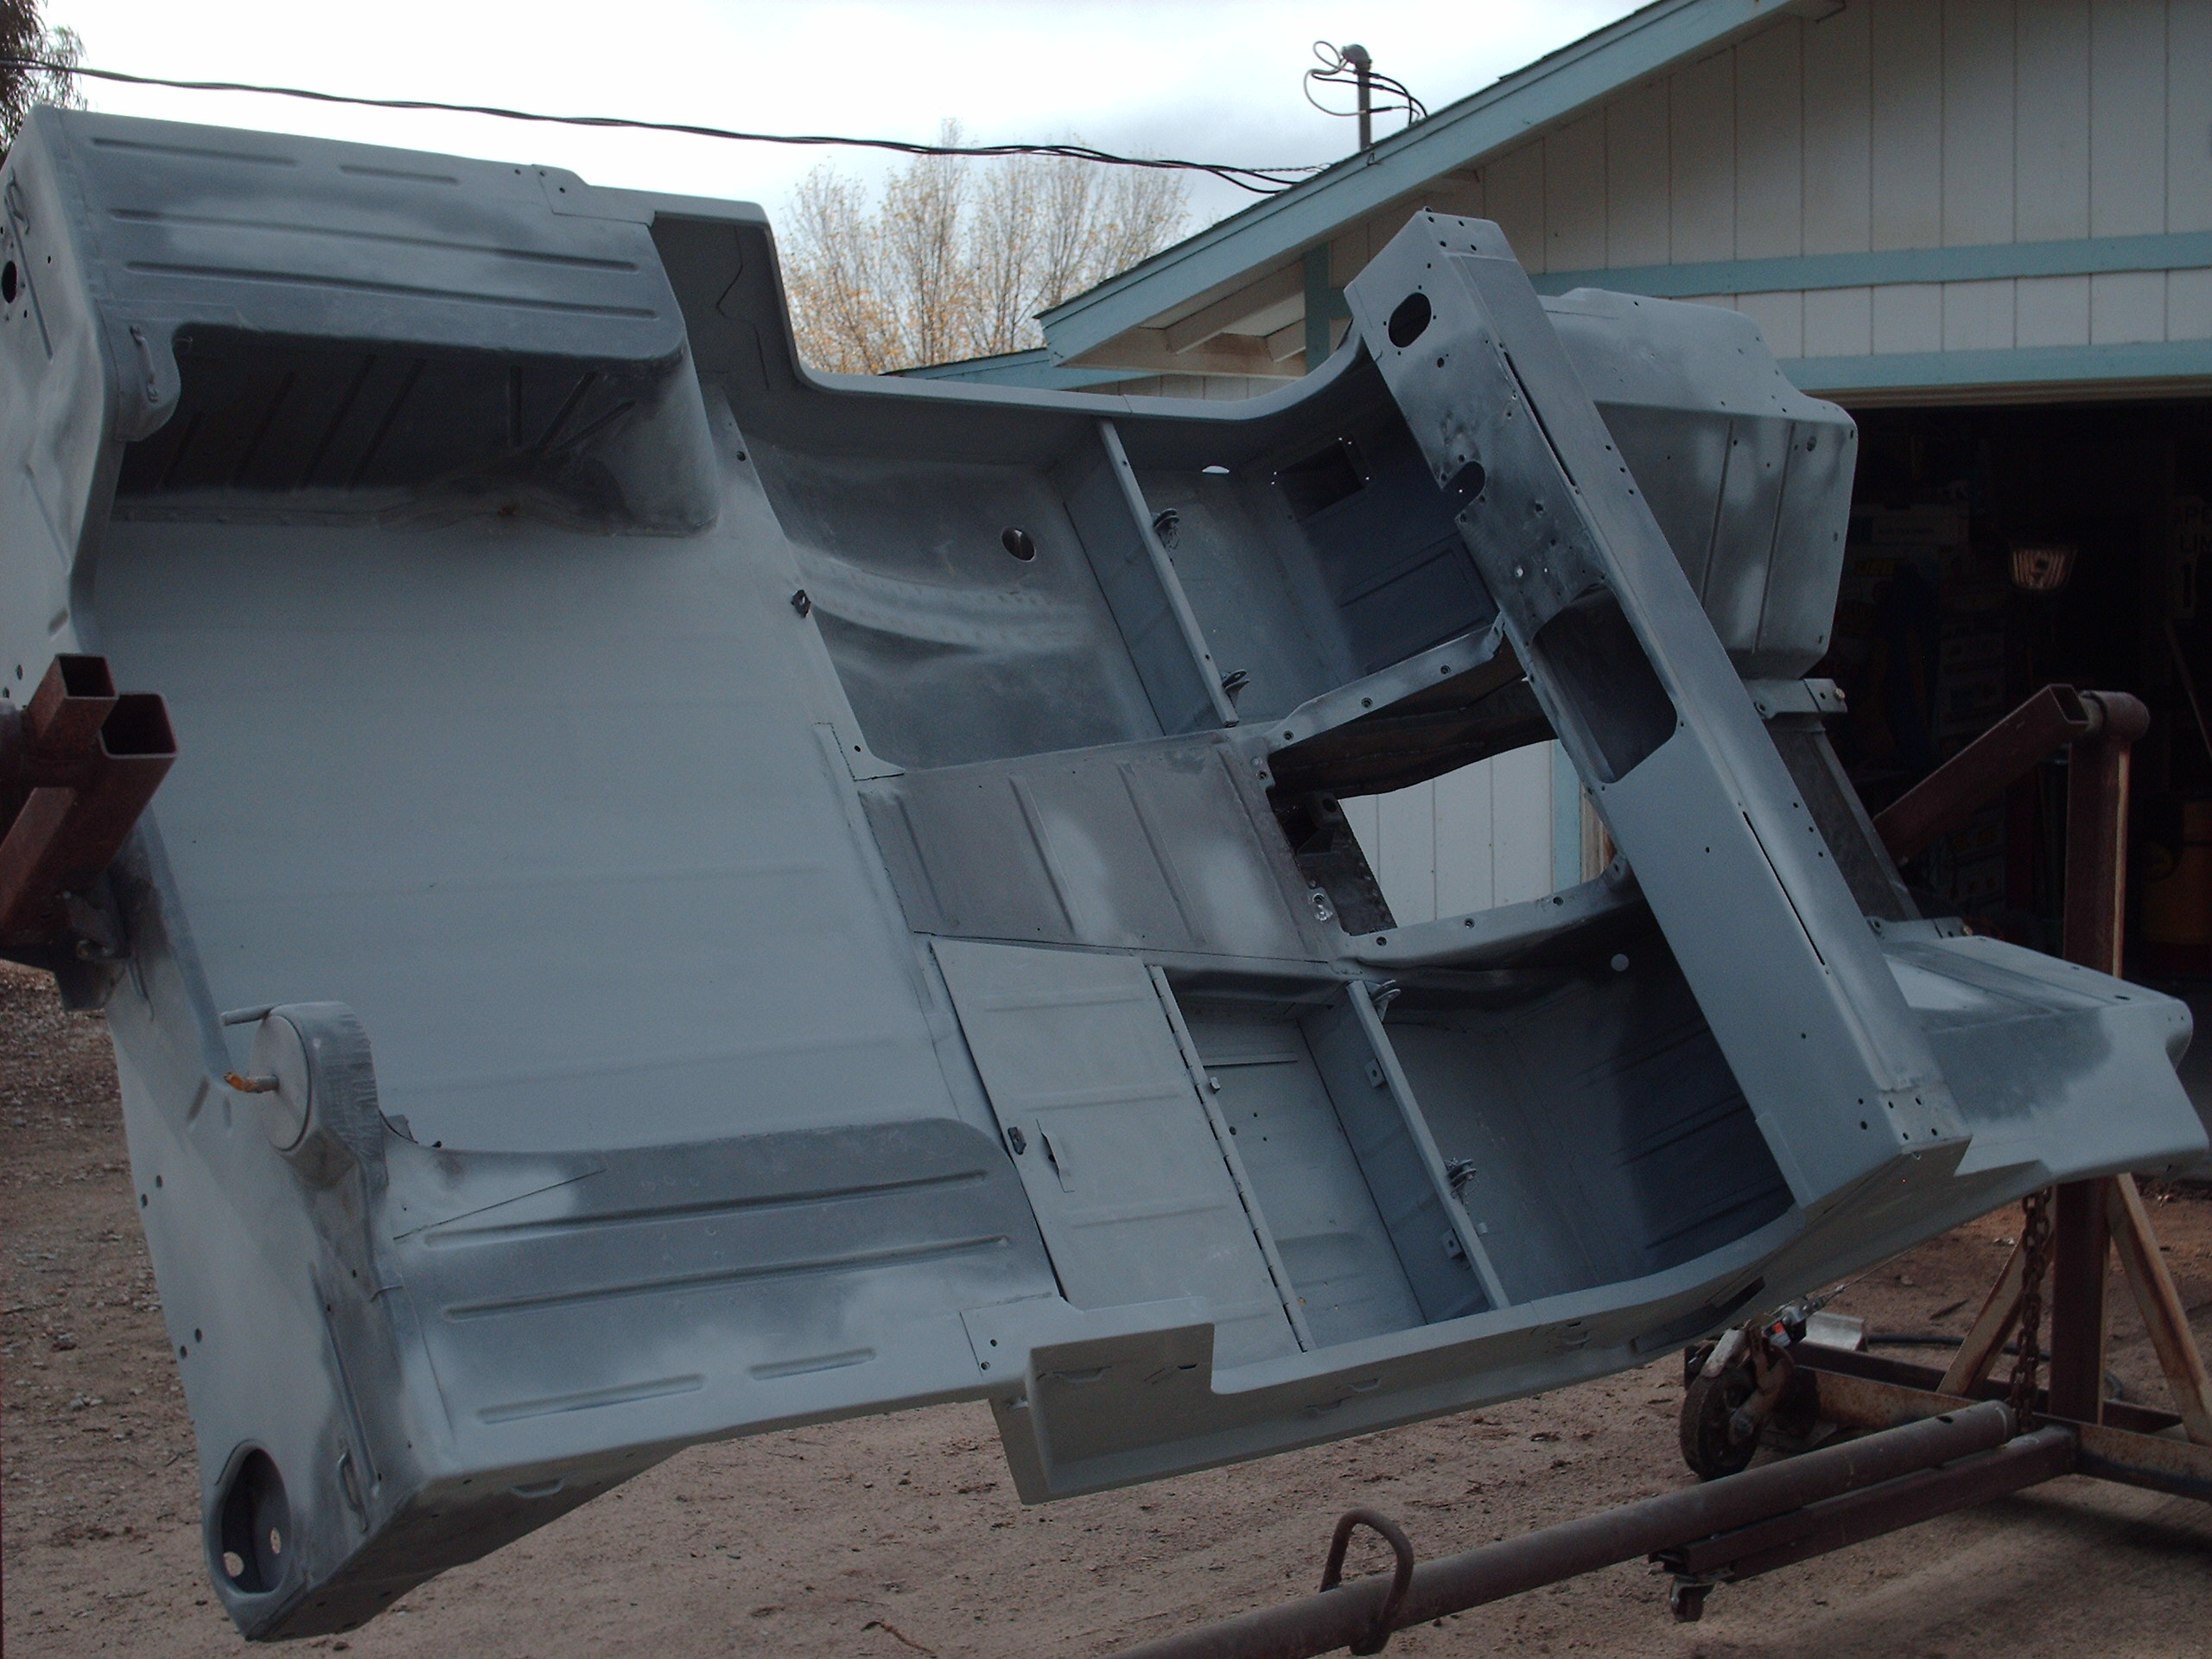
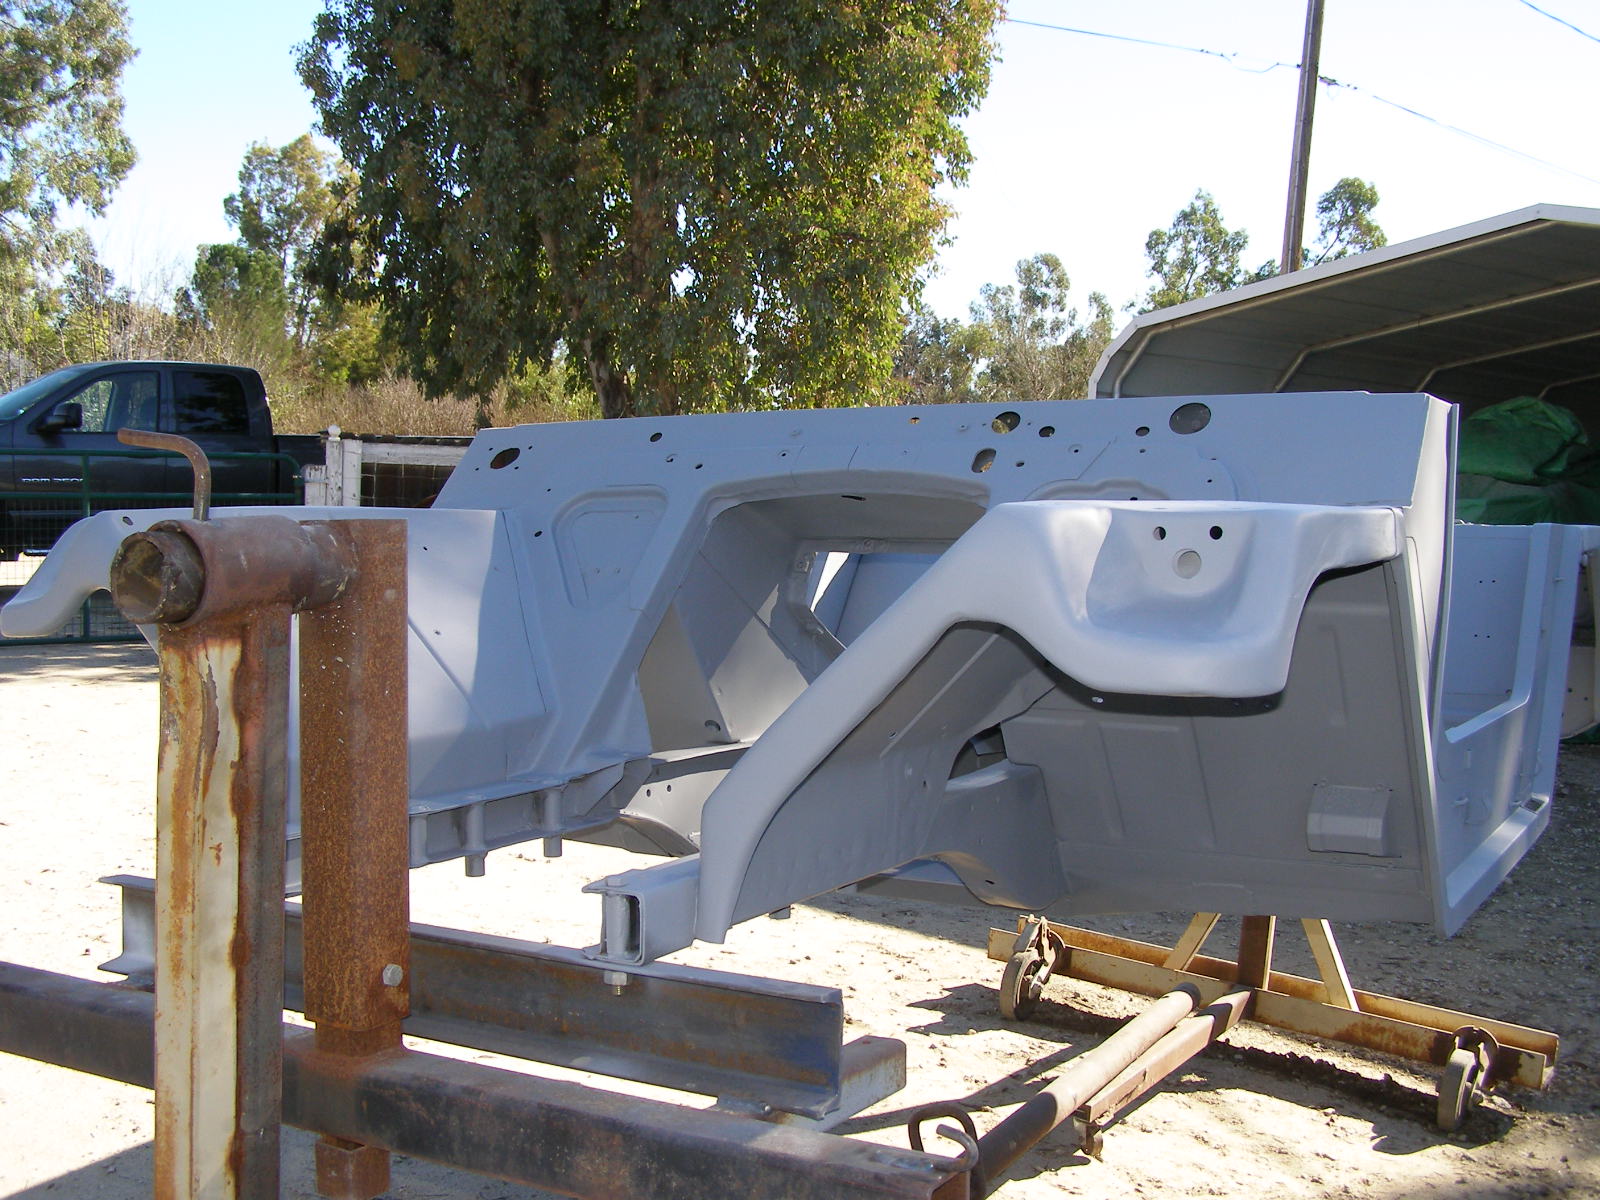
03/26/2010 Update
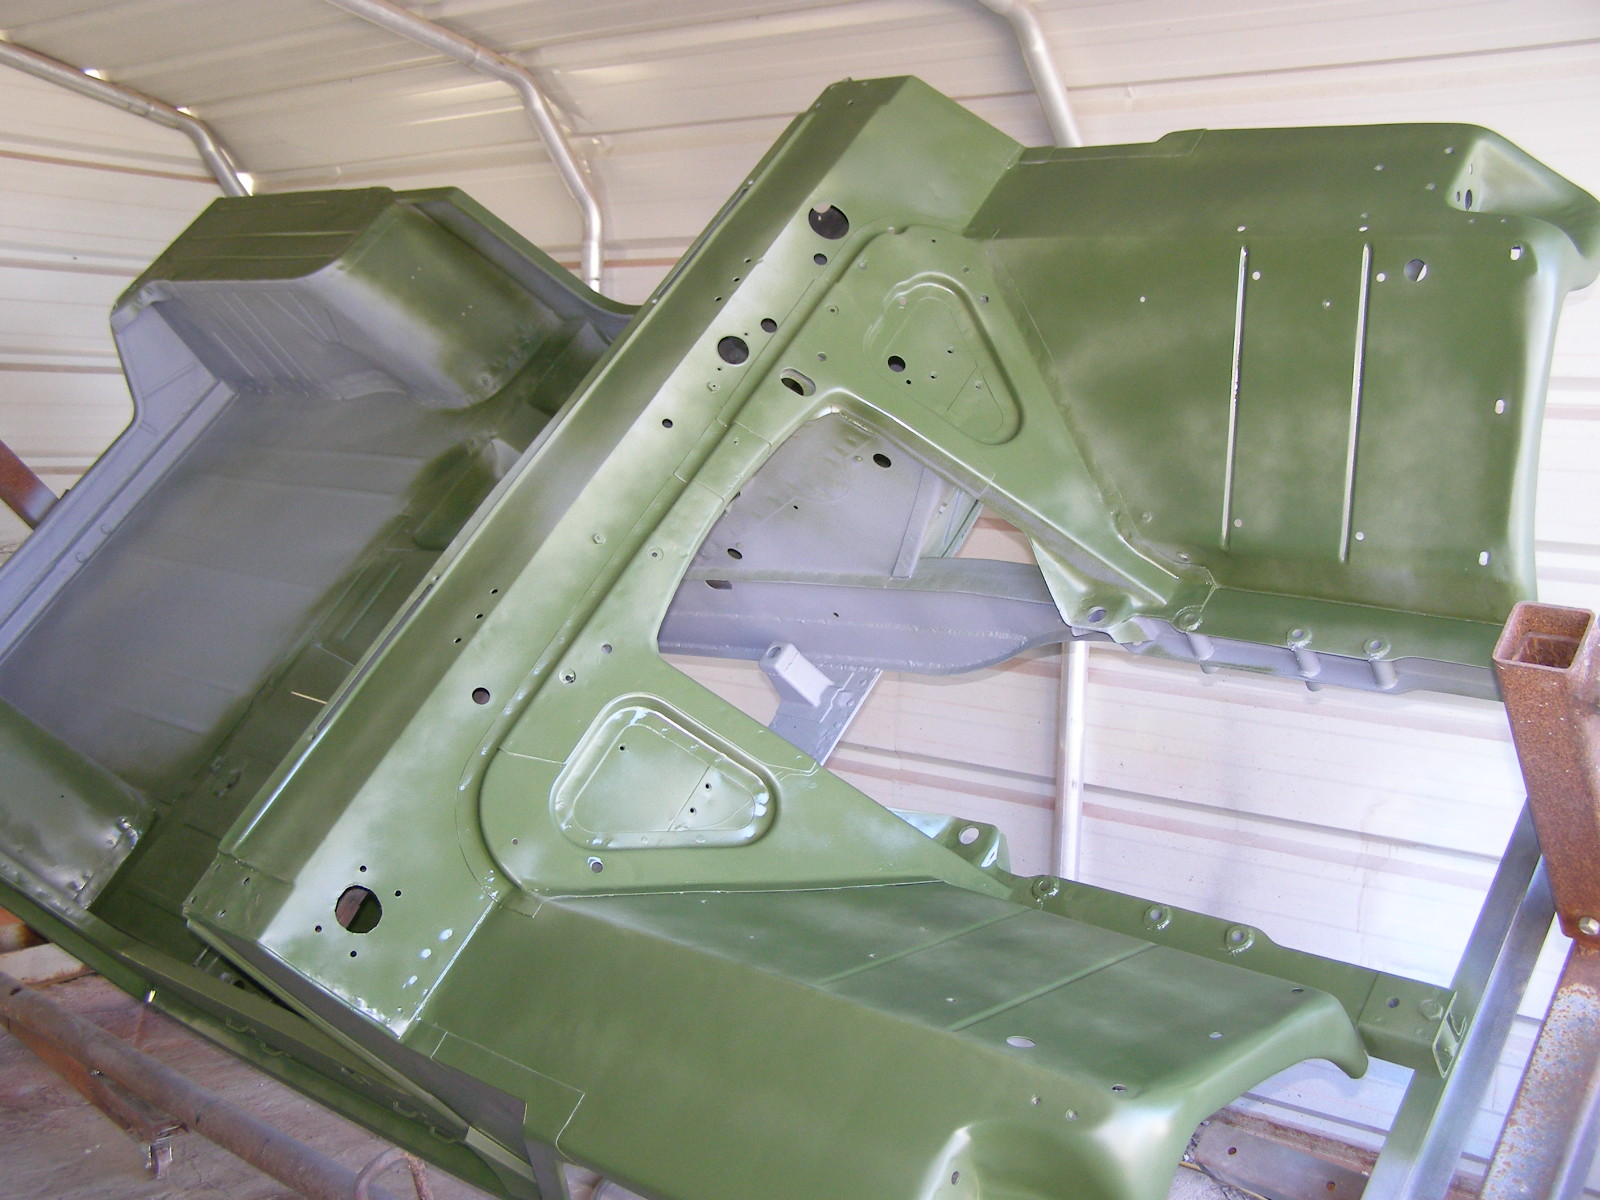
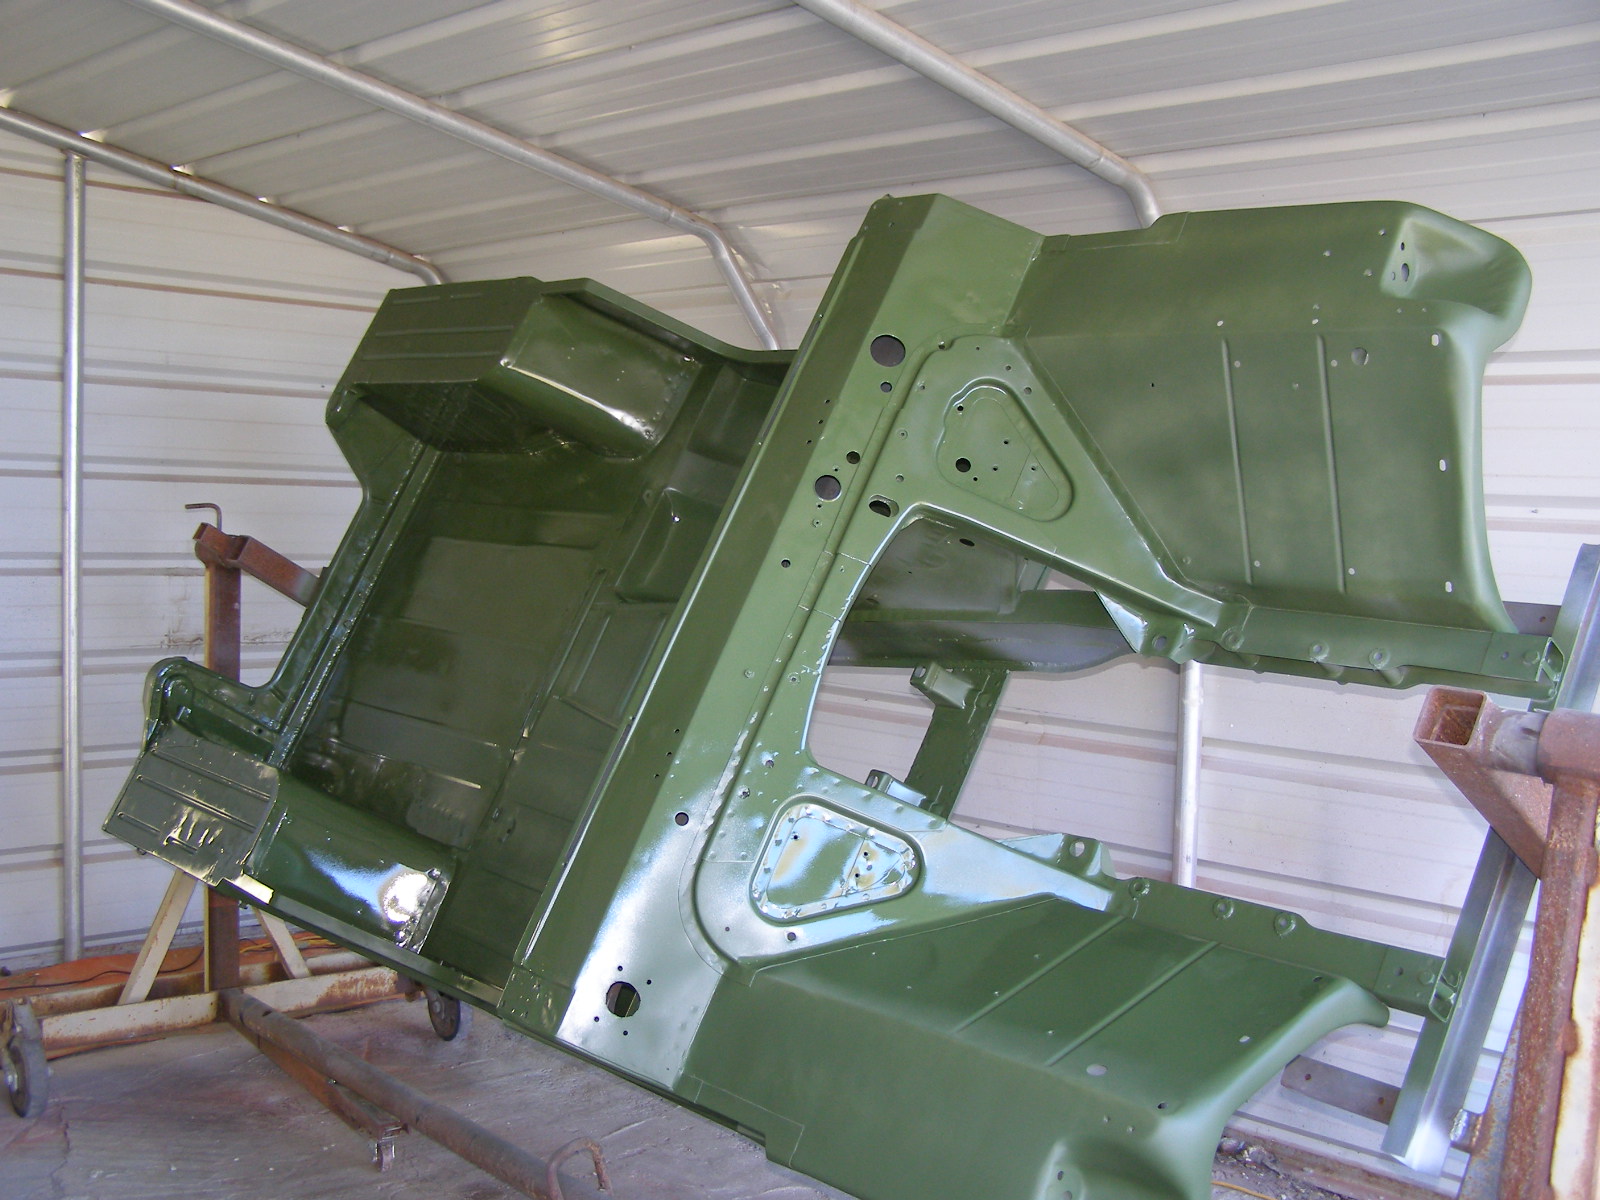
Hanging on the powder coating rack, powder primed. The under side. Just out of the oven and being picked up.
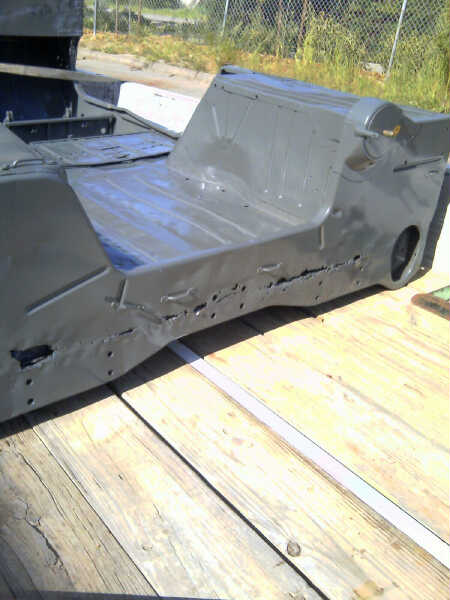
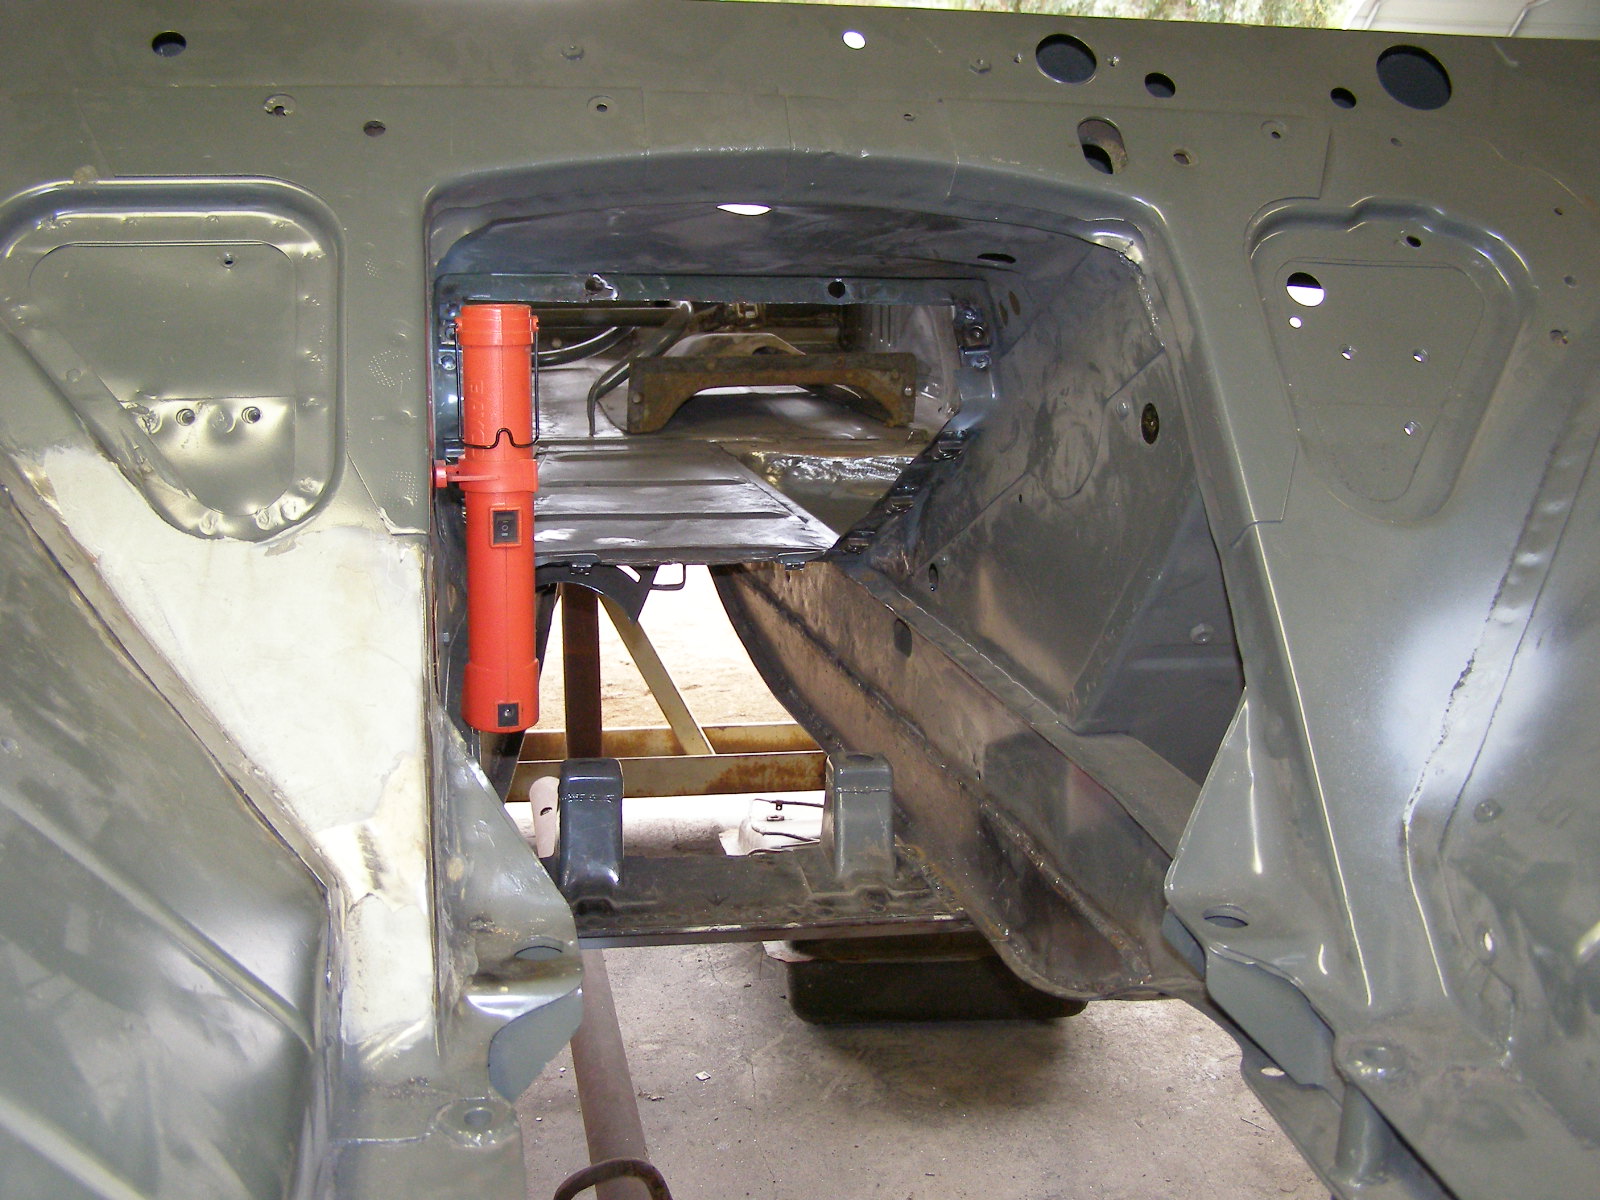
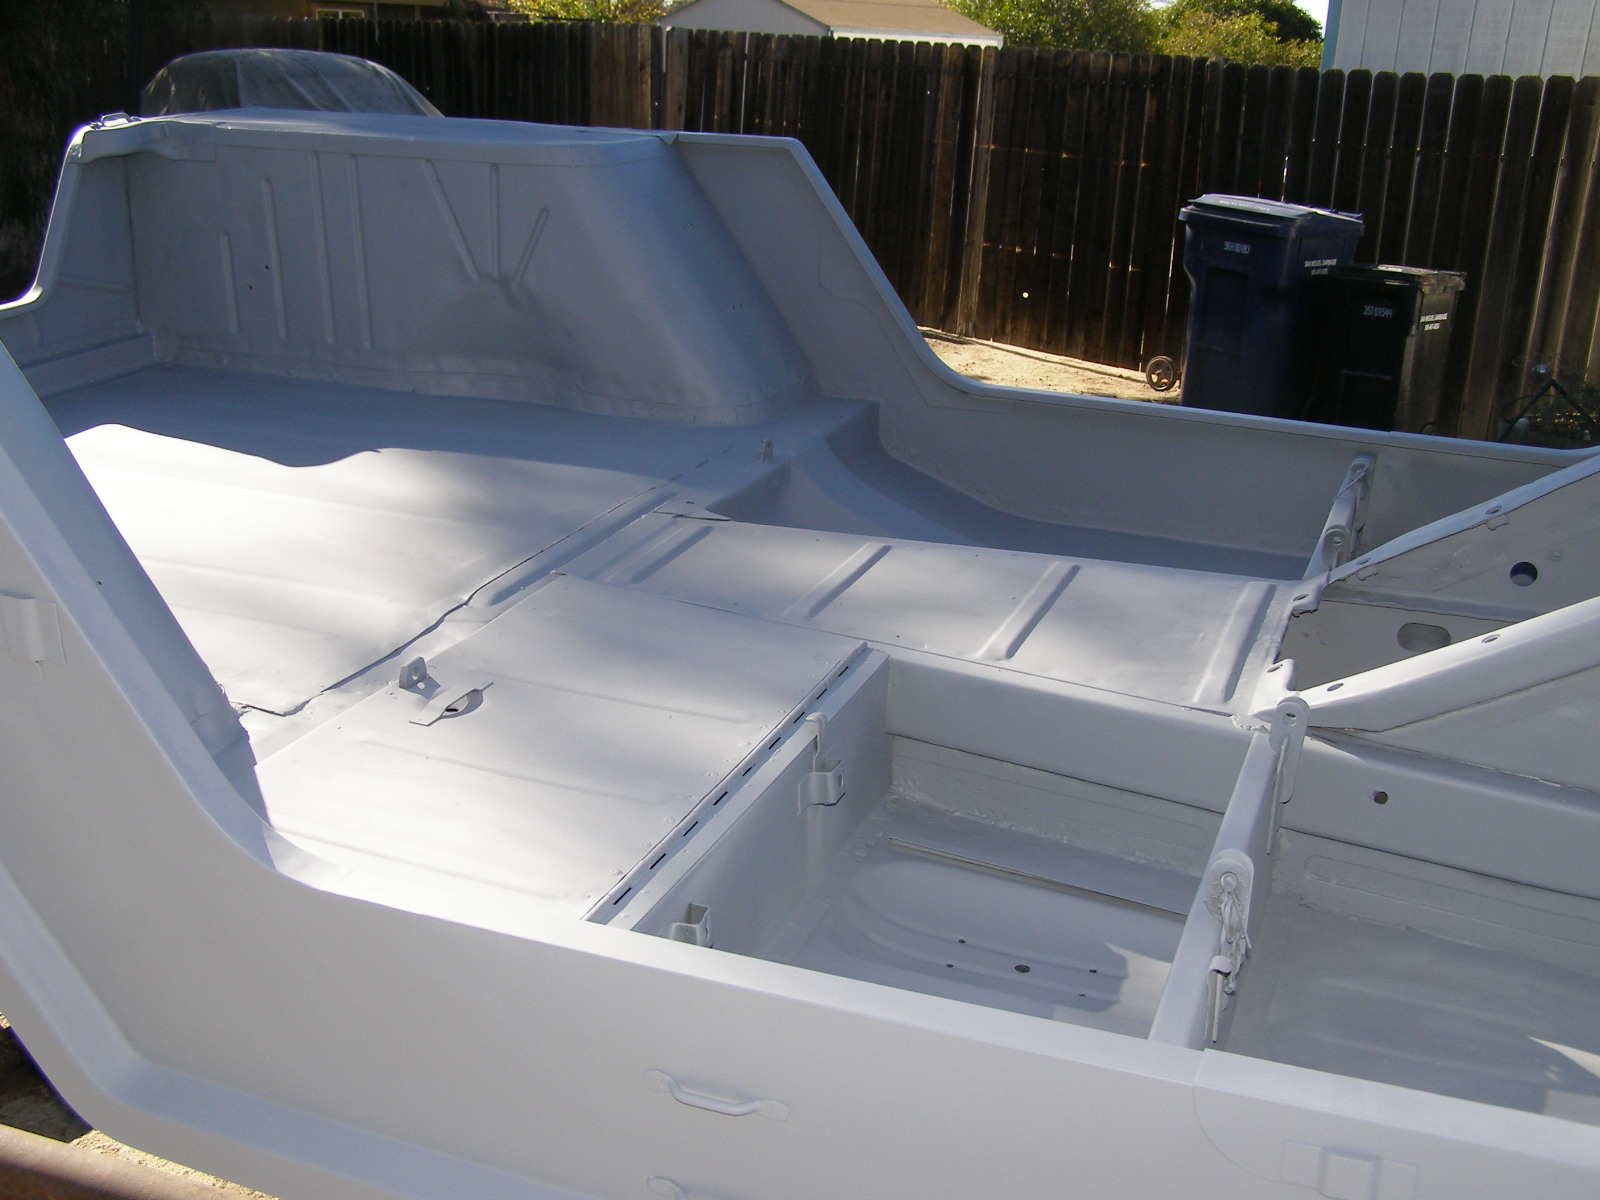
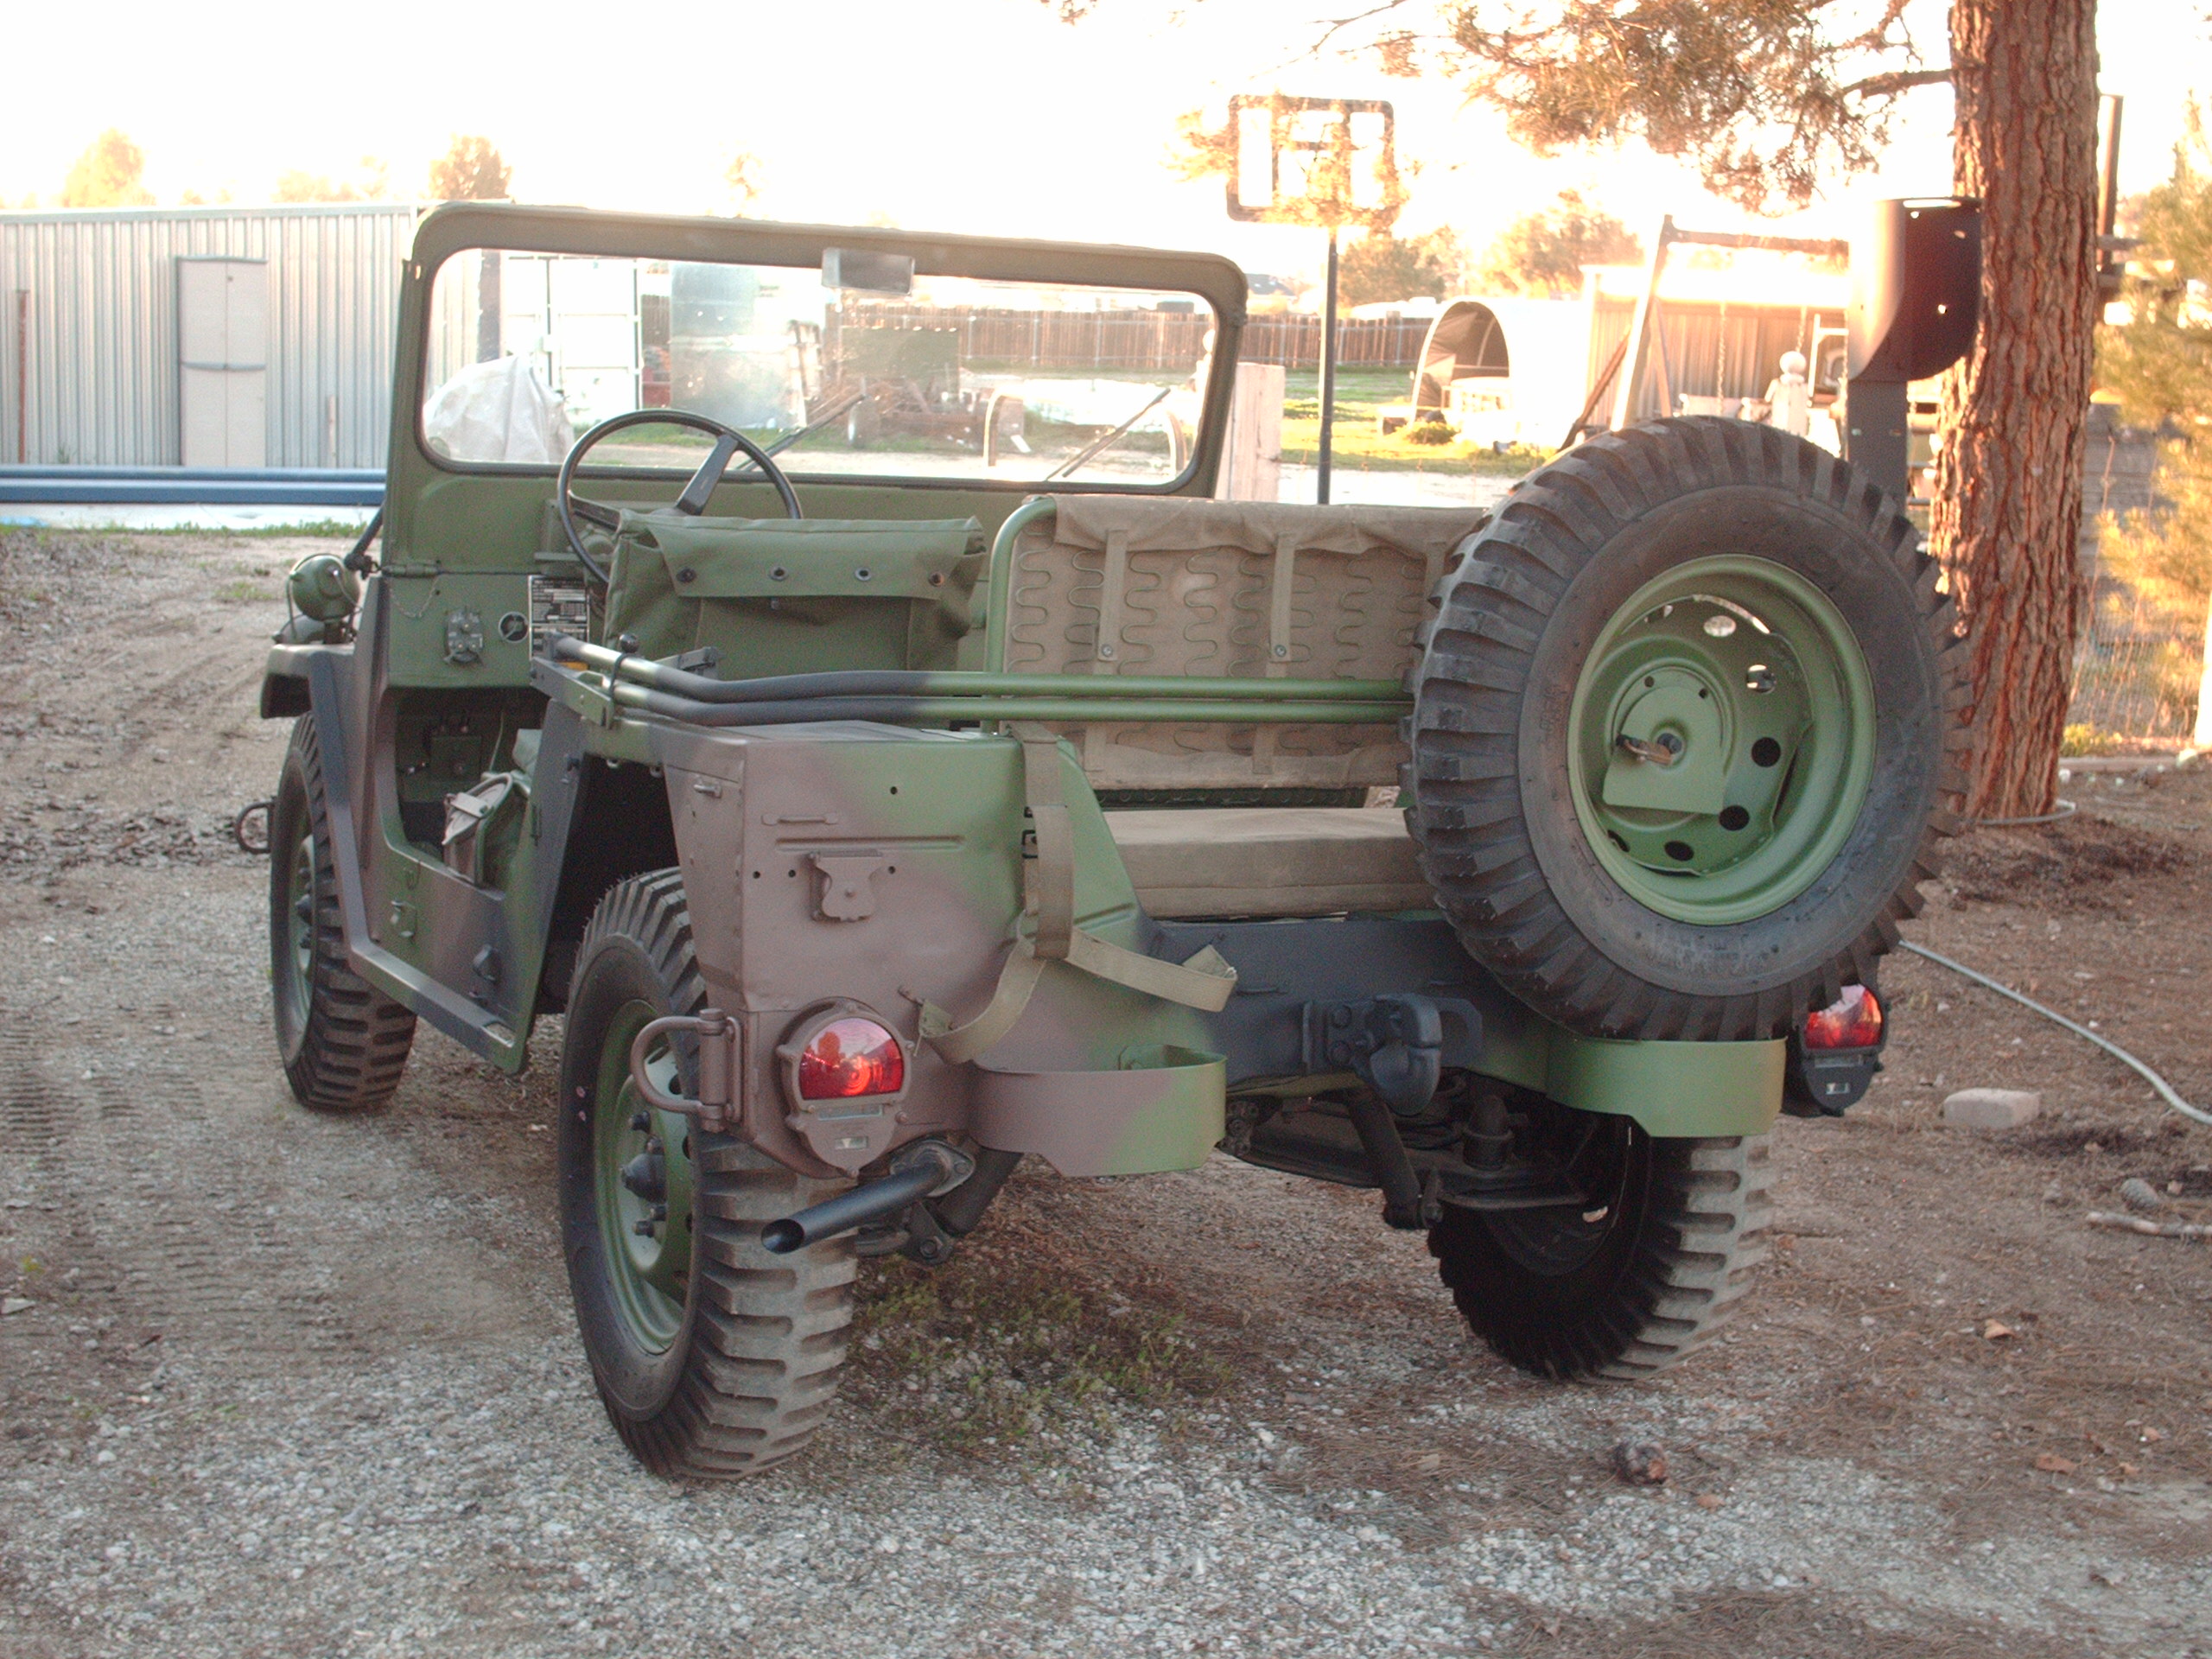
Rear area.
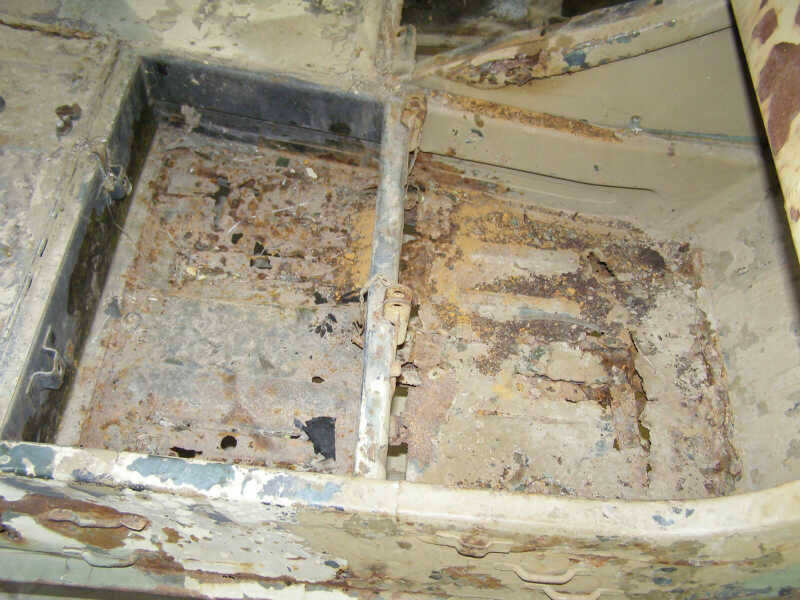
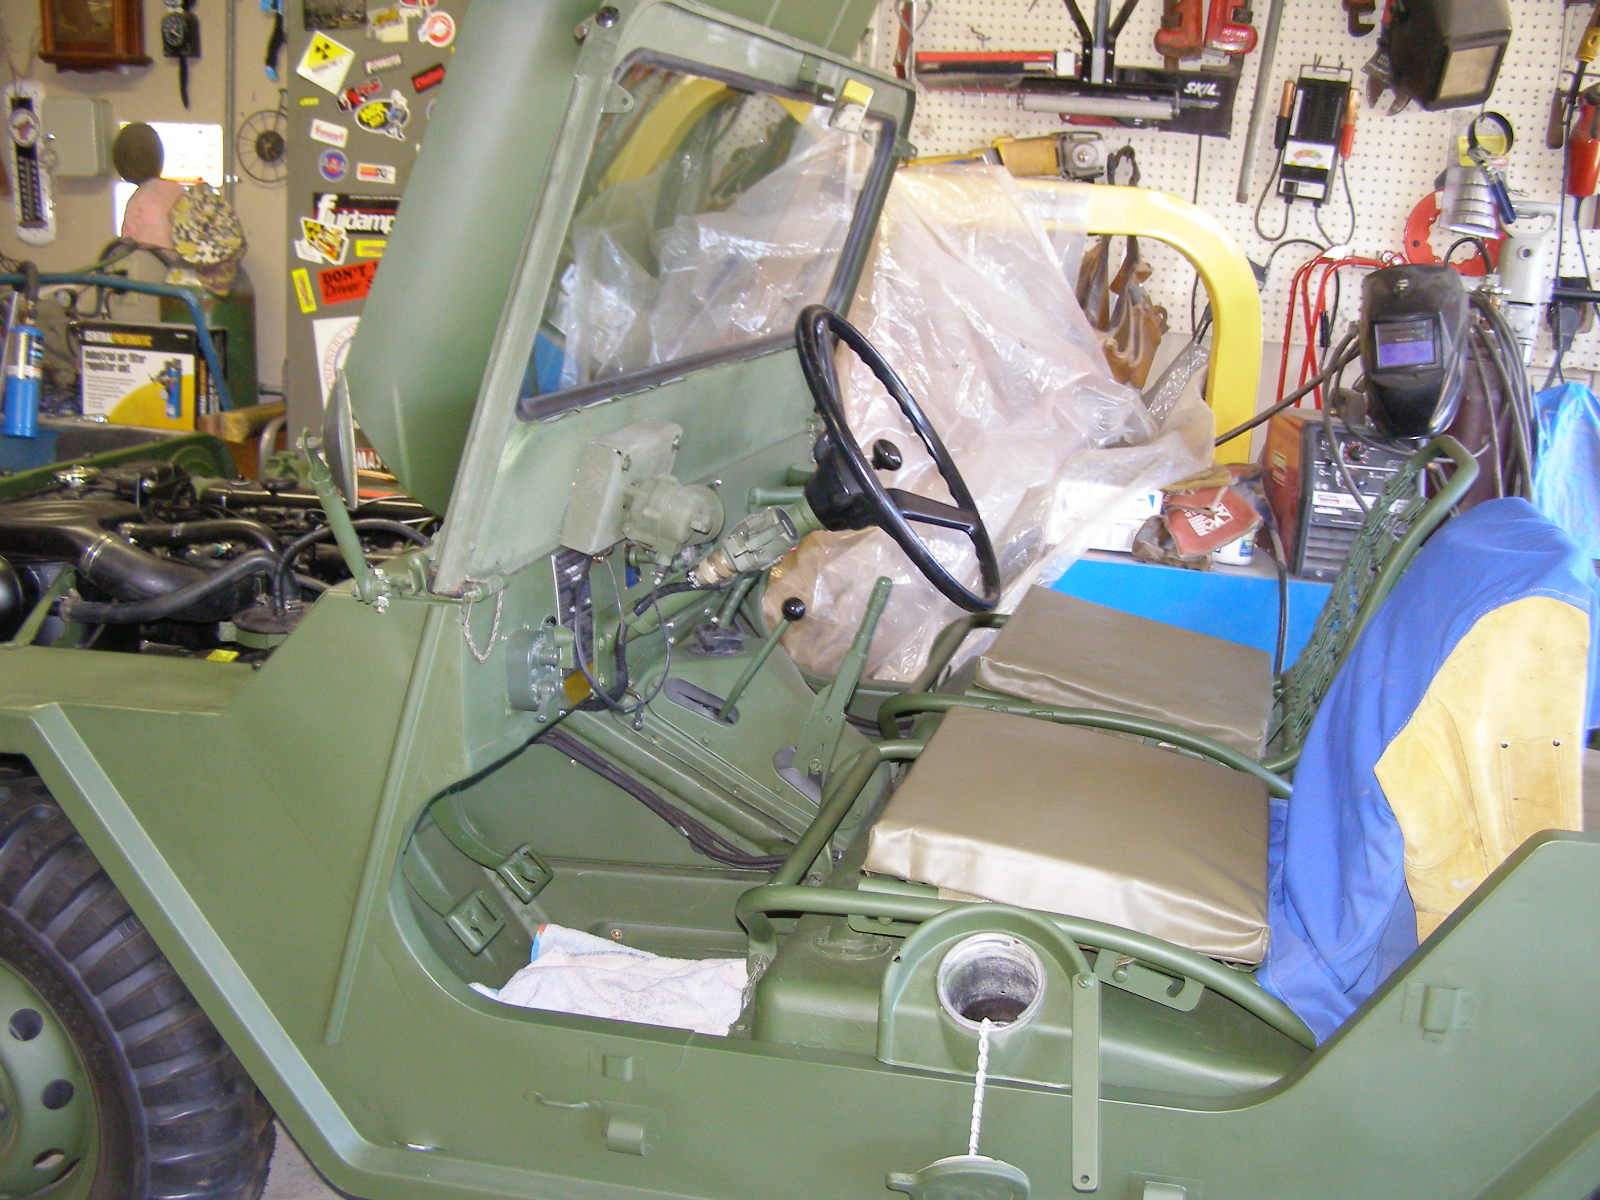
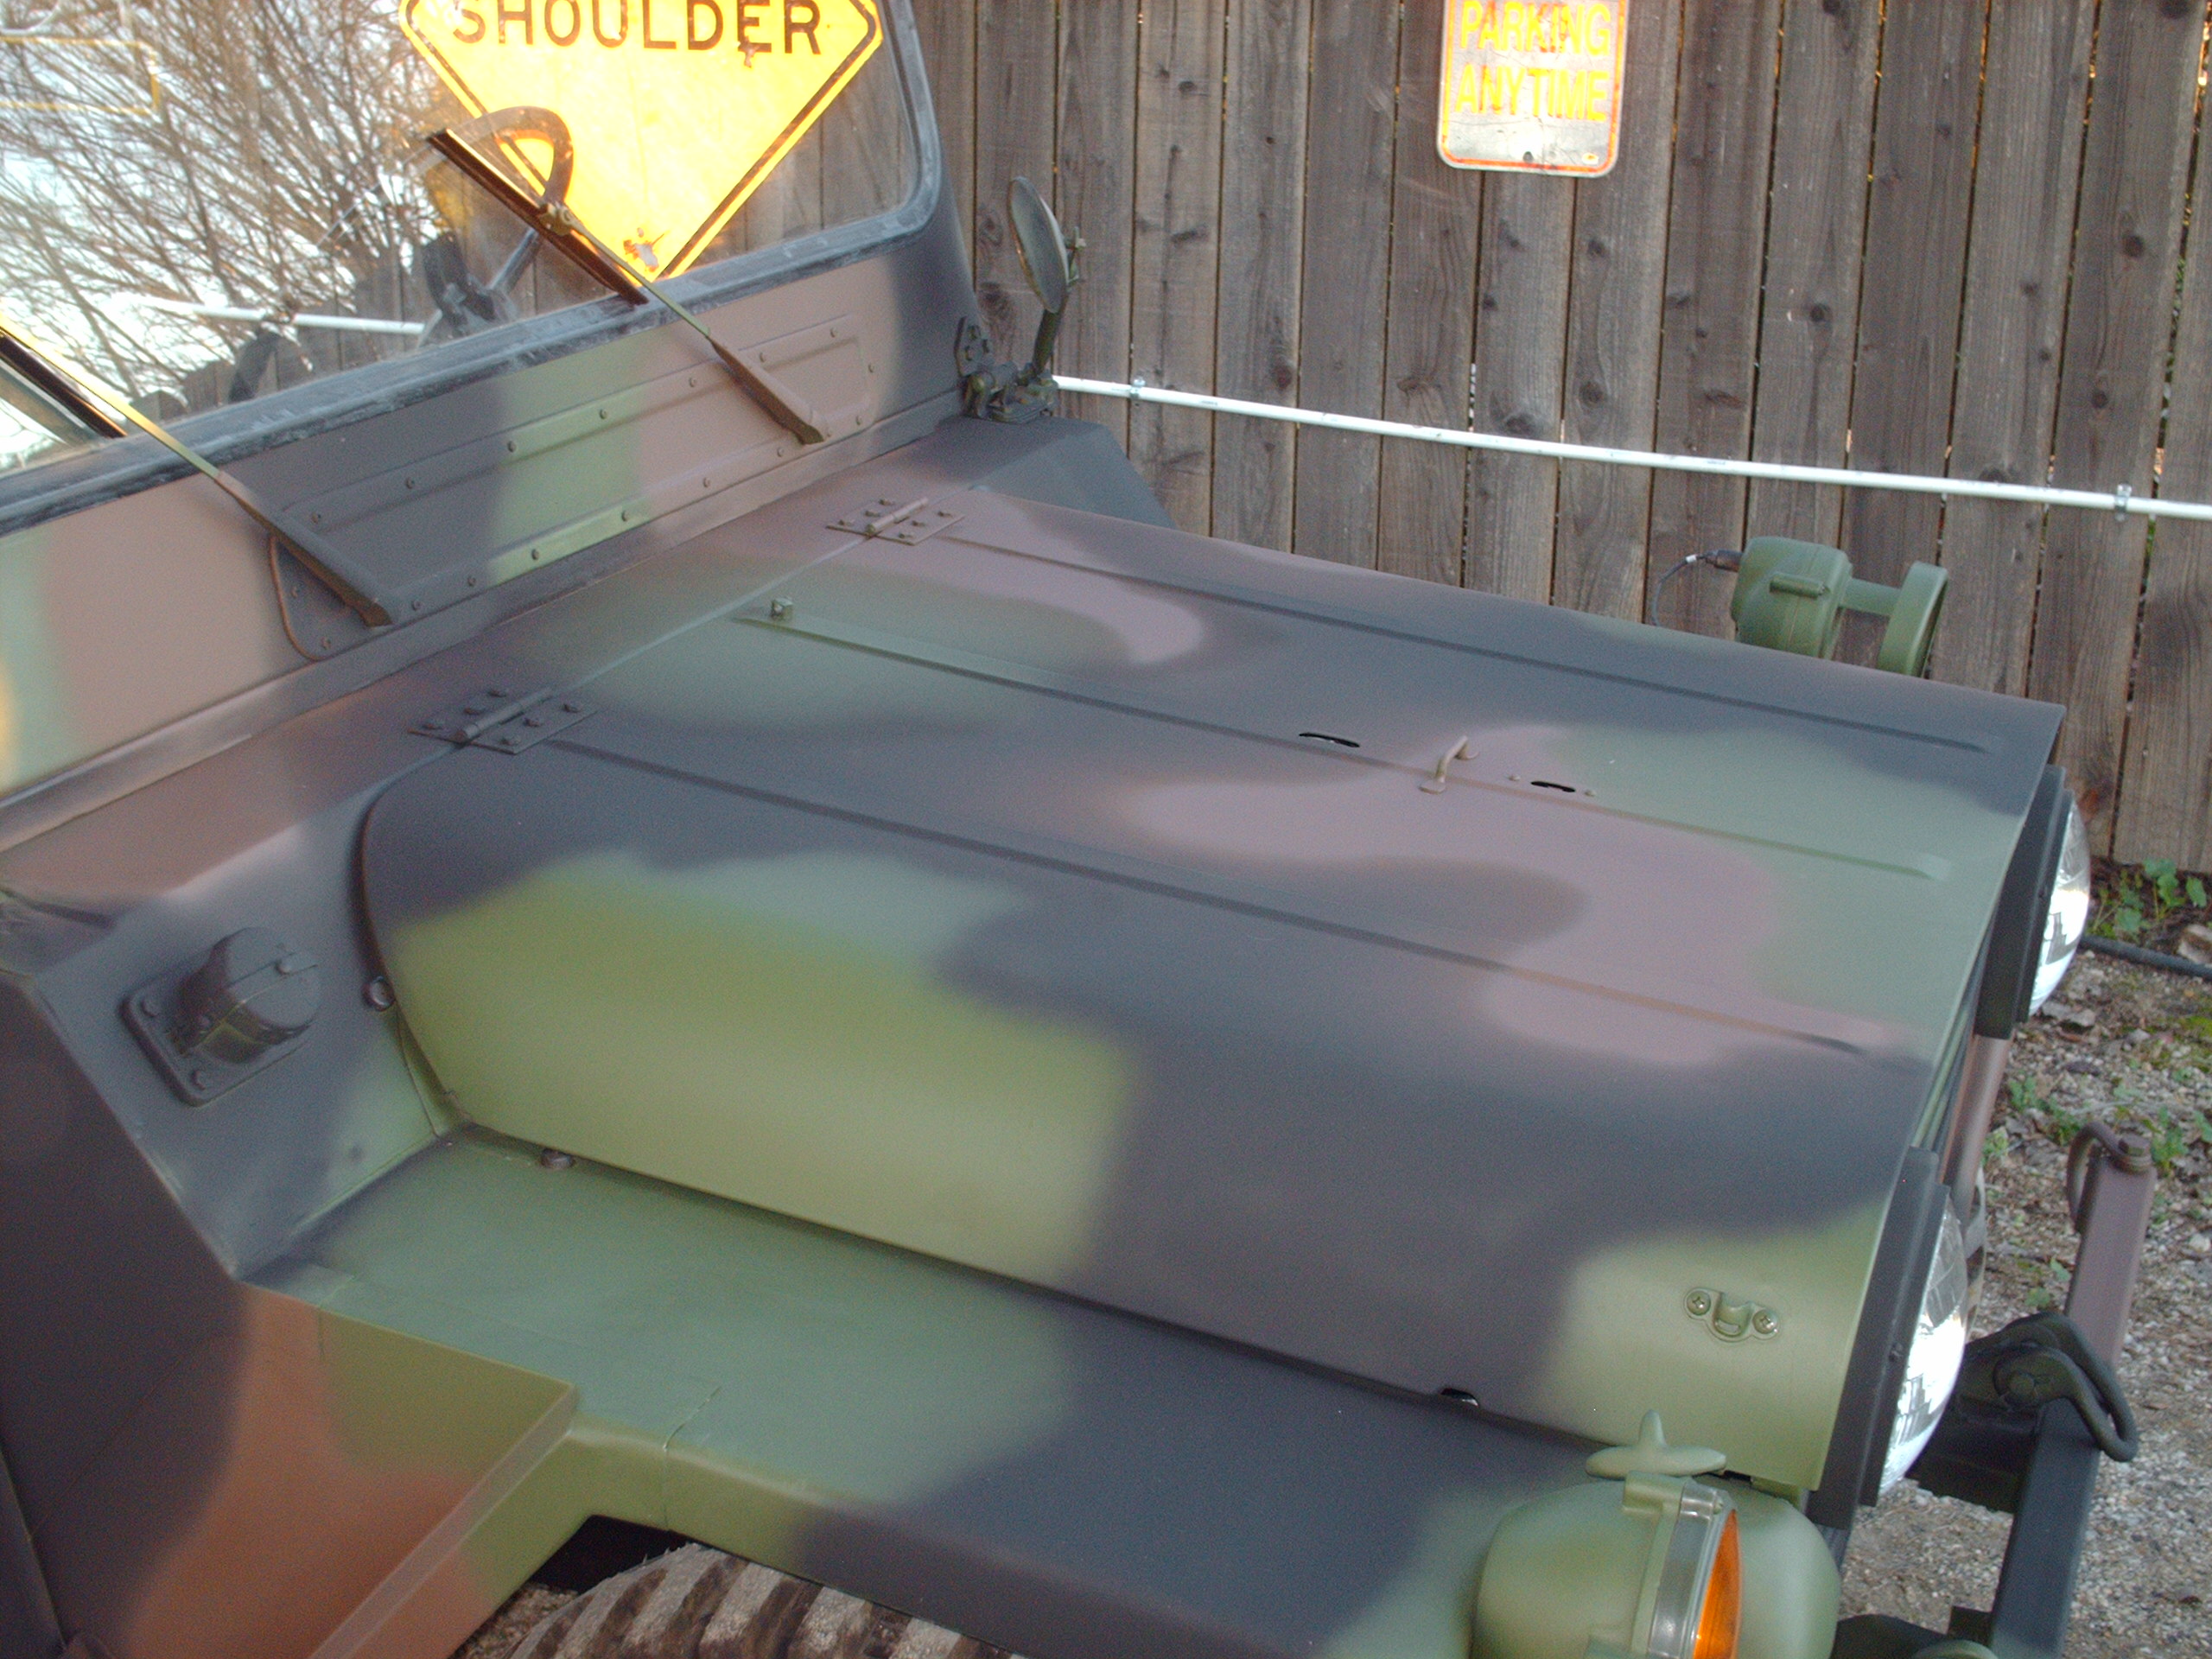
Drivers foot well and center console.
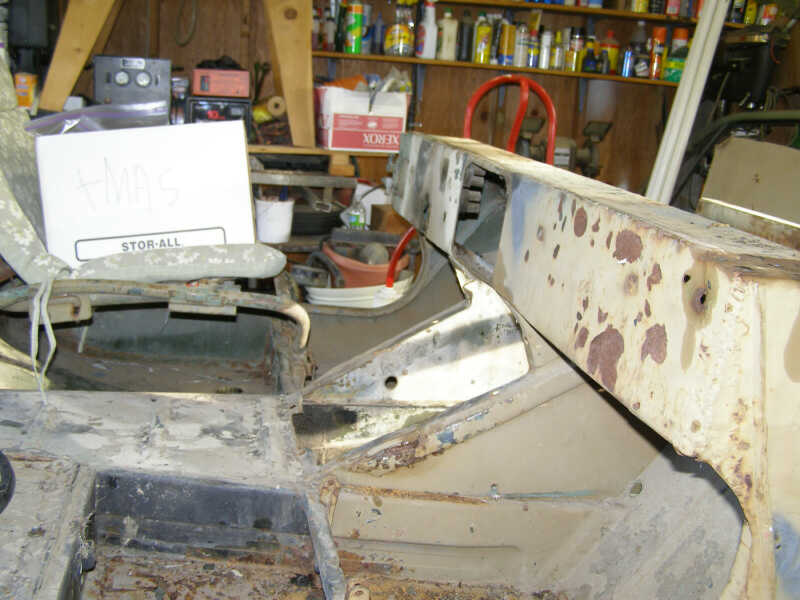
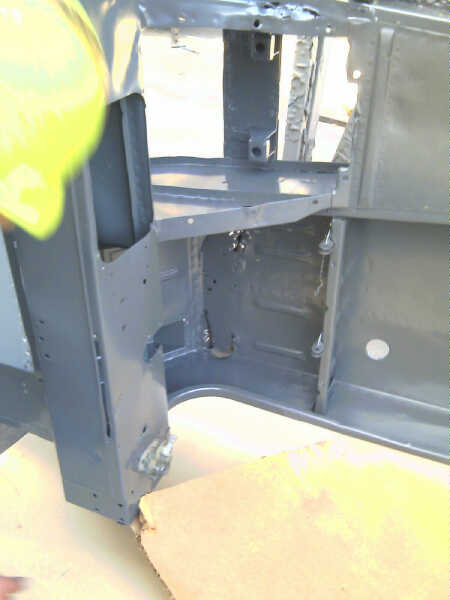
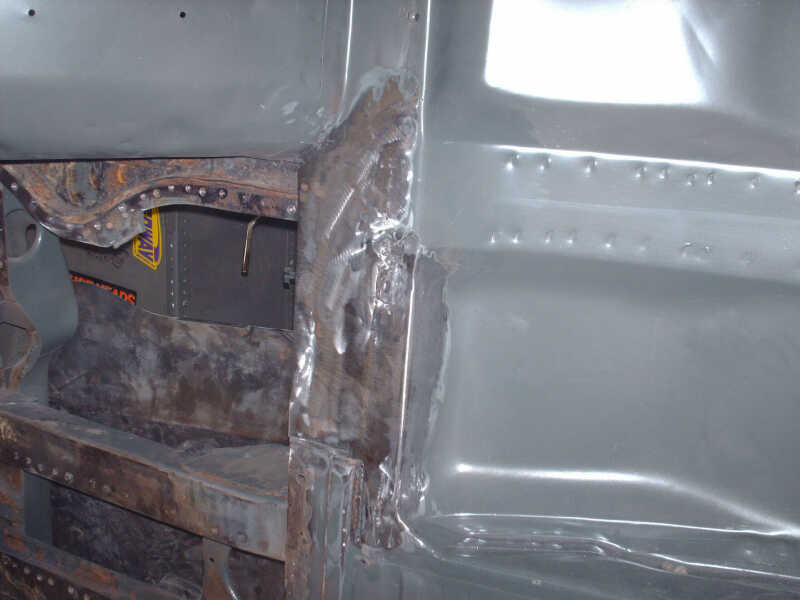
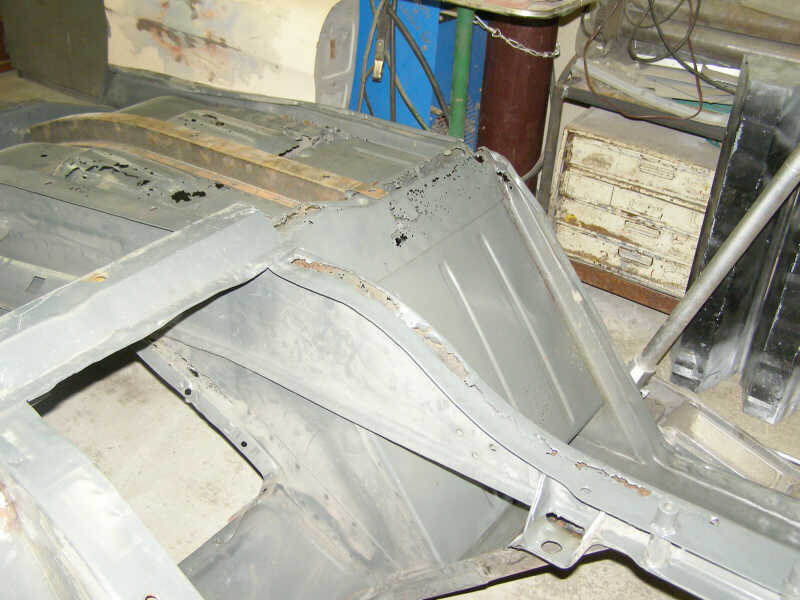
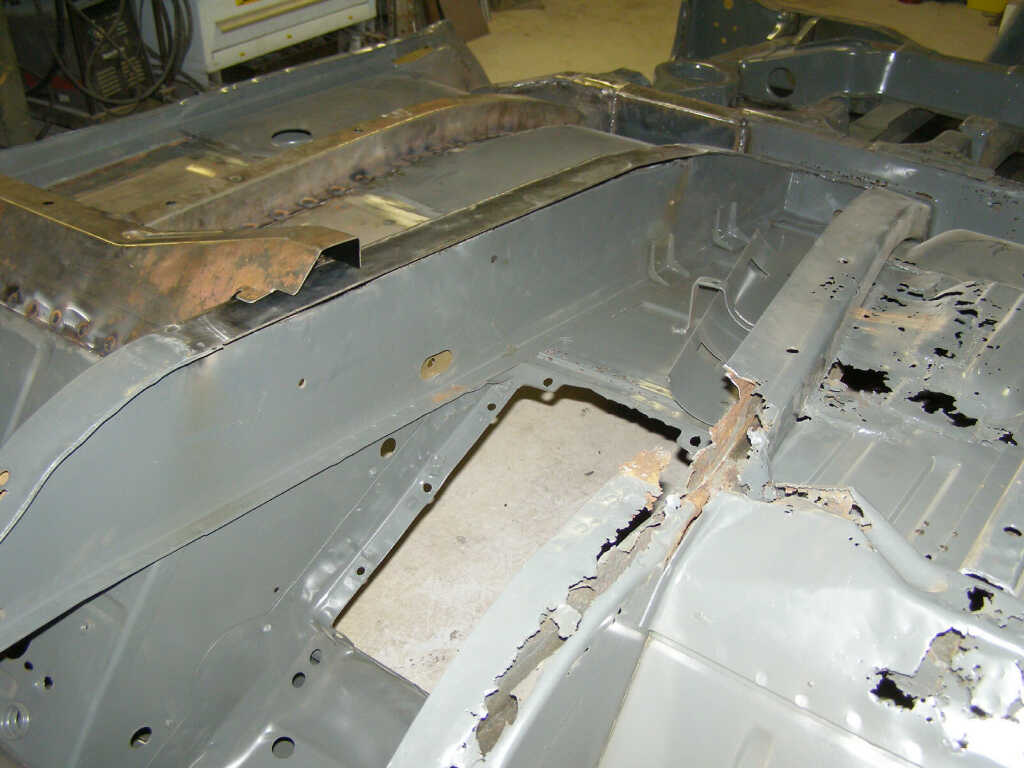
Pass side footwell, battery box and tool box, Swiss Cheese, just a few more rough spots.
July 24th, 2010 Update
November 28th, 2010 Update
Febuary 6th, 2011 Update
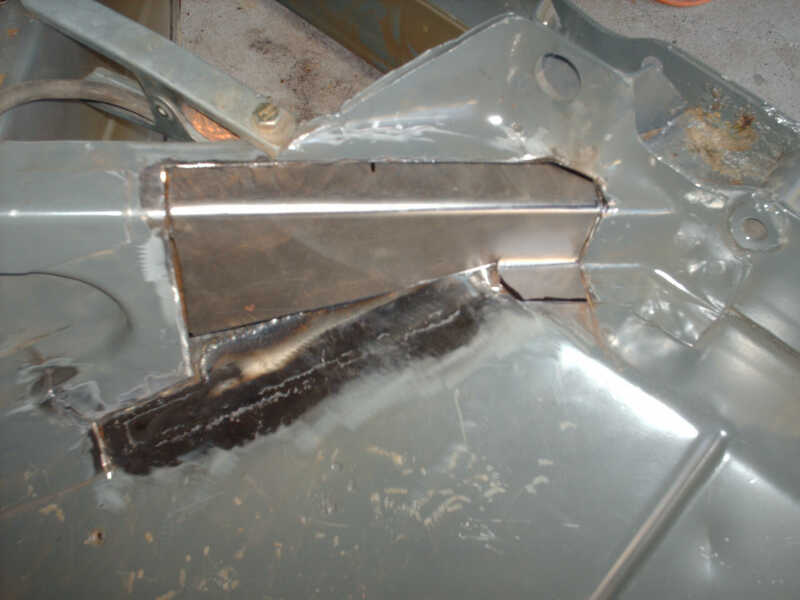
Cancer cleaned up new piece installed
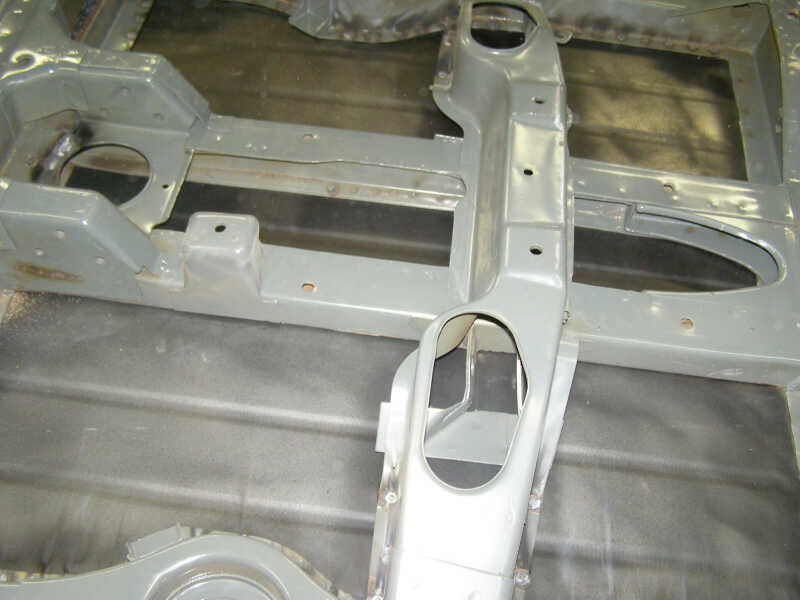
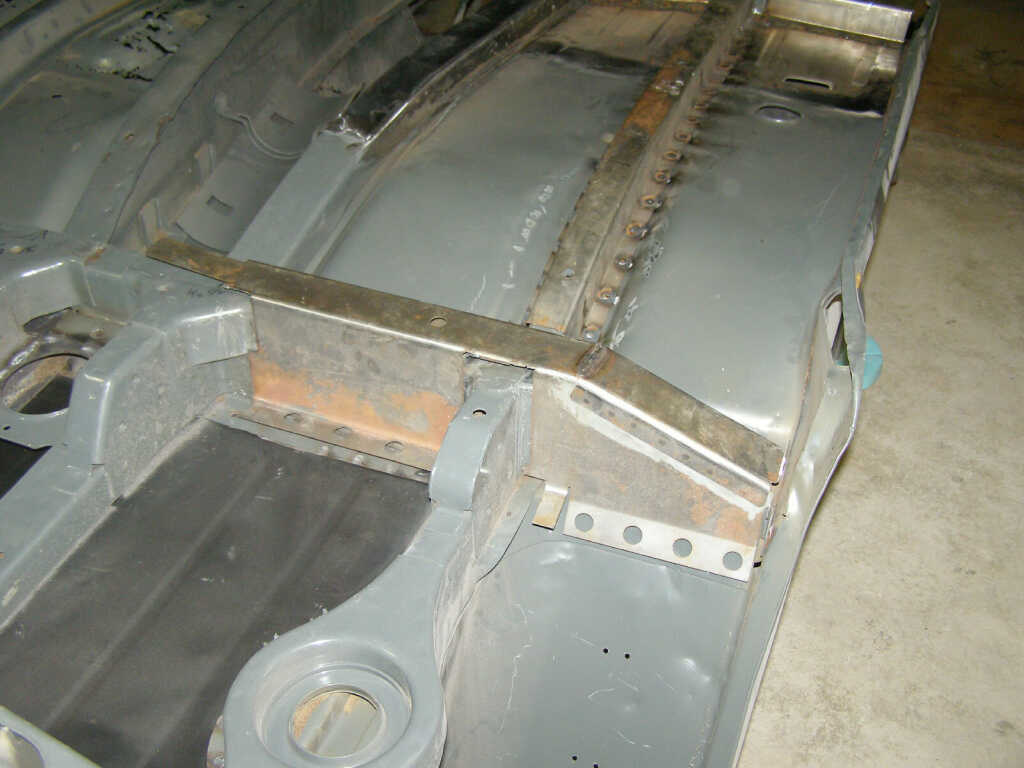
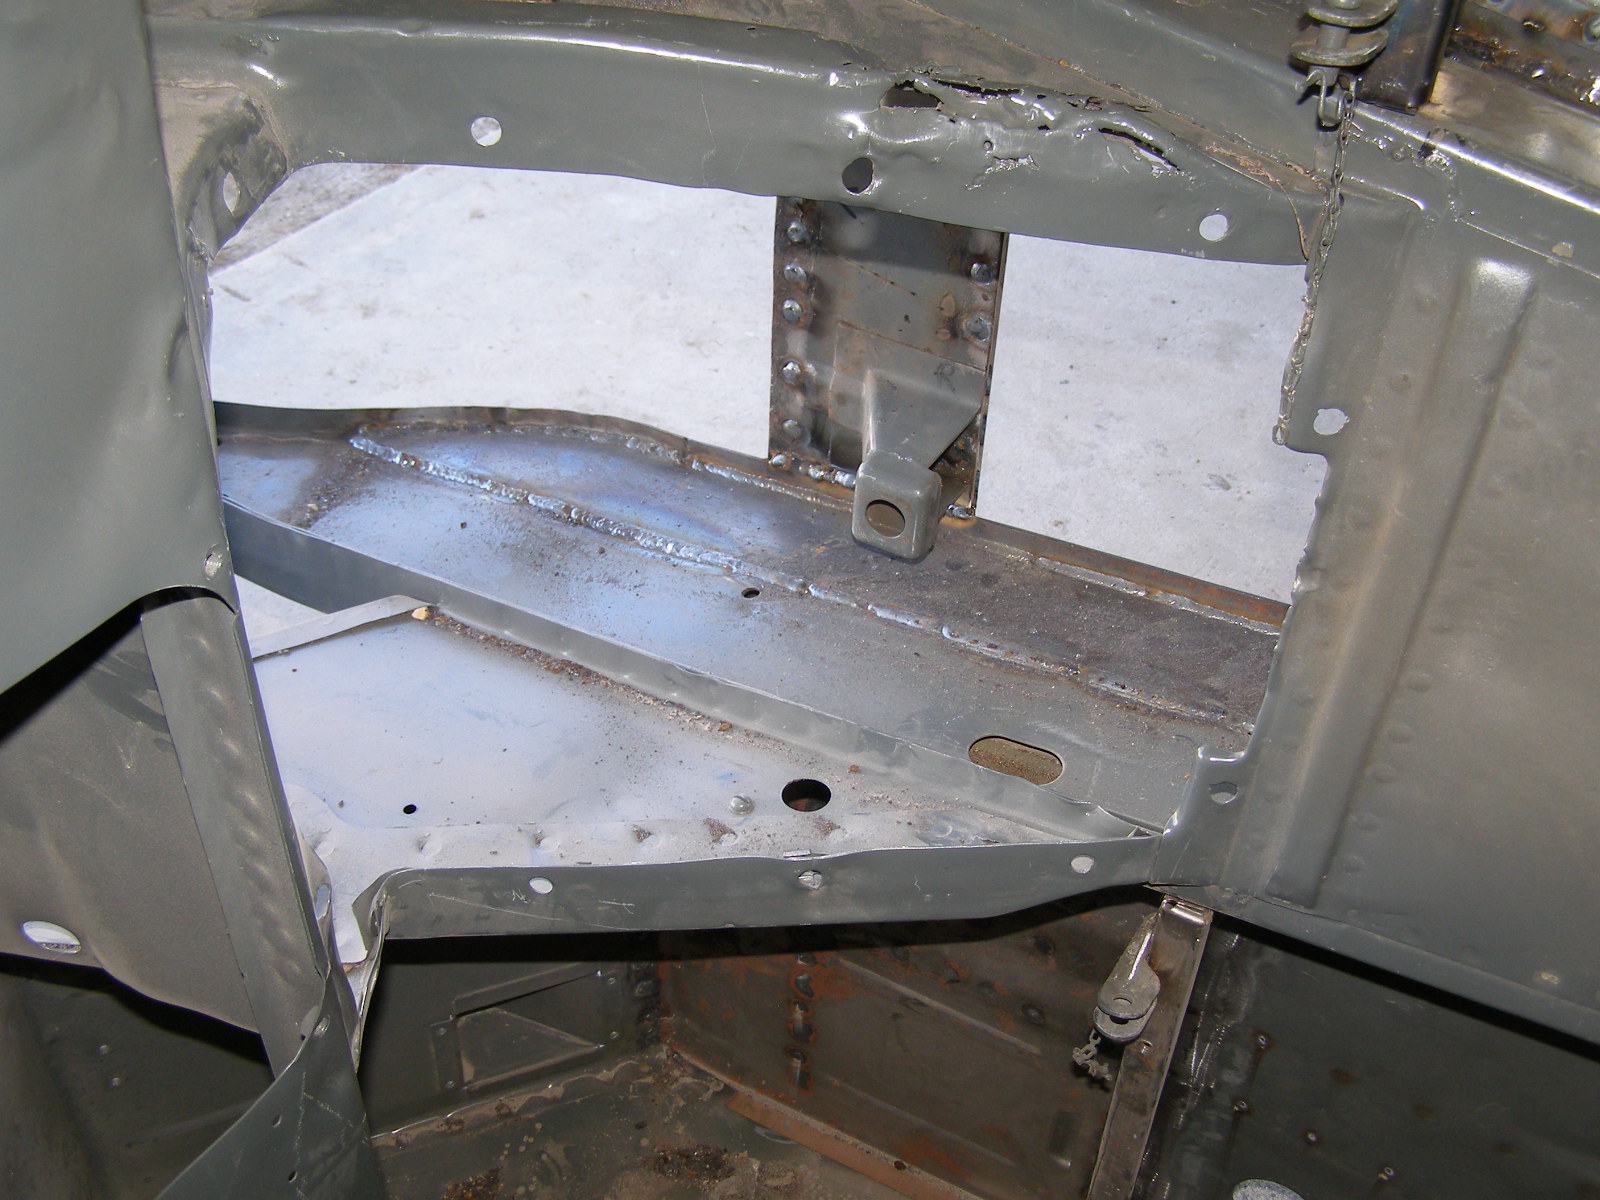
Crossmember
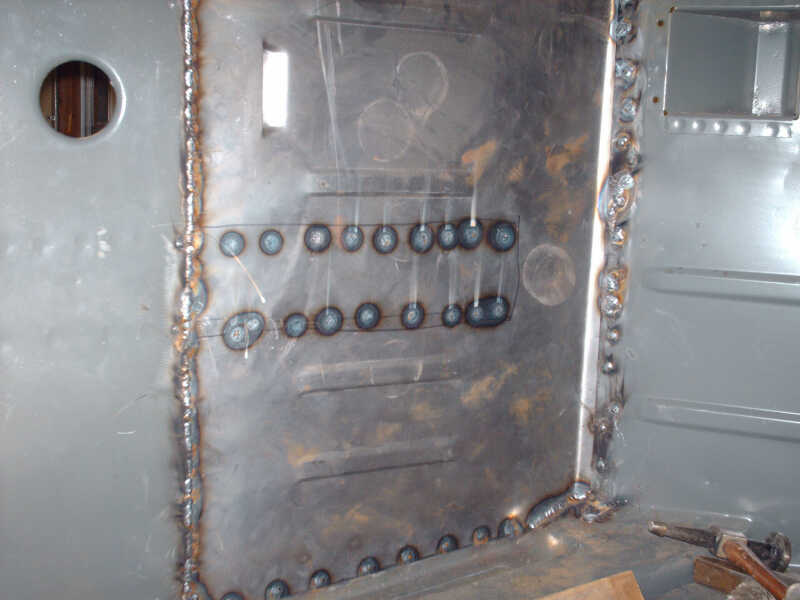
Rear floor welded in

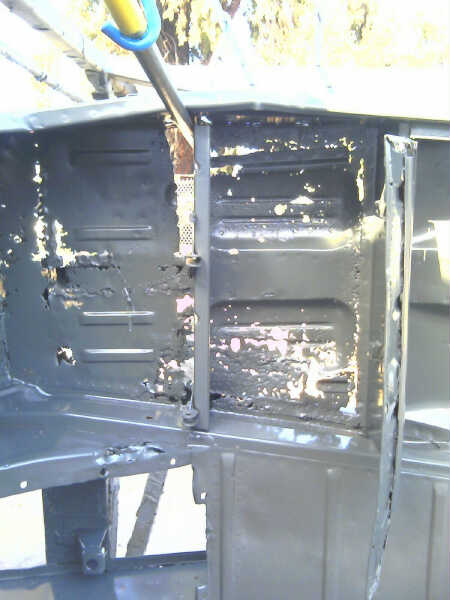
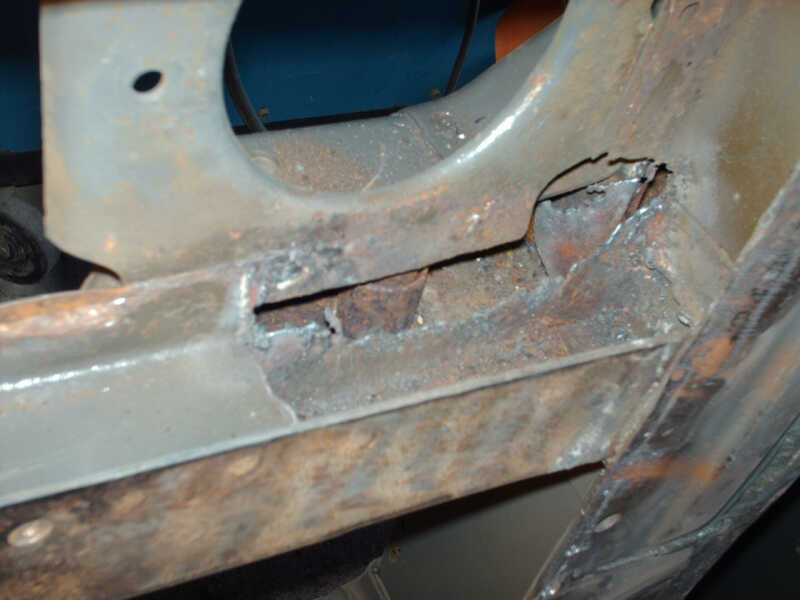
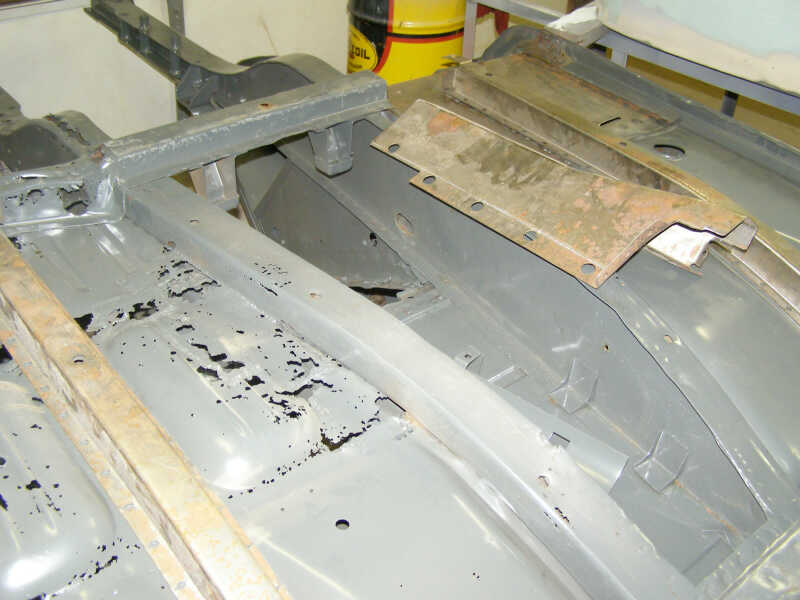
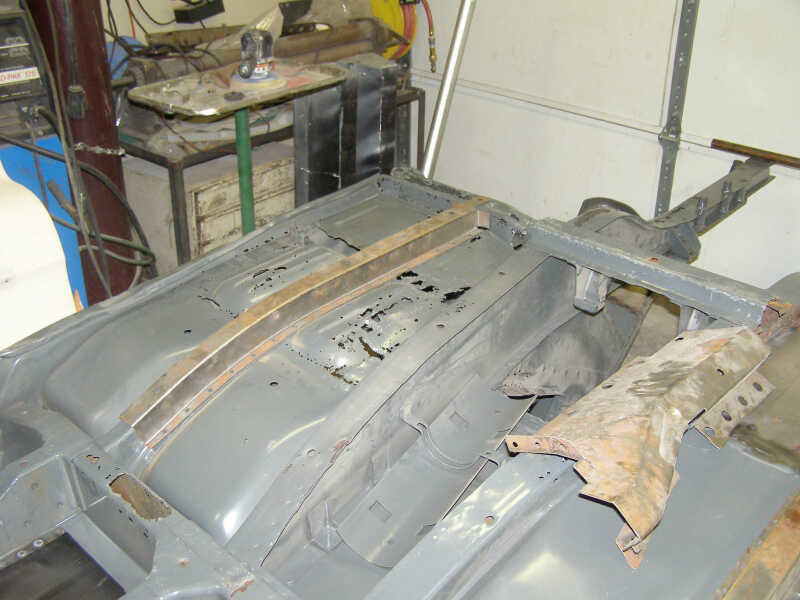
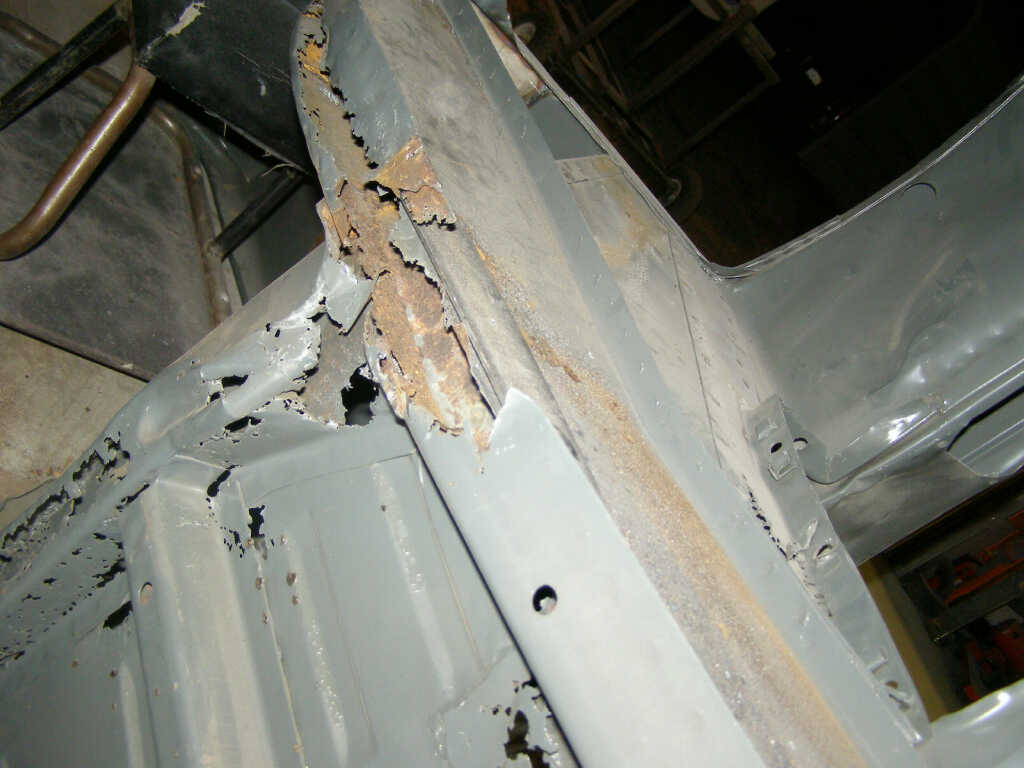
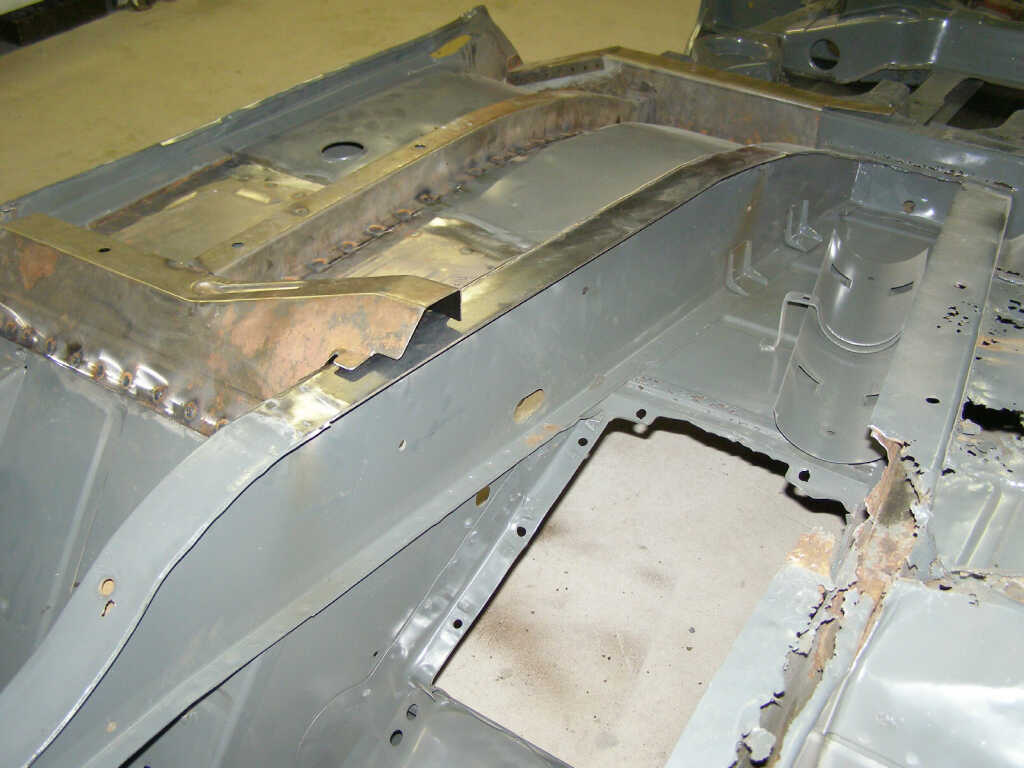
Lots of cancer to be cleaned out

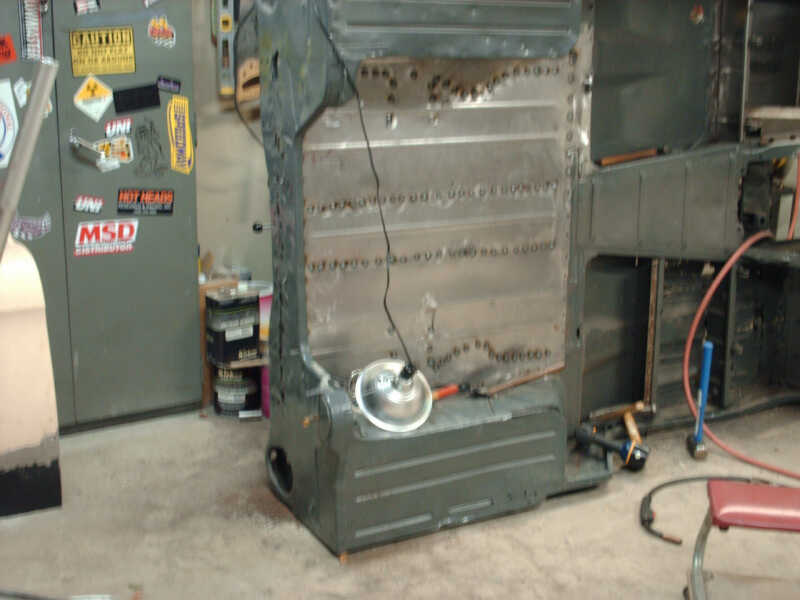
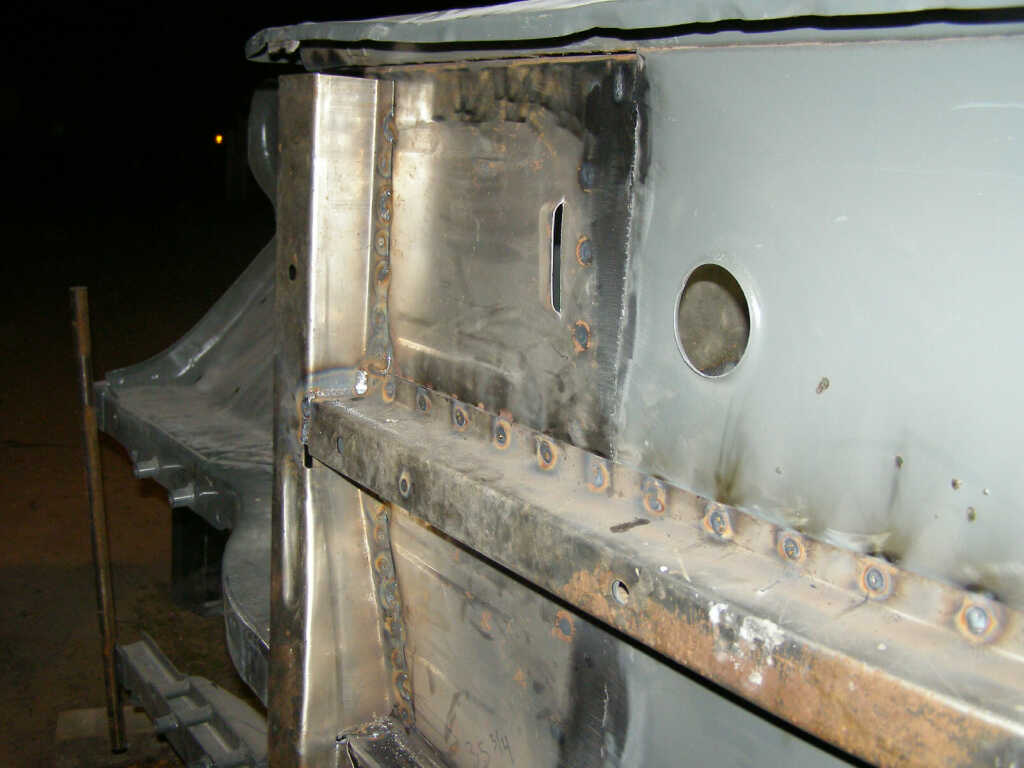
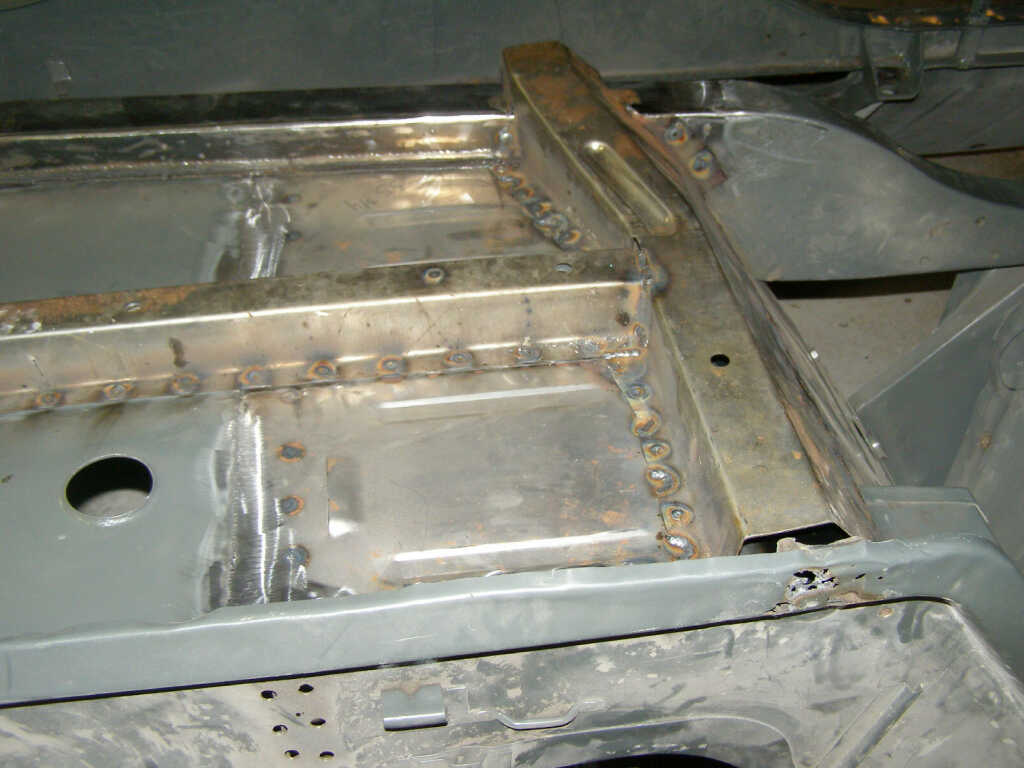
Rear floor drilled for install and welding
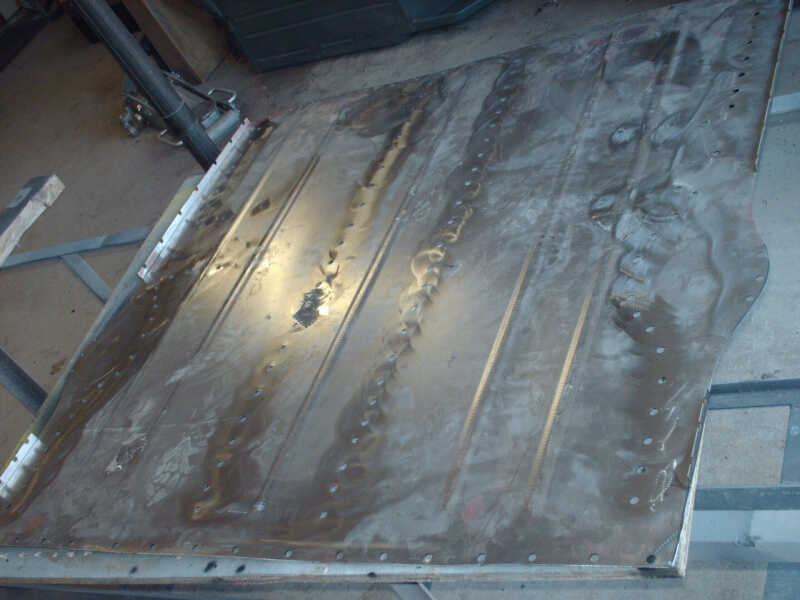
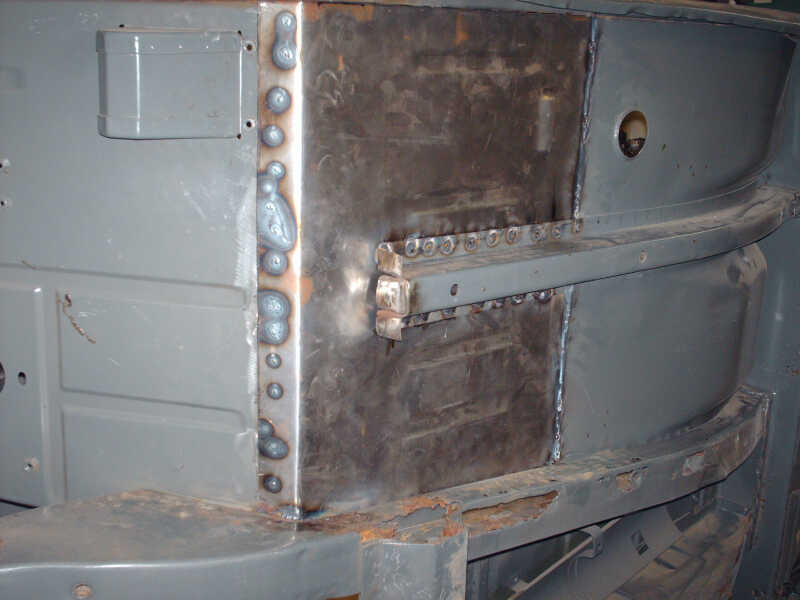
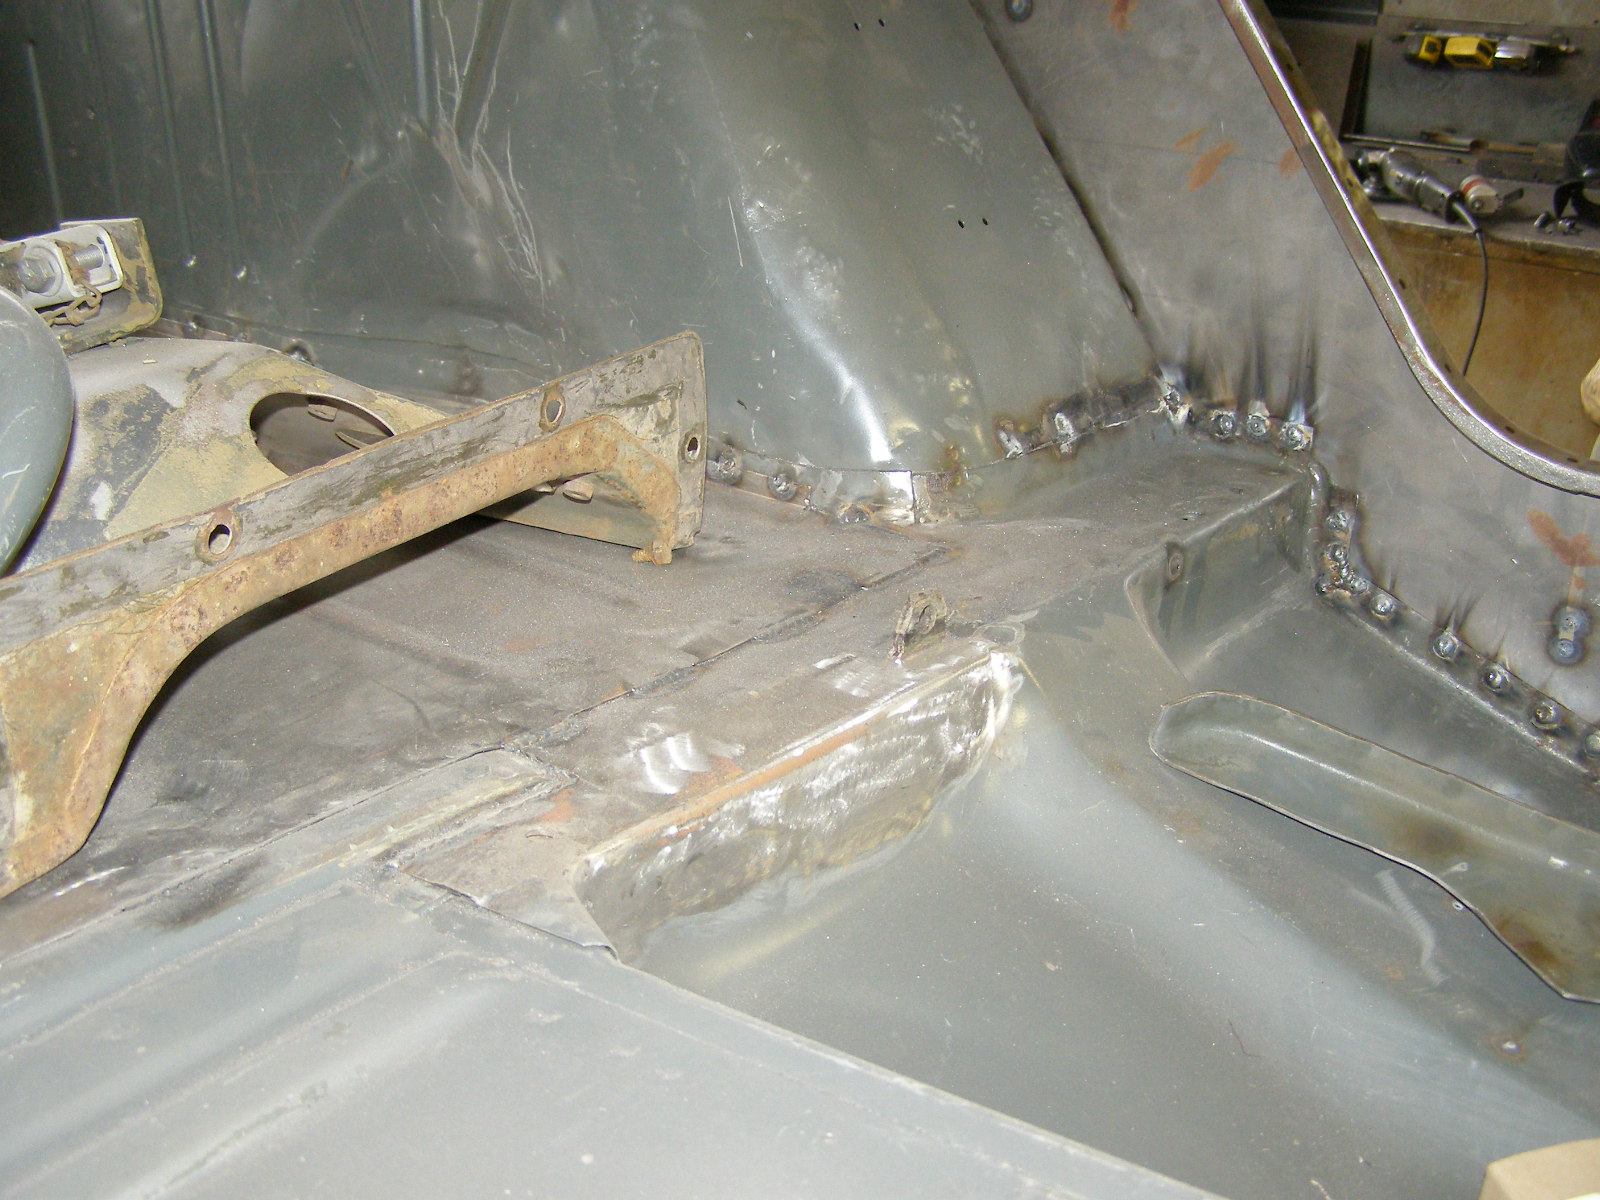
Floor with under body kit welded in place over repaired panel.
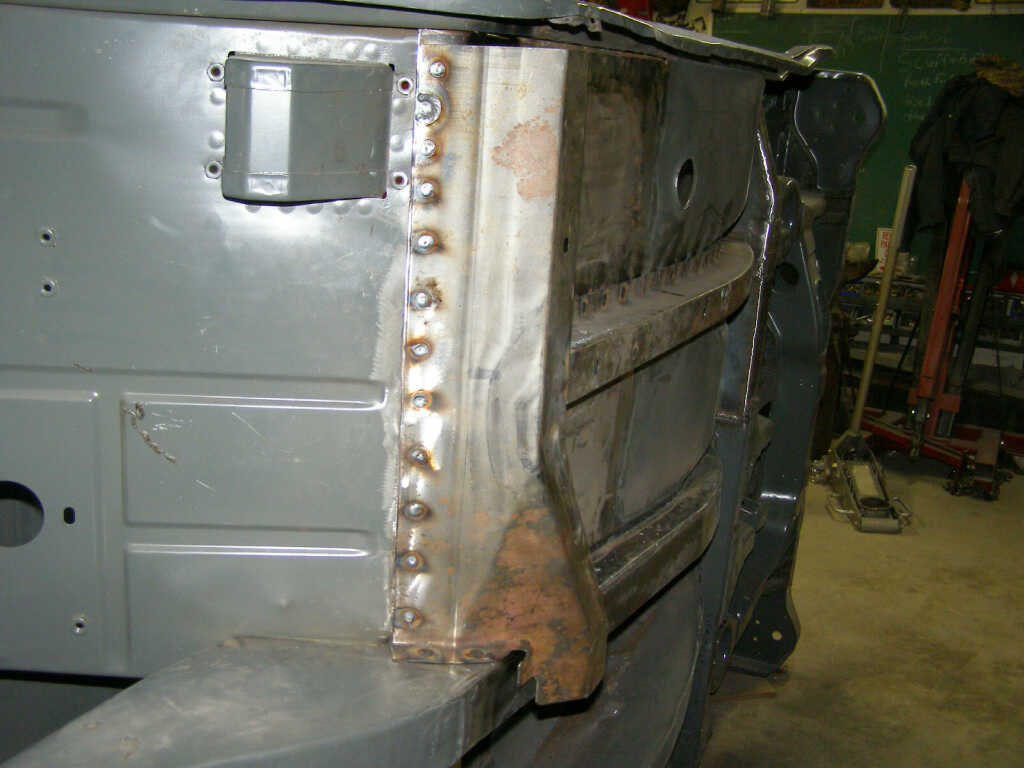
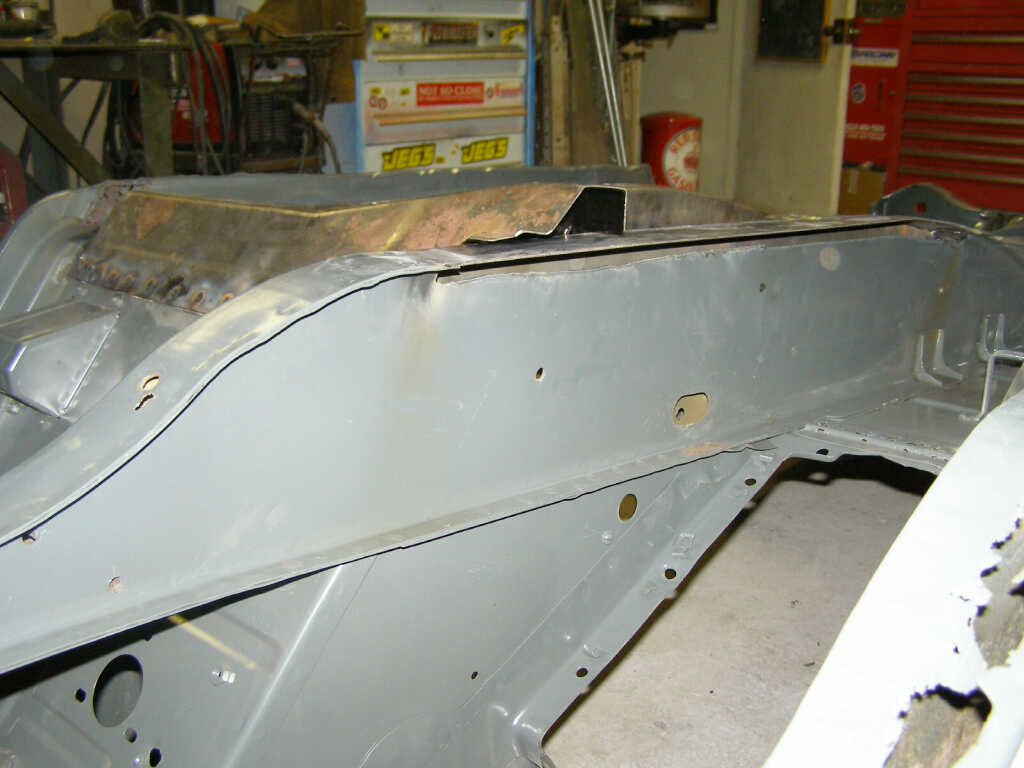
Rail repaired waiting for under body panel to be installed over it.
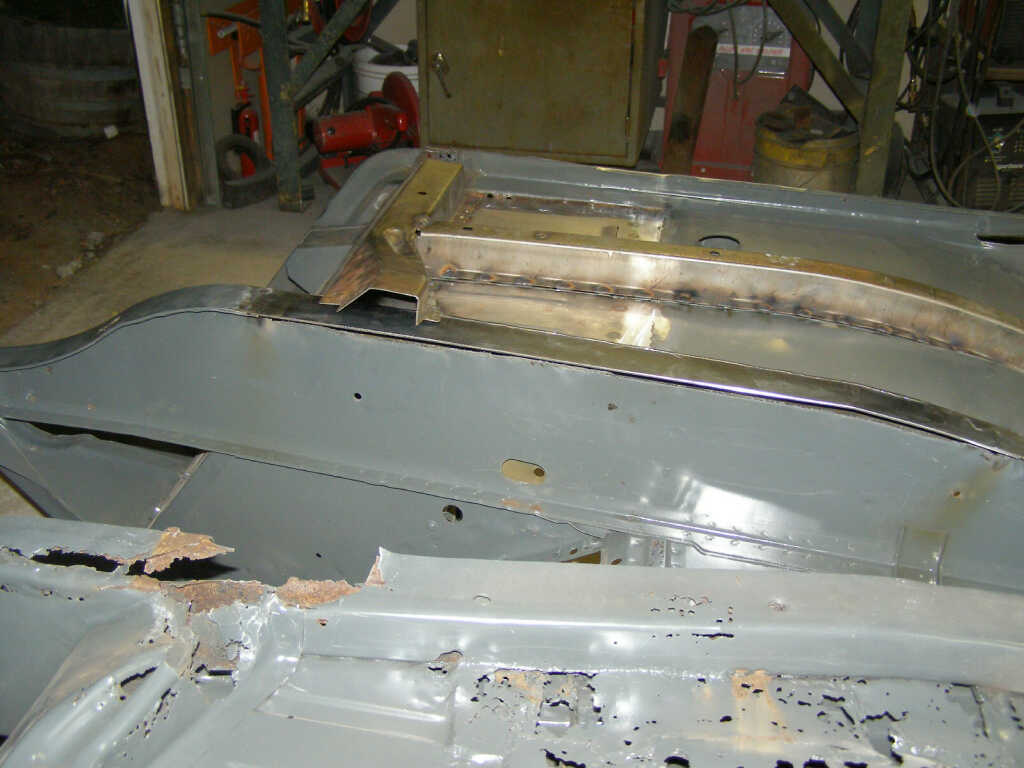
Repaired floor, bracing and under body panel over repaired area.
Pass. side rails and floor, next.
Repaired rail with more to be done.
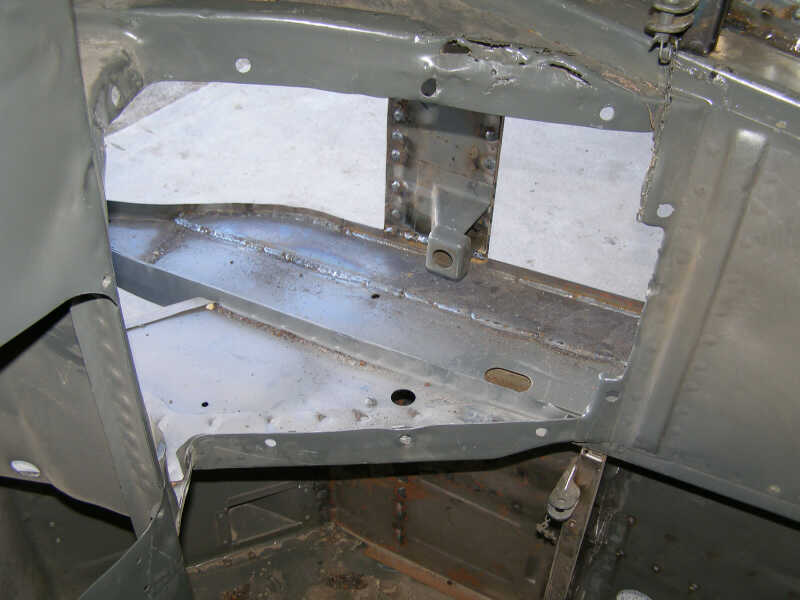
Trans mount removed for repair, rust and under body kit. (Anyone have the trans. cross member mount they want to sell?)
Railing with more to repair/install.
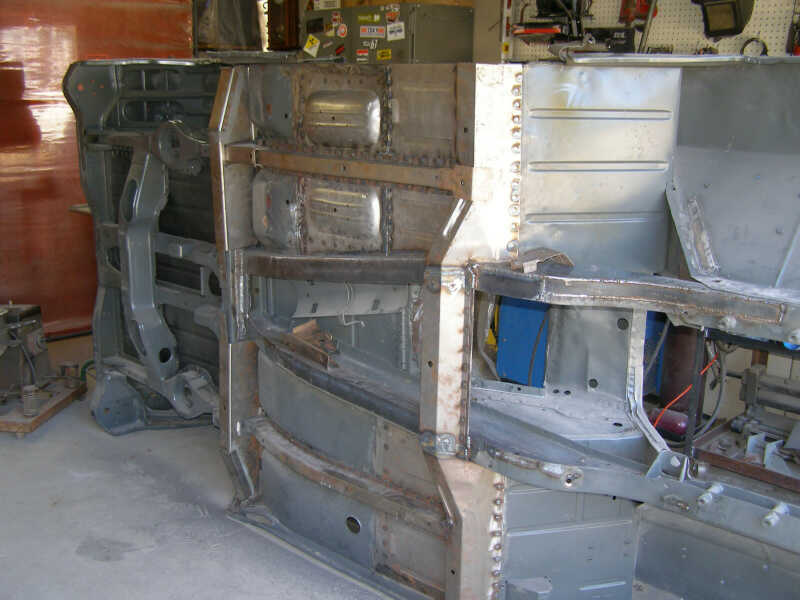
Driver's side floor rails near completion.
D/S railing in process, some welding, more to be done.
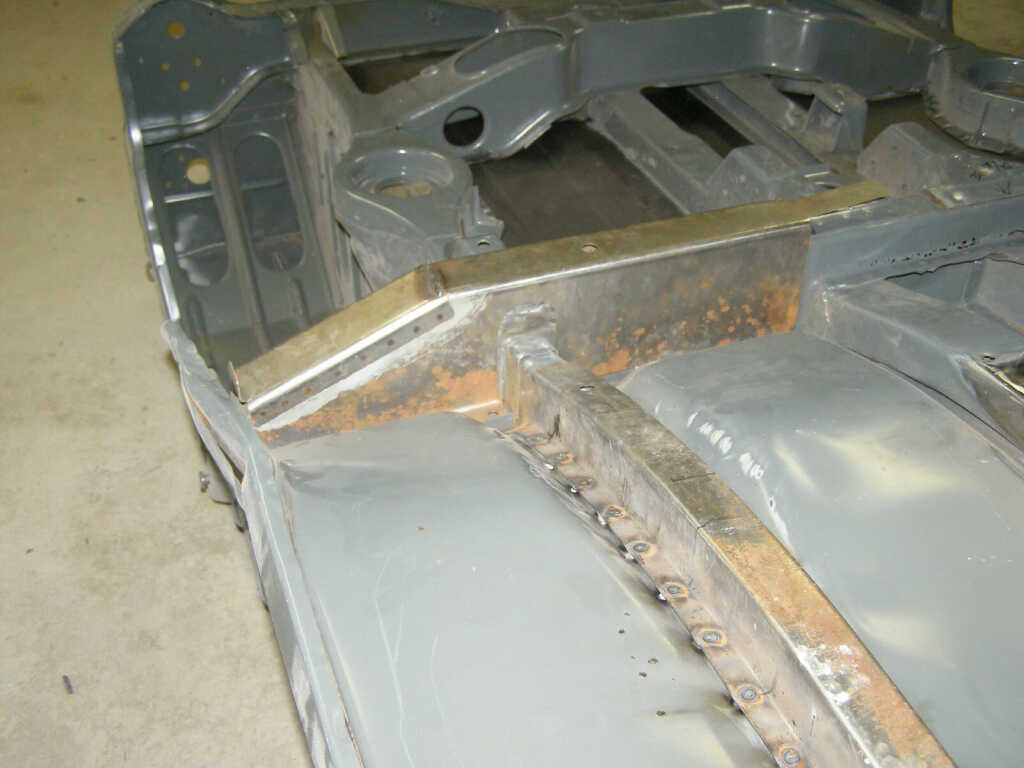
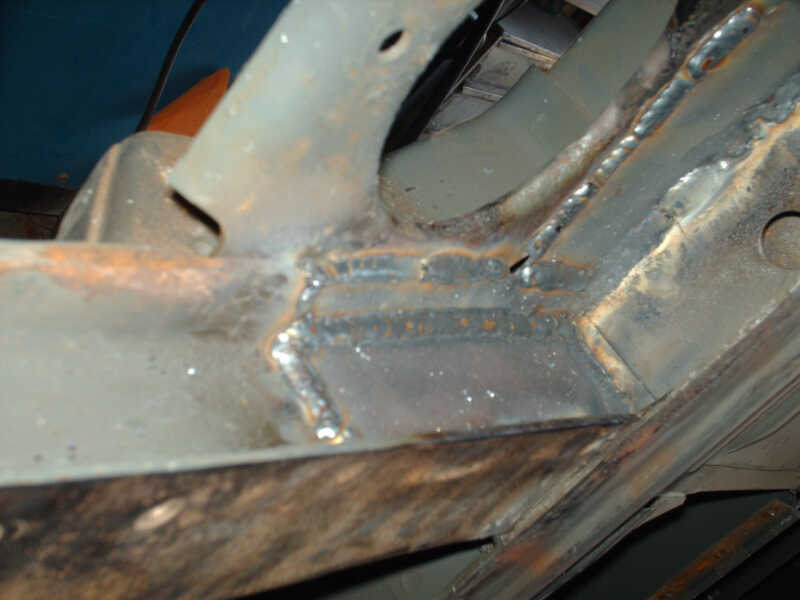
Cross member showing how it will be welded in over existing panel.
Repaired area at trans mount. More work to be done.
Update 2/16/2012
Rebuilt transmission Trans Mount and Covers
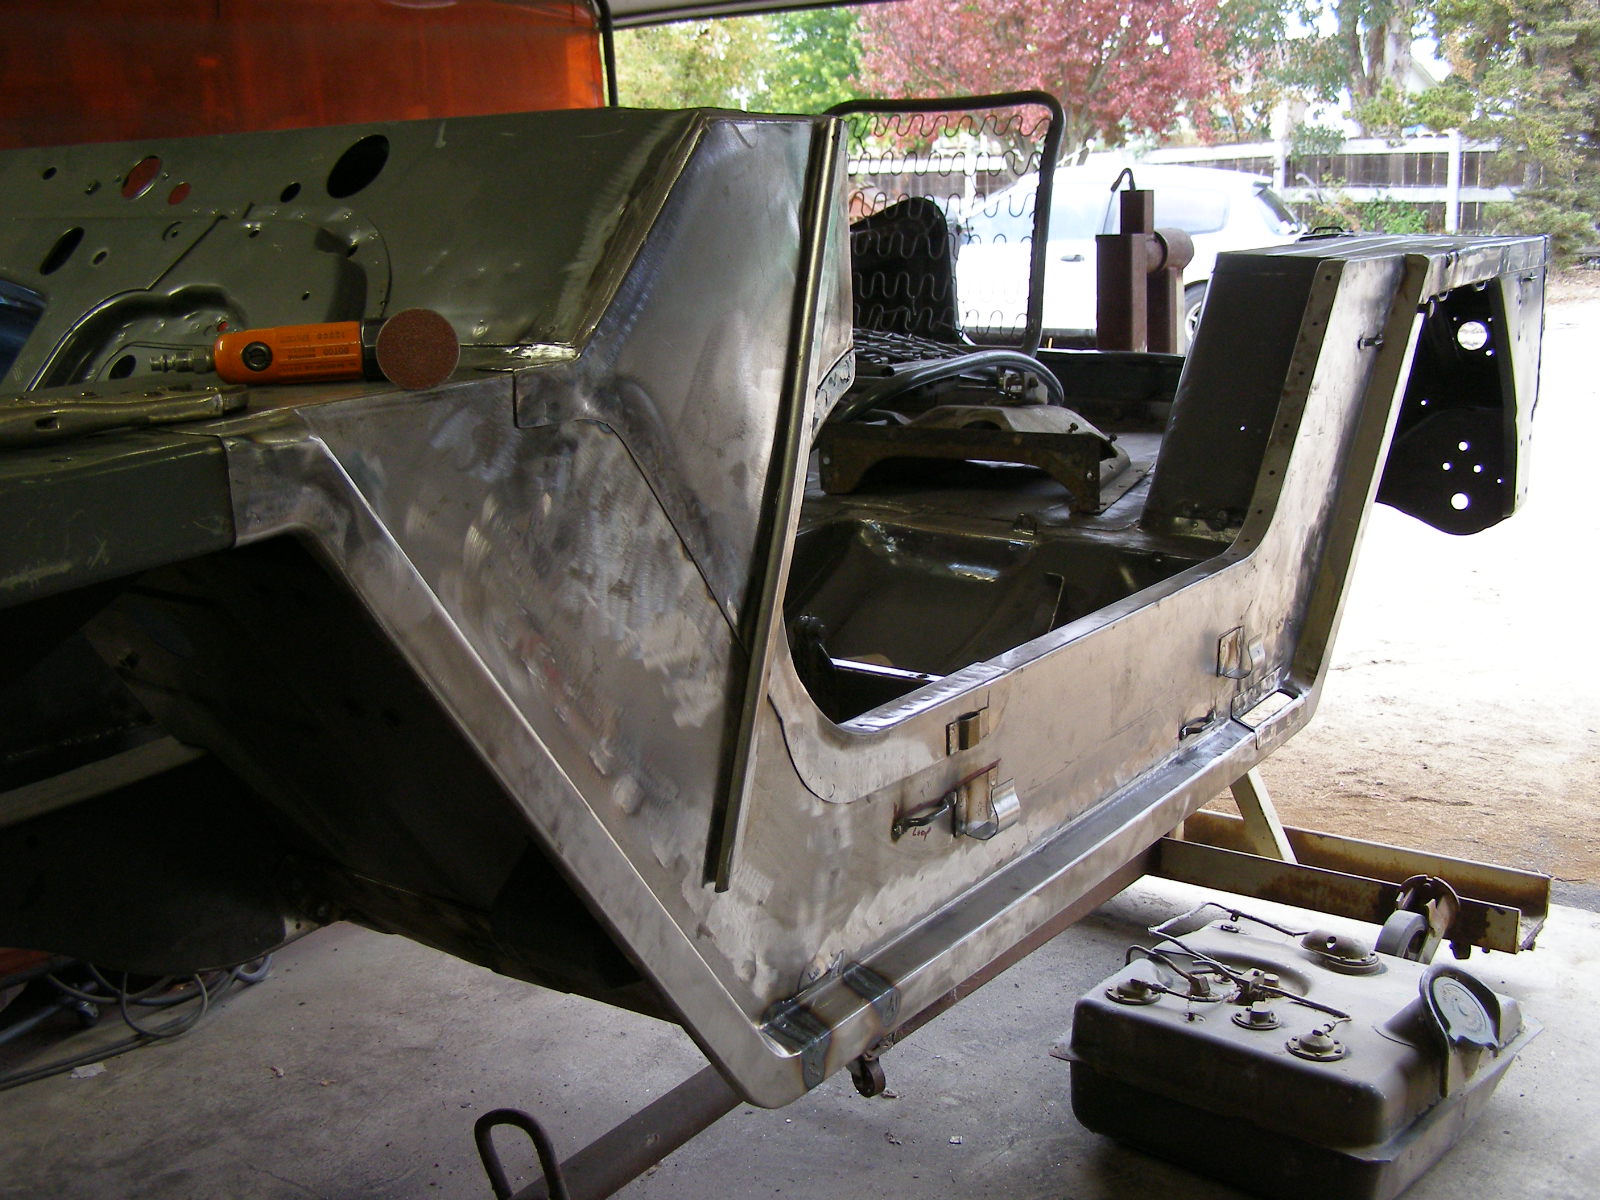
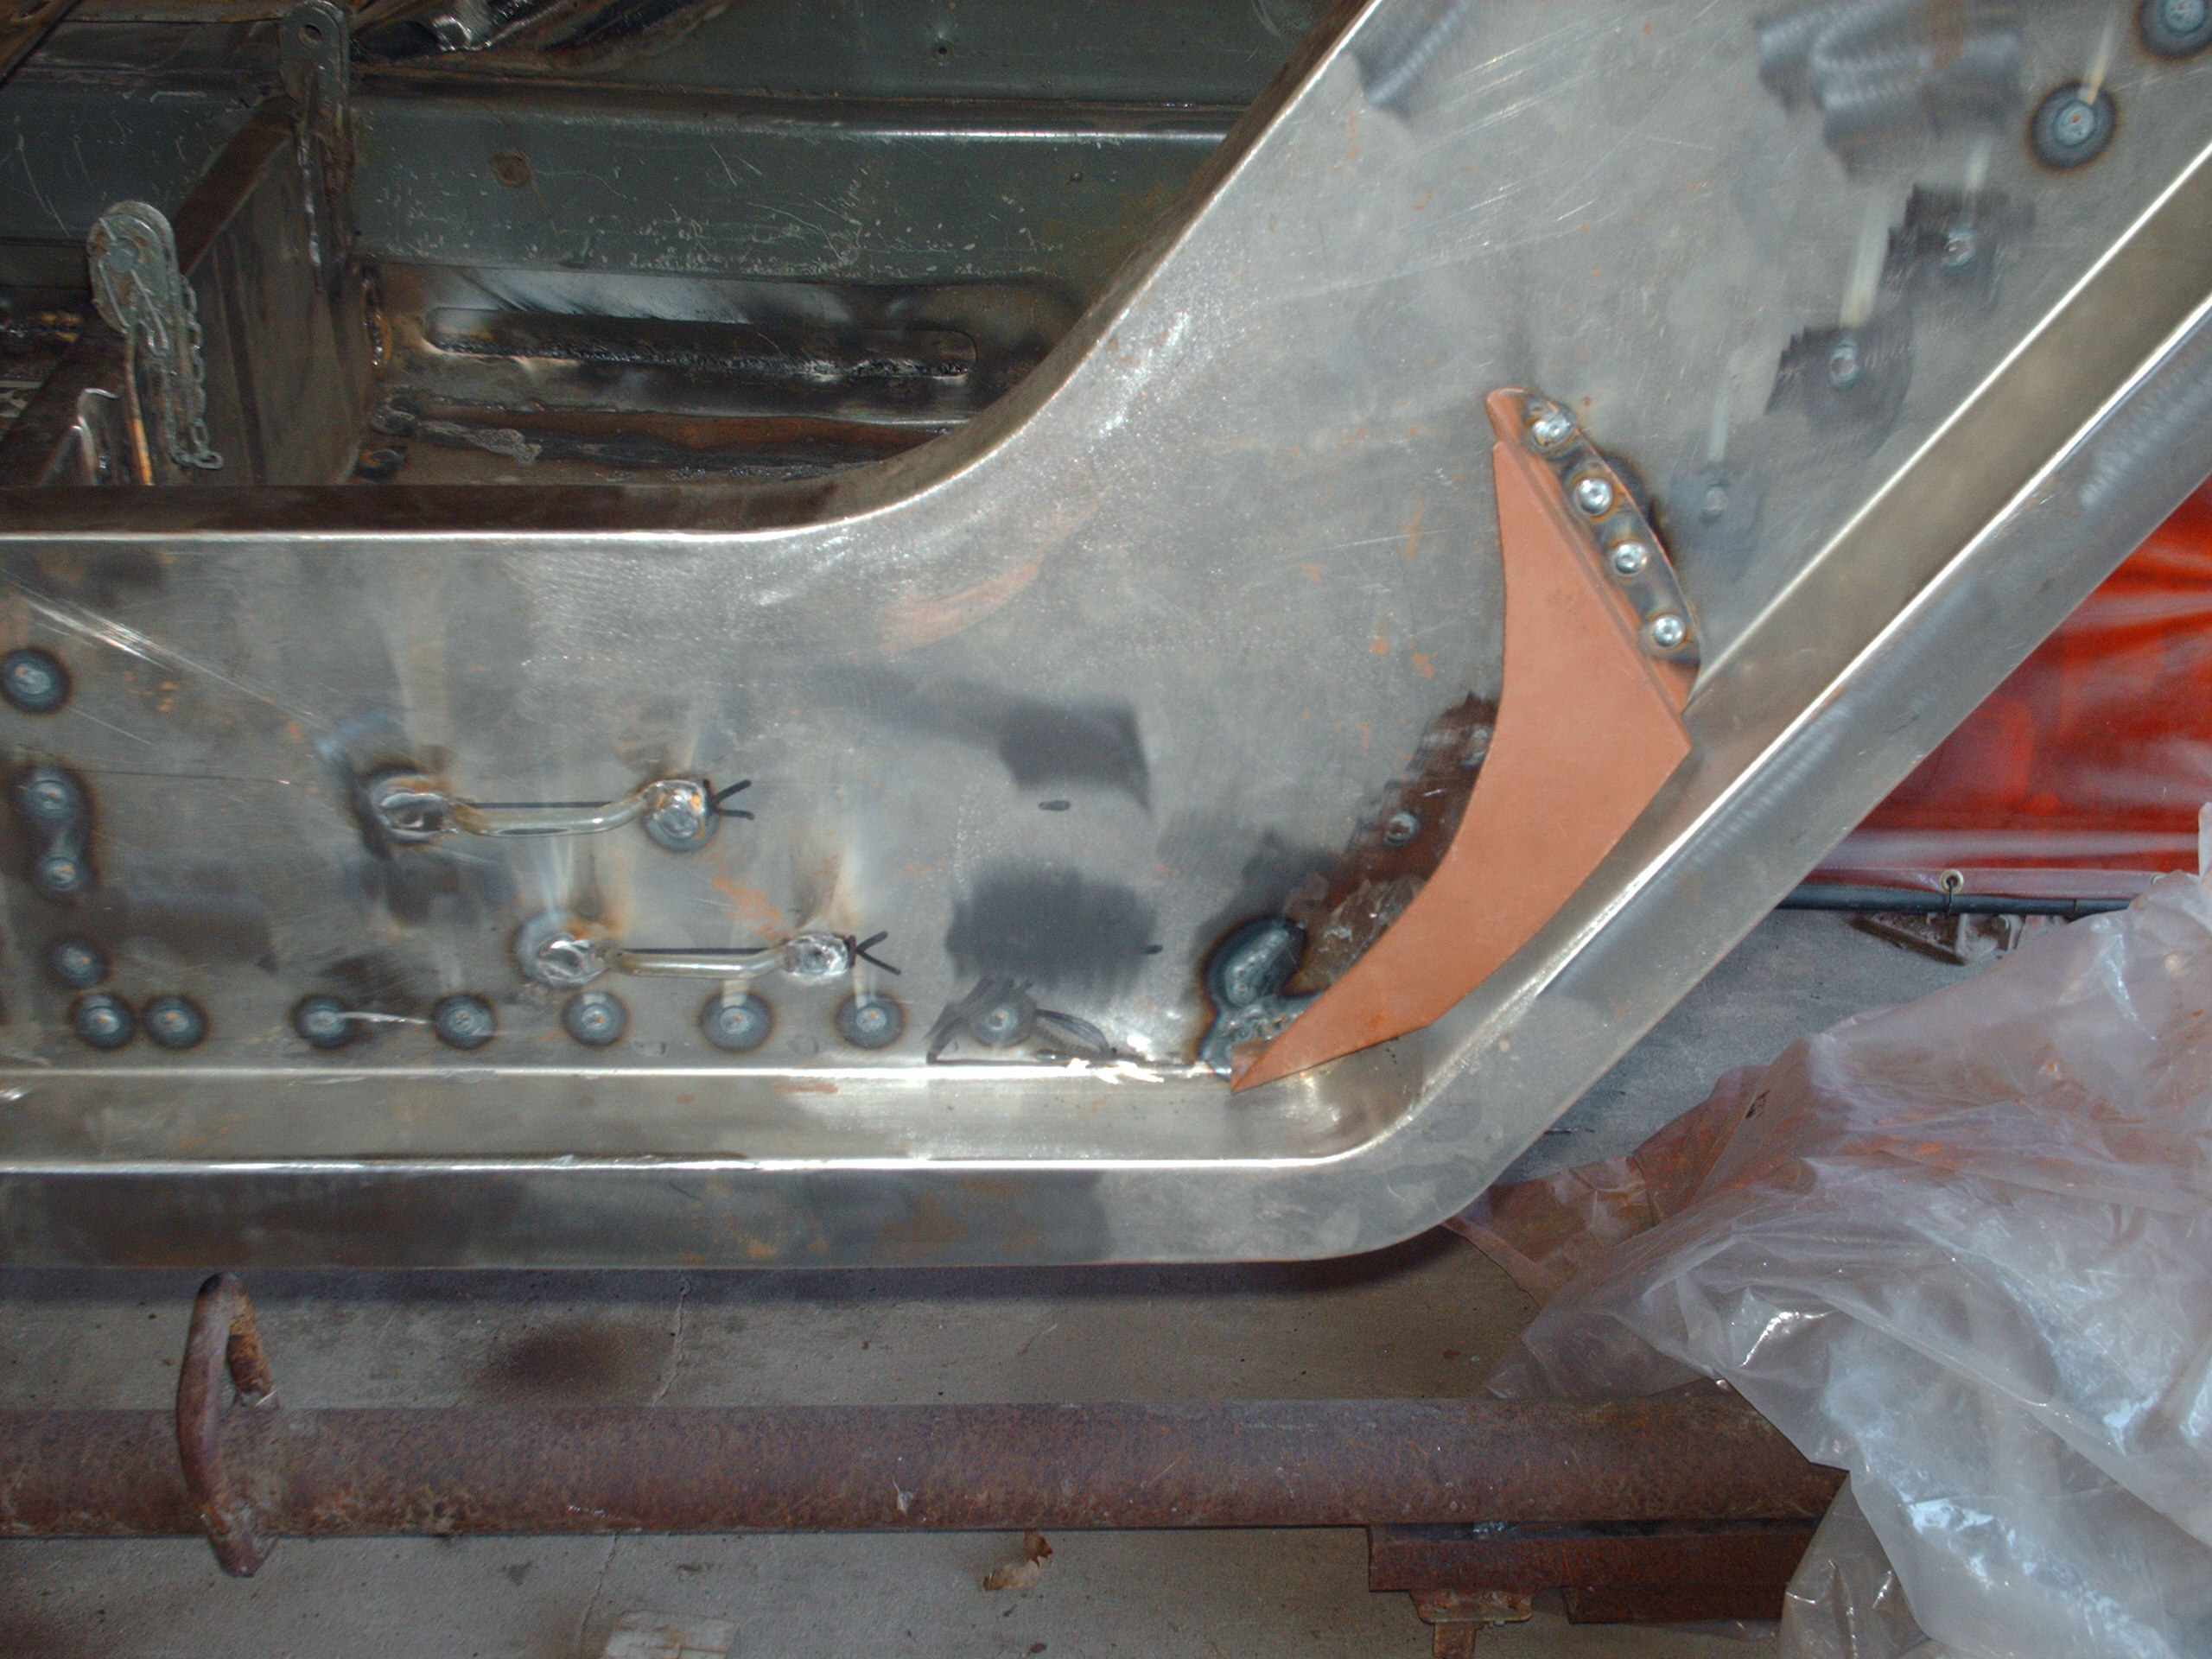
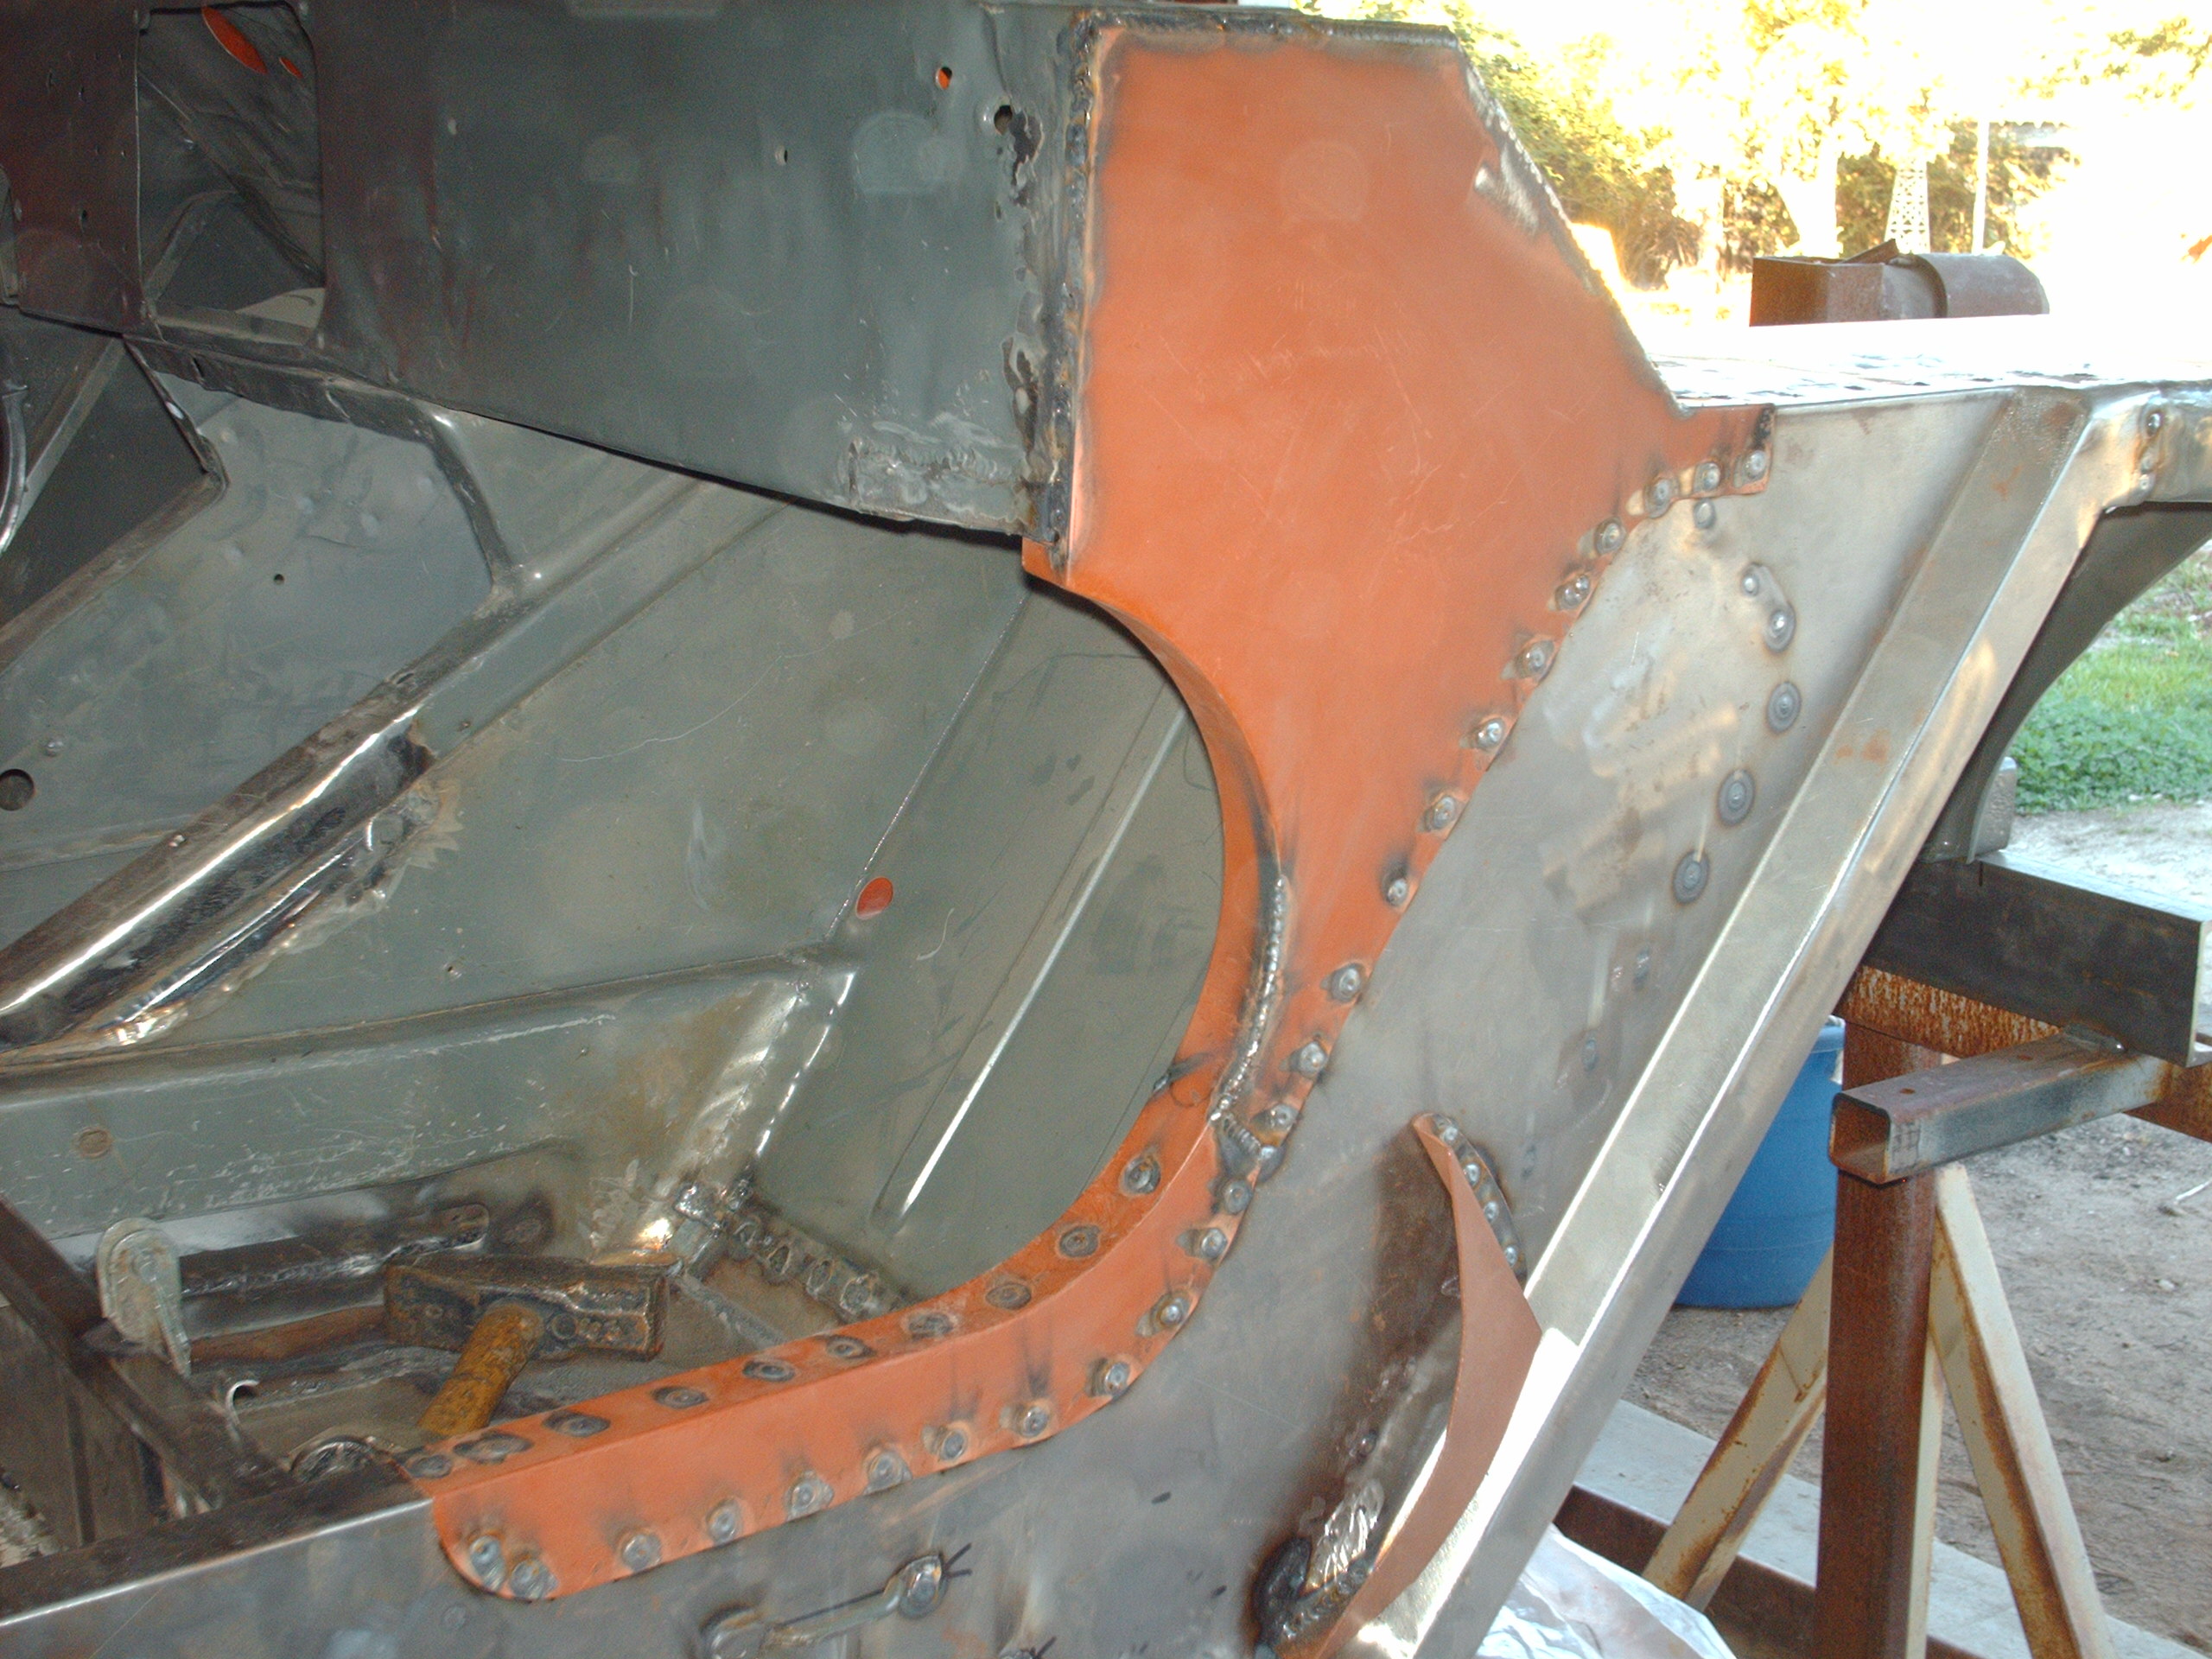
Passenger replacement Panels

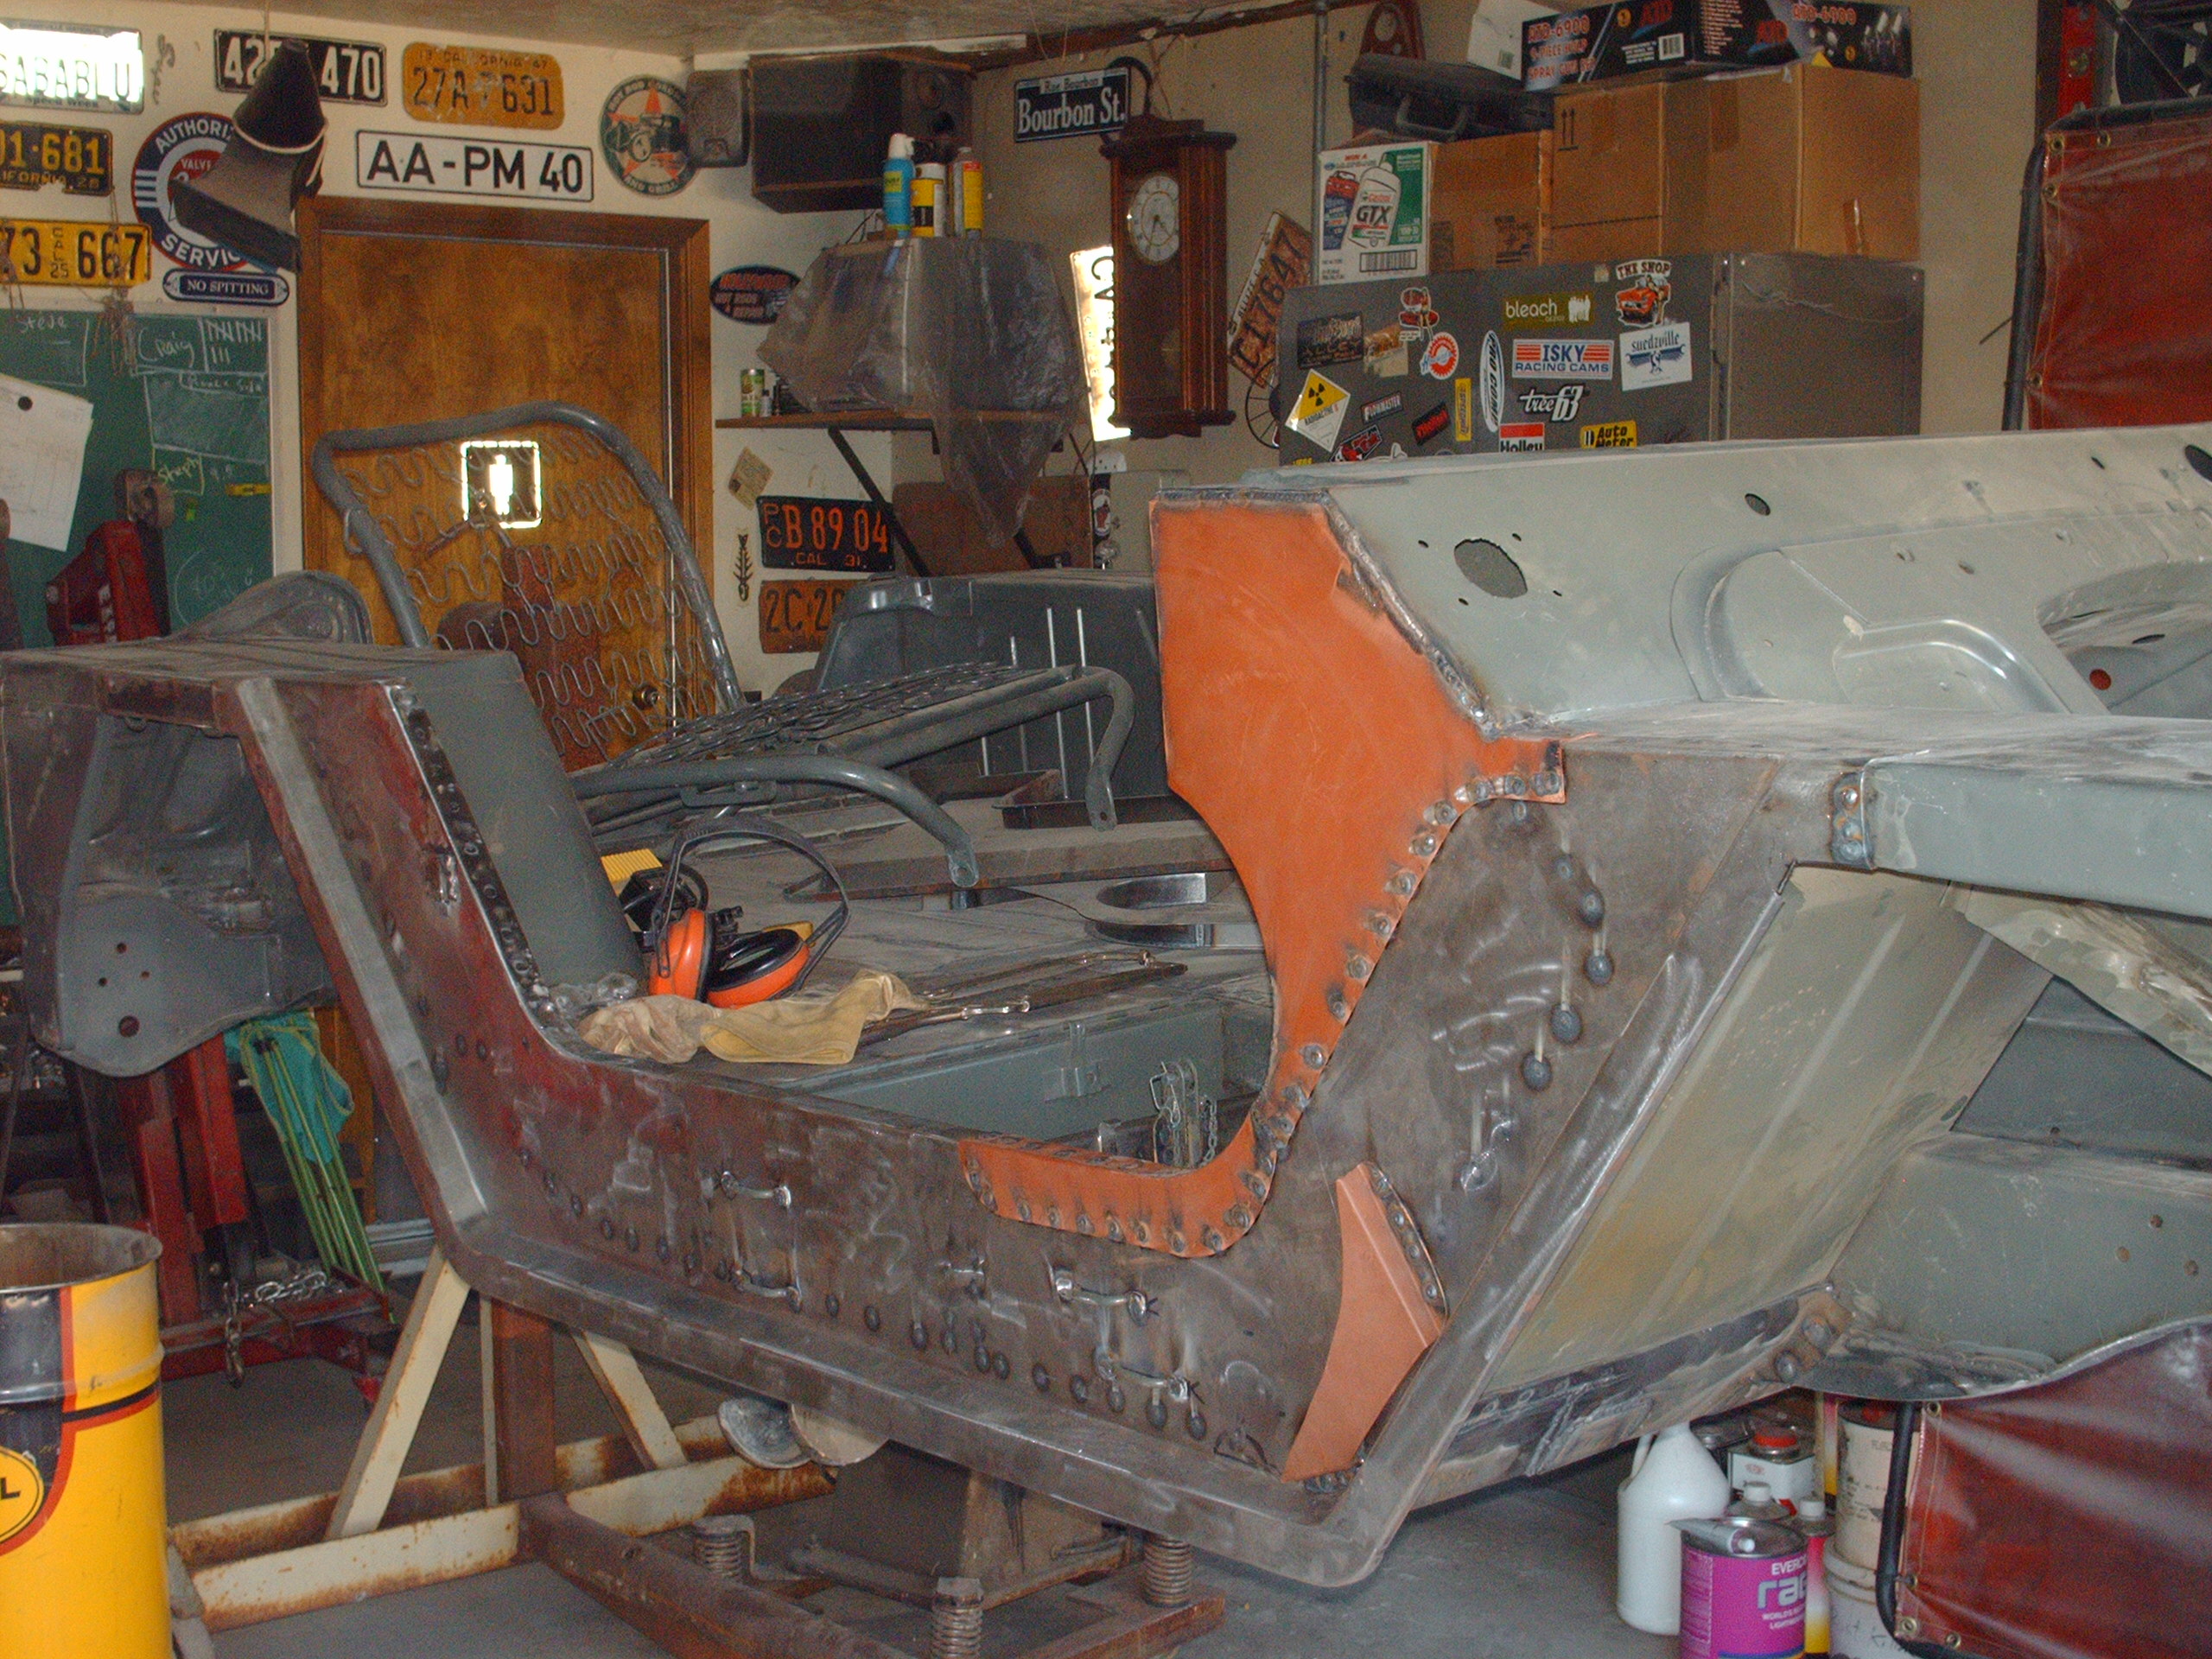
Under Body Kit over Replacement Panels view 1
Under Body Kit over Replacement Panels view 2

Battery Box, Passenger Floor and Upright
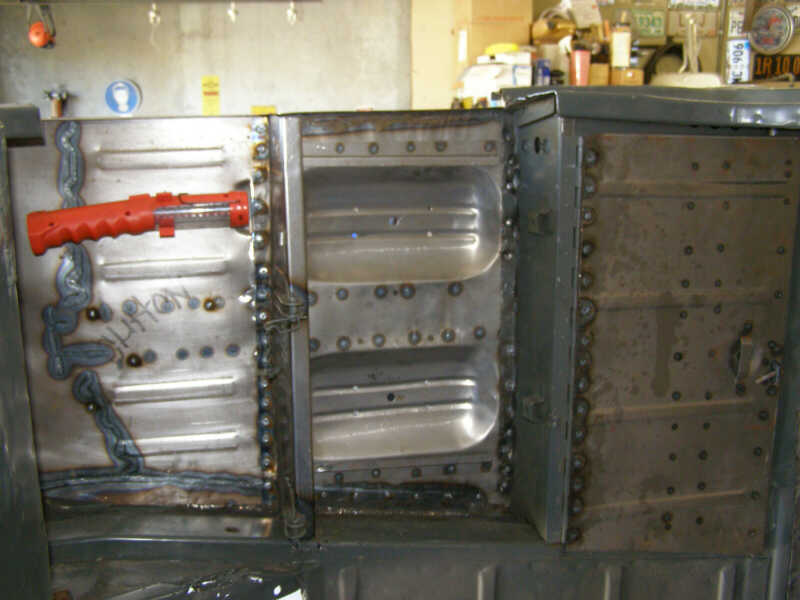
Tool Box with New Door
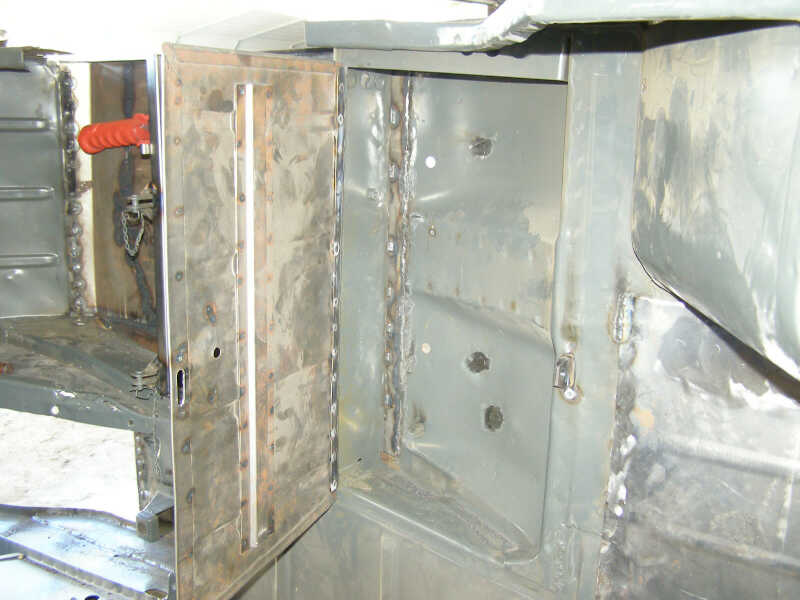
Rail and underside repair but more is still needed
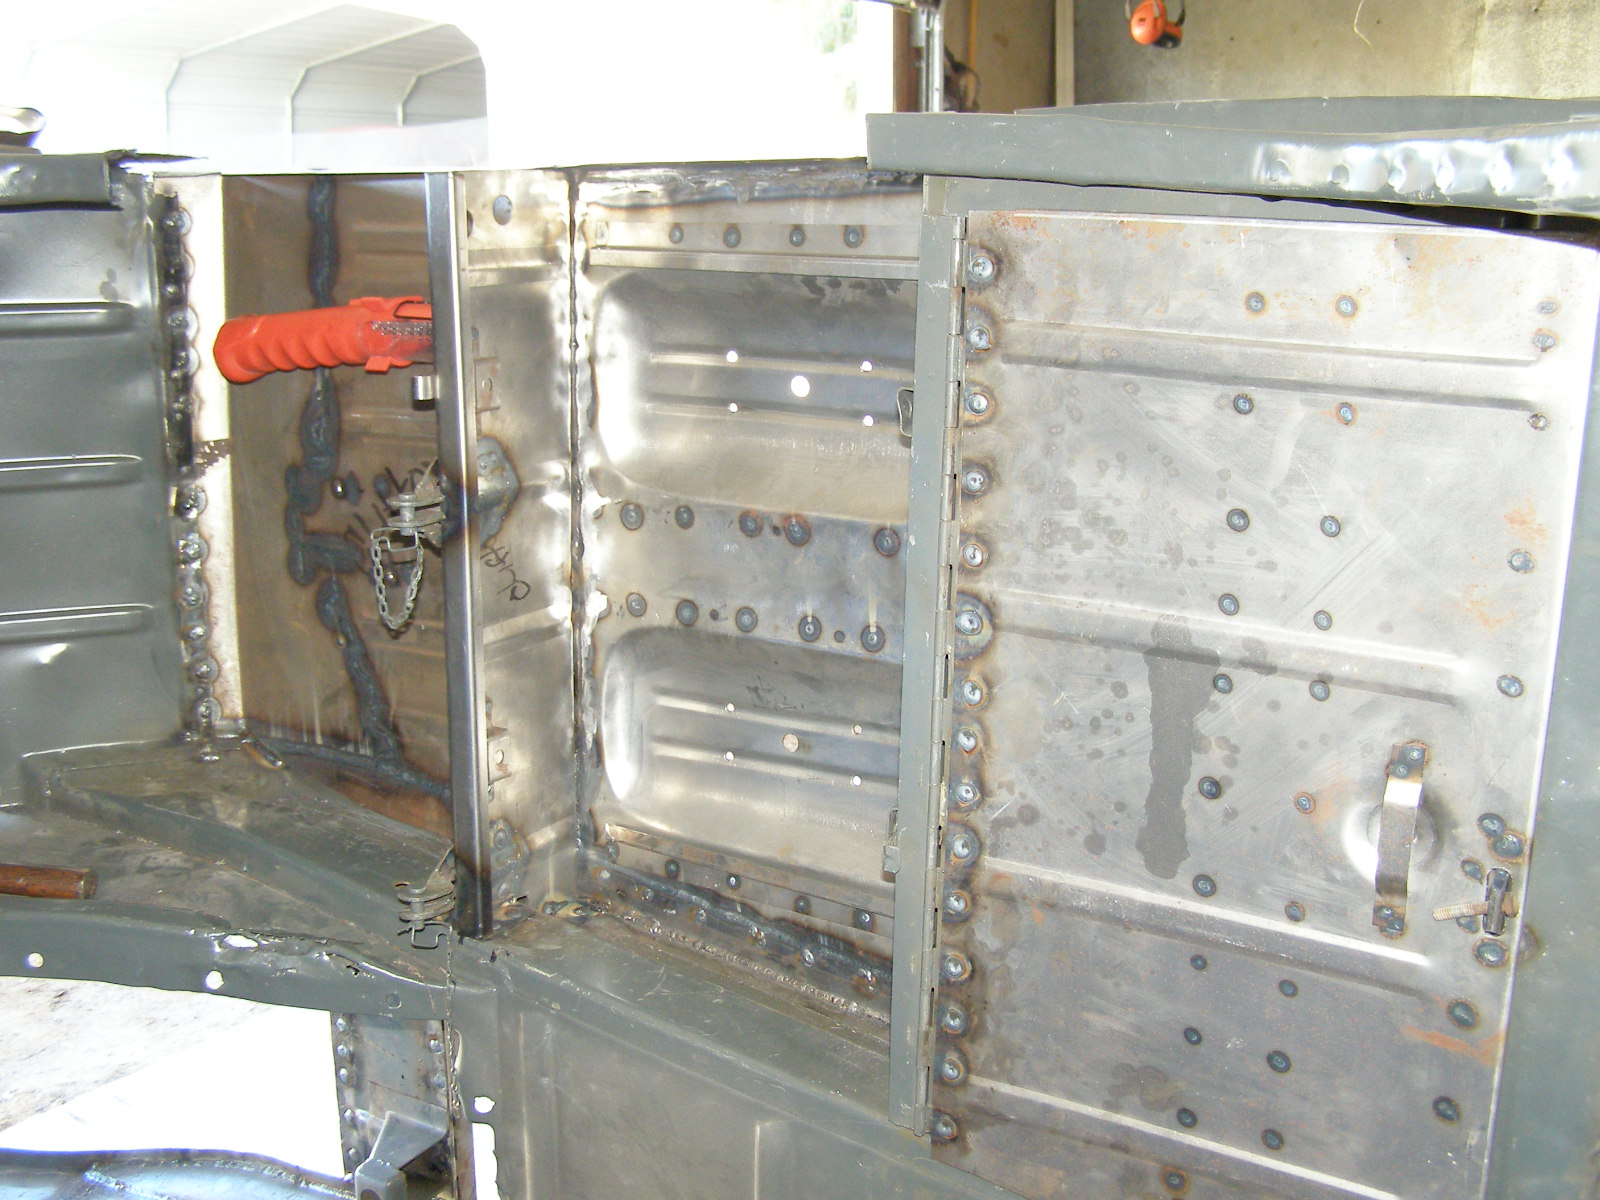
Tool box lid battery box and upright repair
Underside with repaired panels and underbody kit over them
Trans tunnel from engine compartment
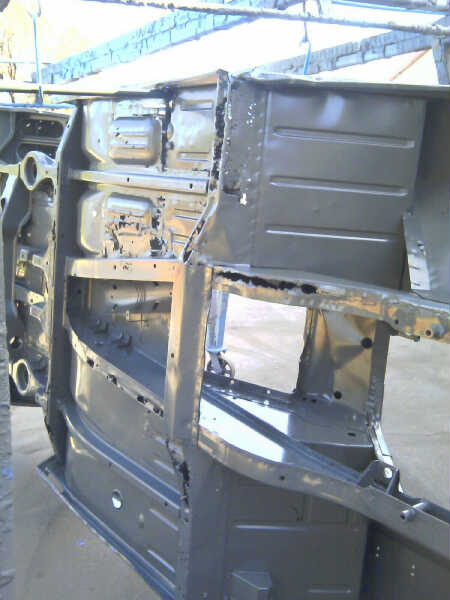
Drivers side panel installed Nov 2012
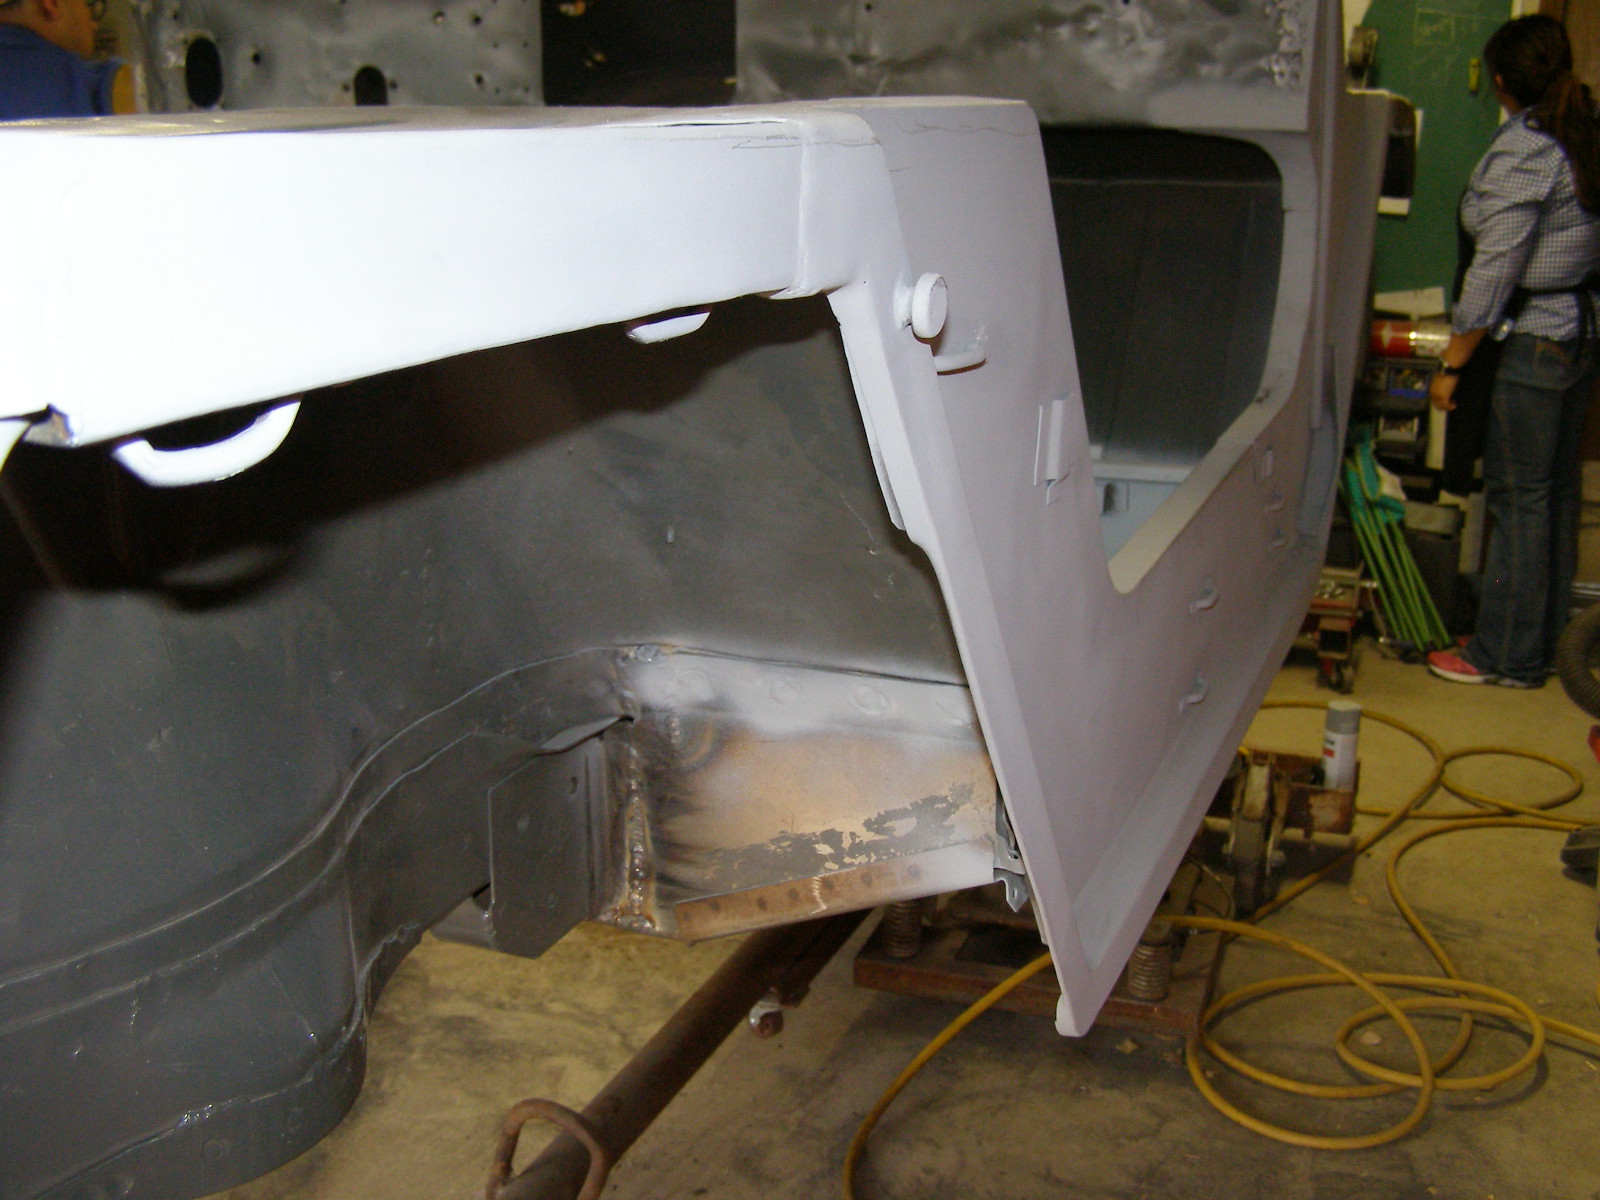
Passenger side panel installed and primed
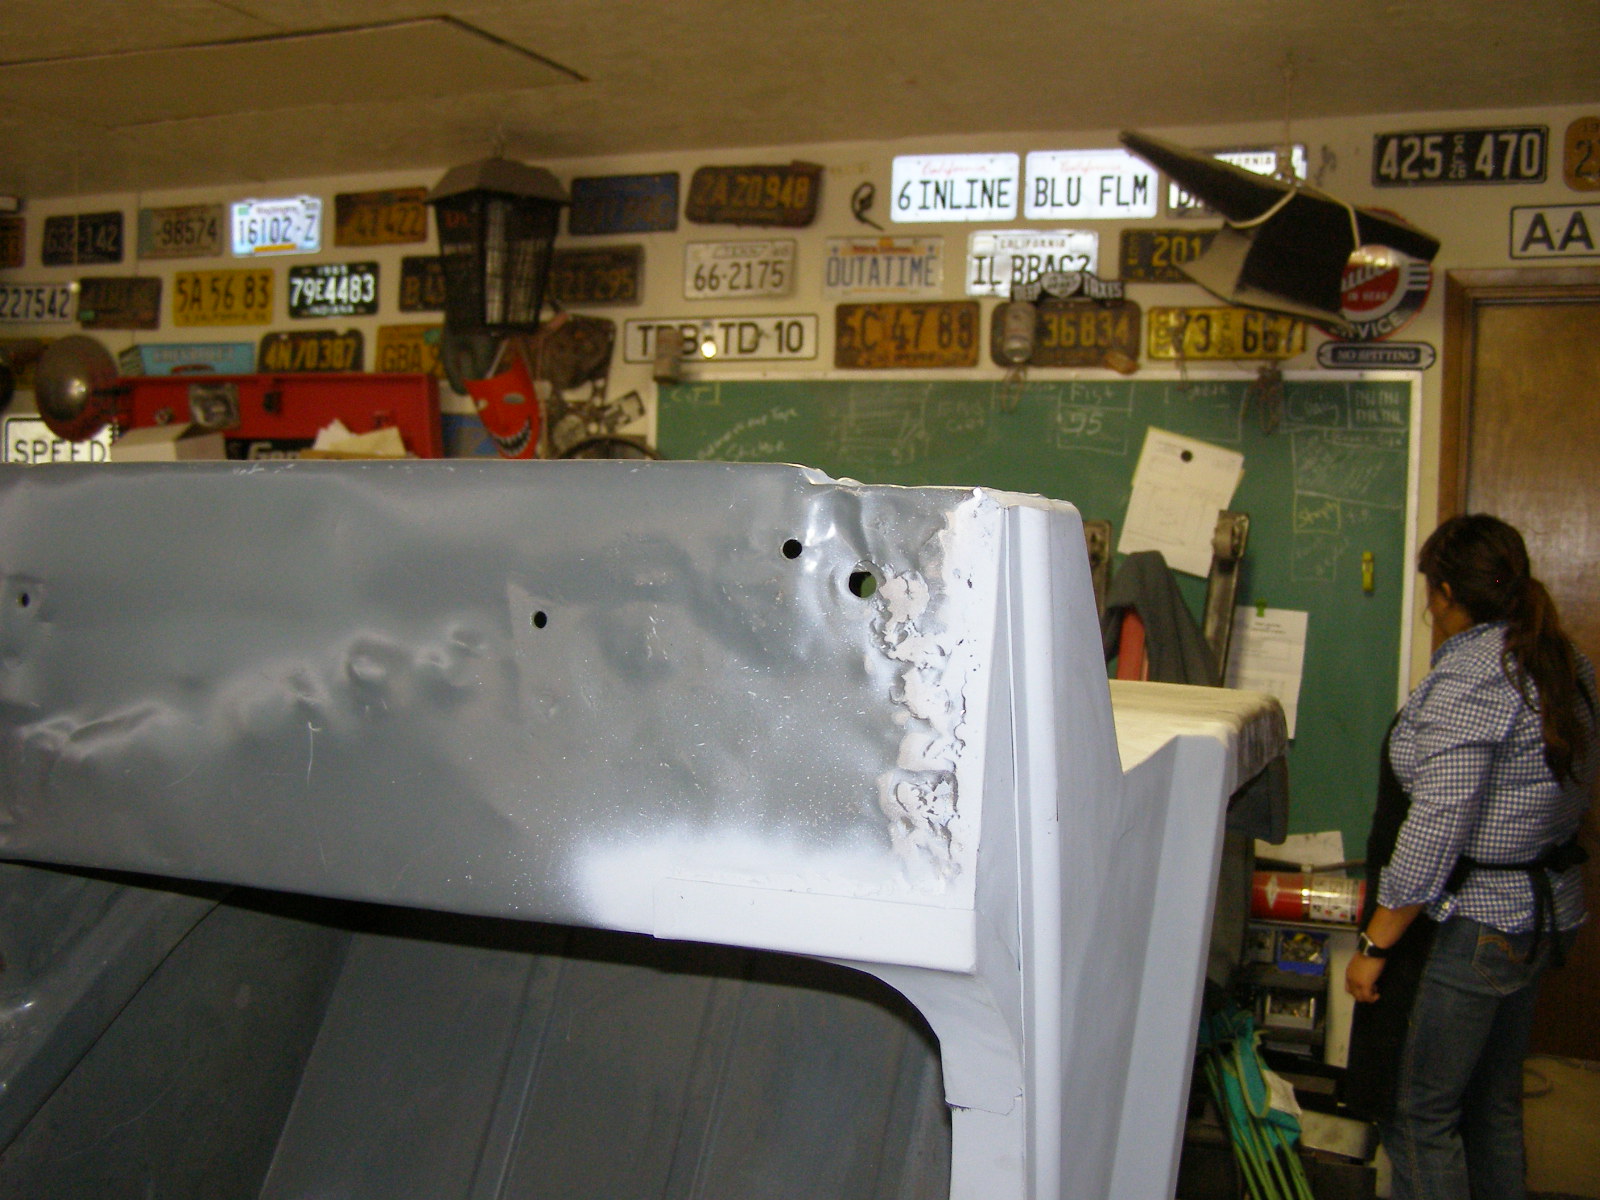
Damage repair on pass side dash
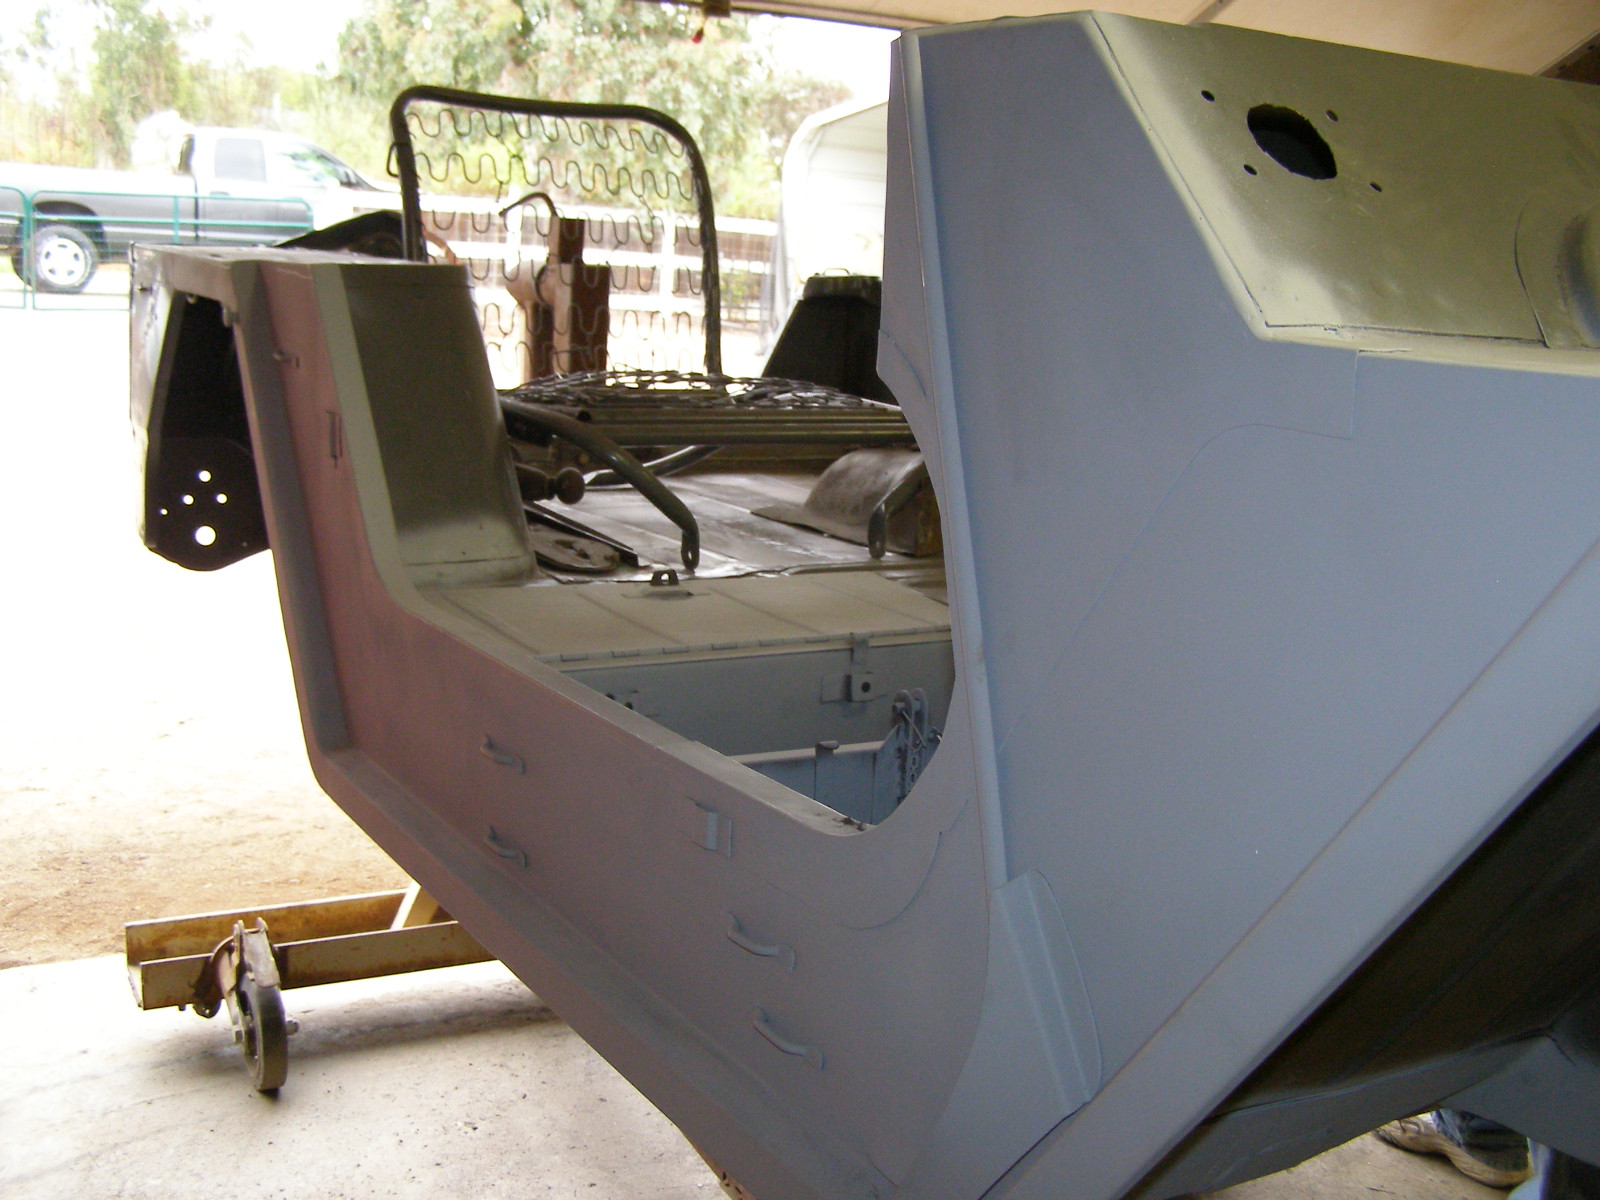
Completed passenger side panel with attachments
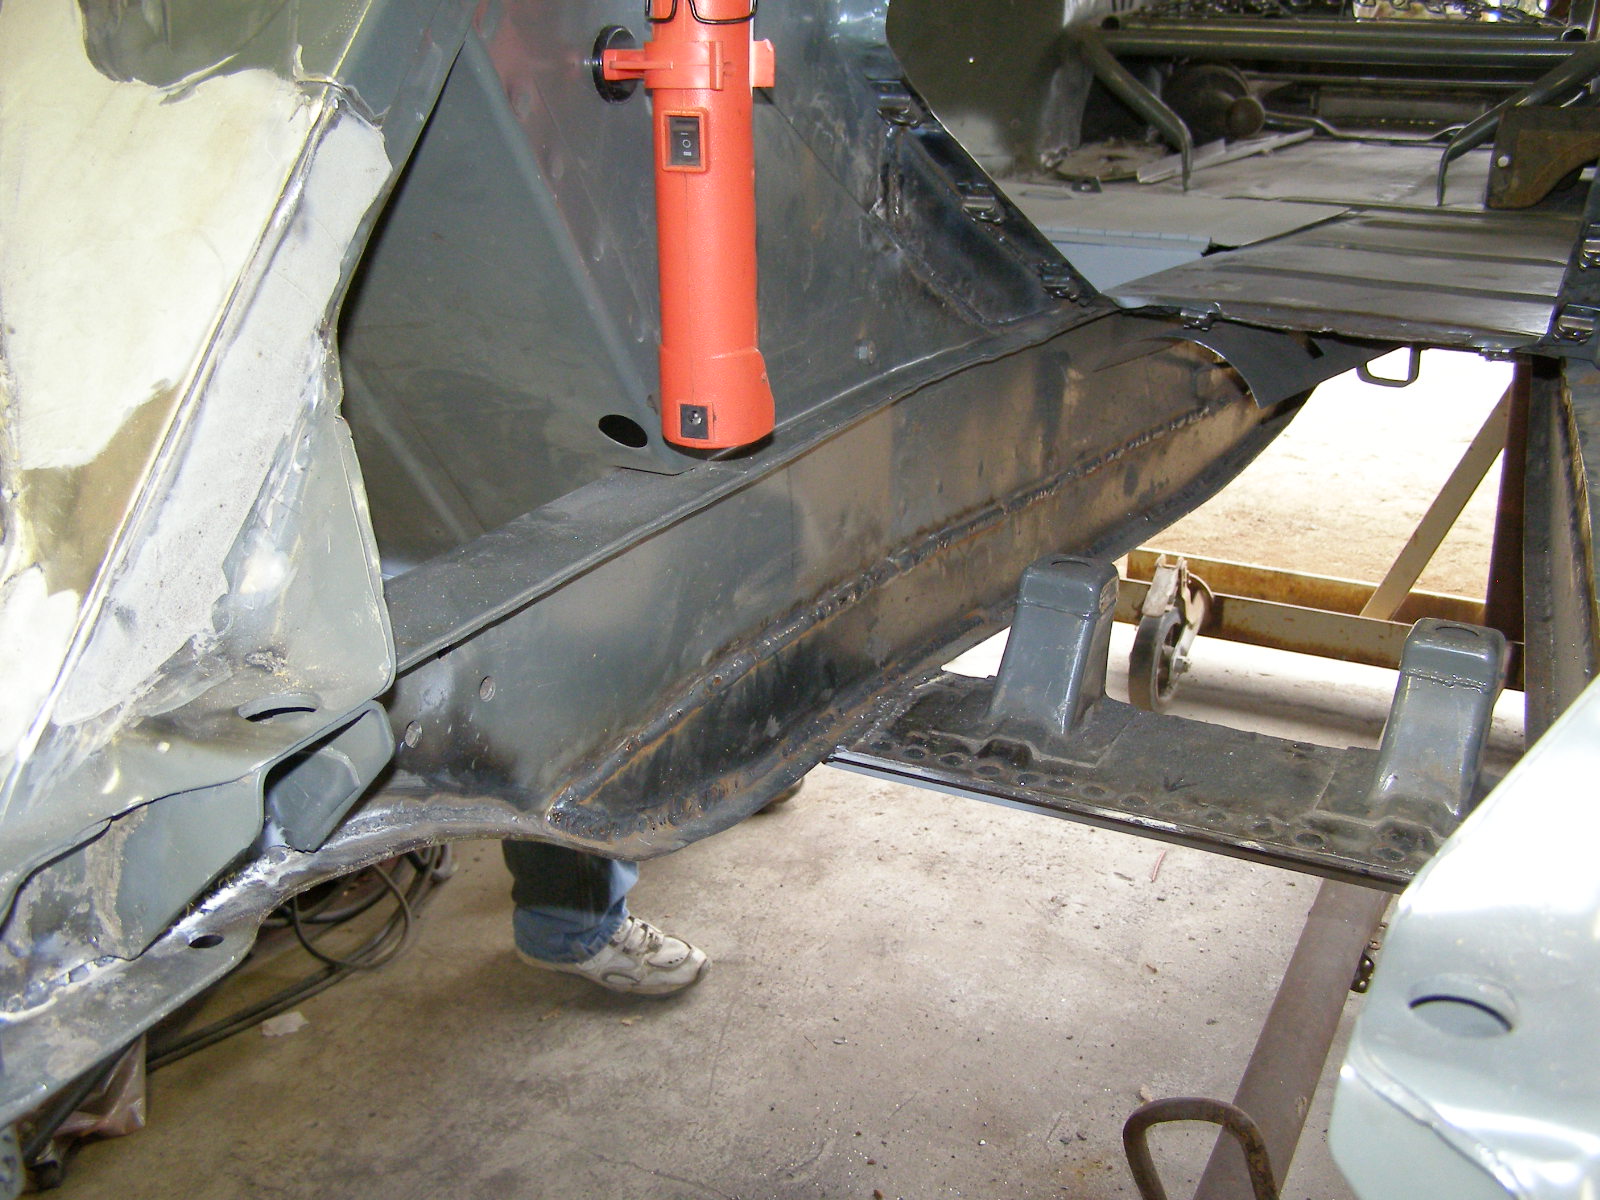
Frame repair waiting to be ground down
Side panels spot welded in Nov 2012
Rear panel repaired and strengthened Nov 2012
Shovel holder installed
PS dash support 1 11-5-2012
PS dash support 11-5-2012
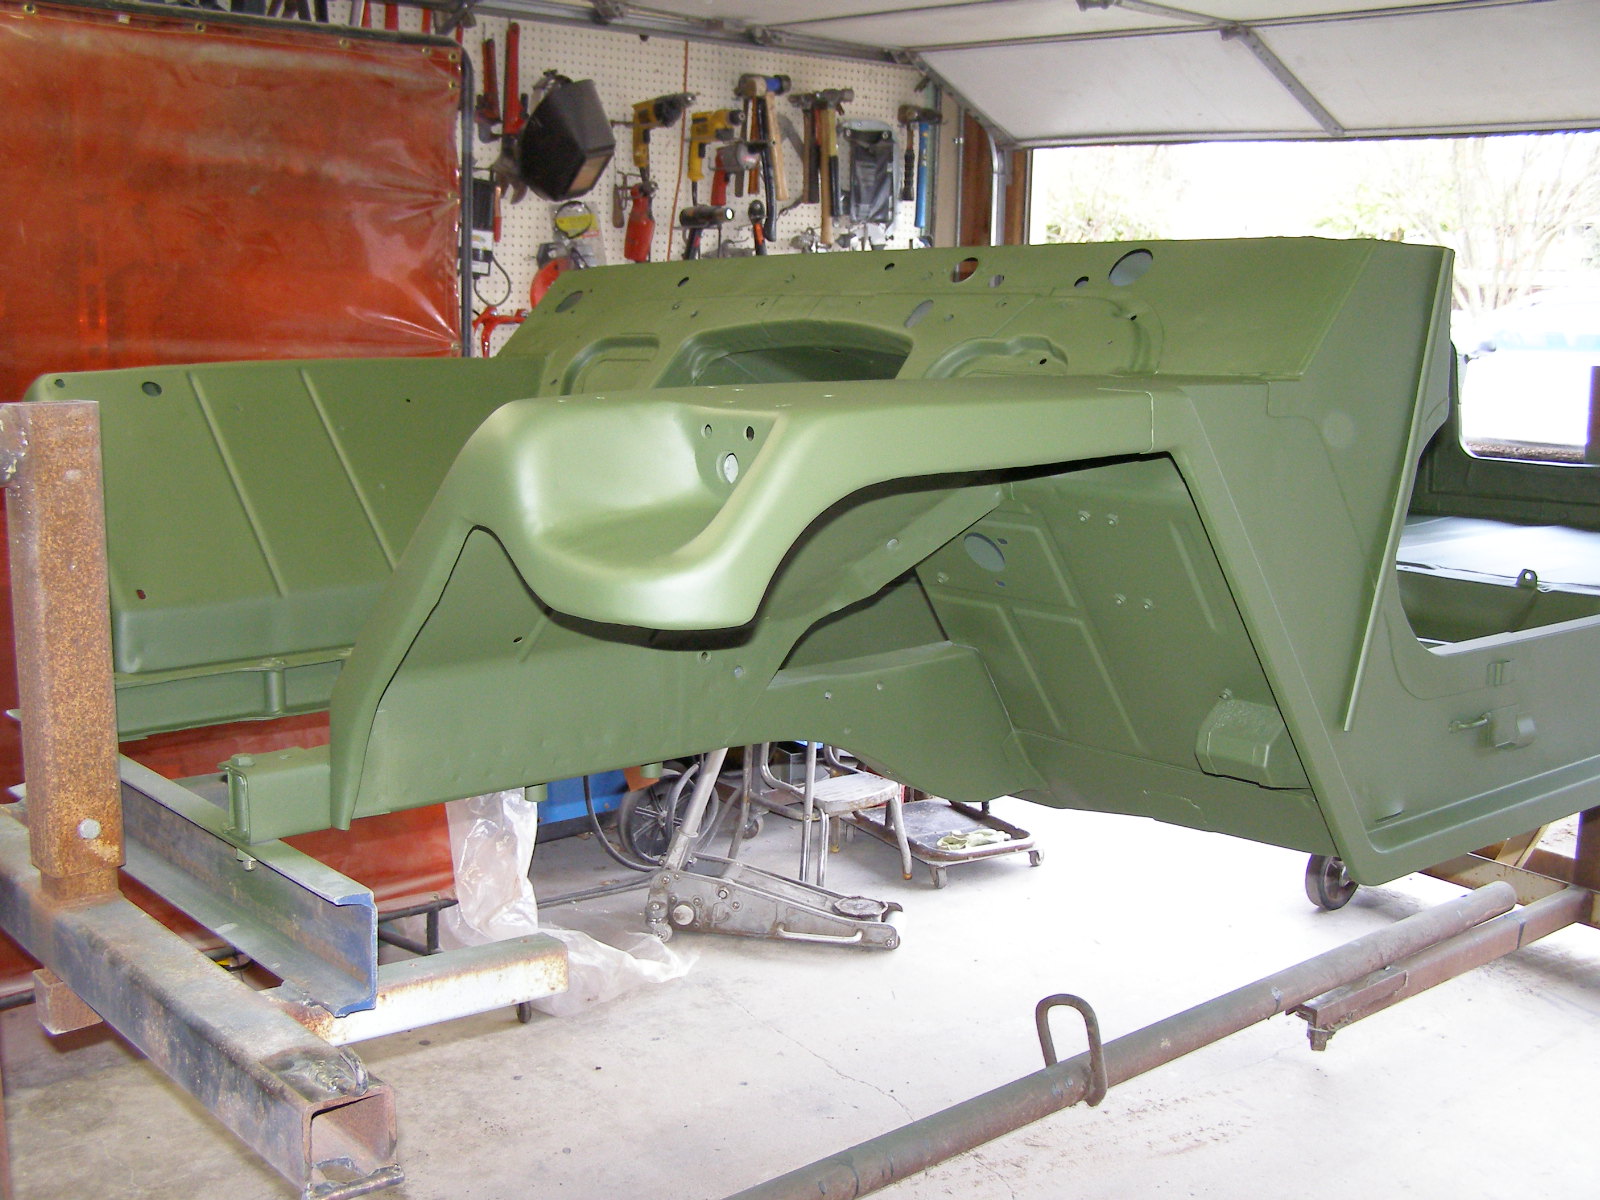
Full bottom on rotor for painting Dec 2012
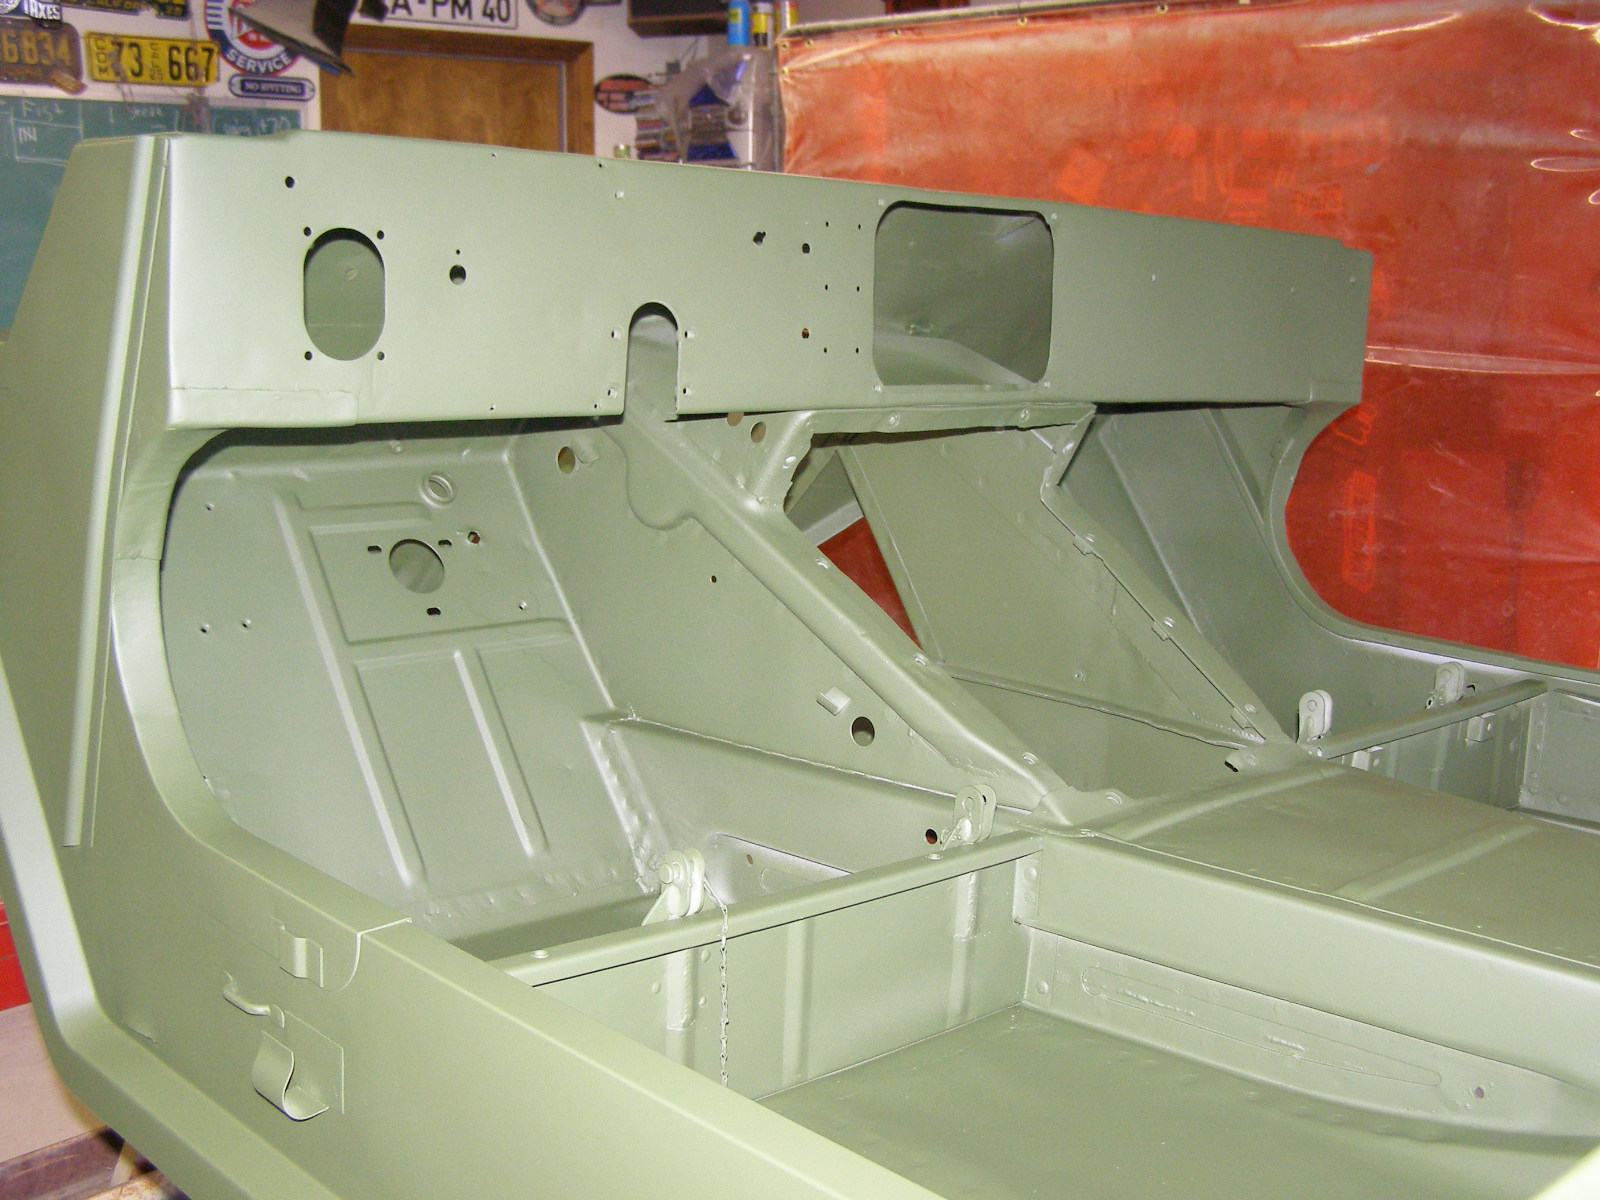
Inside for painting 12-2012
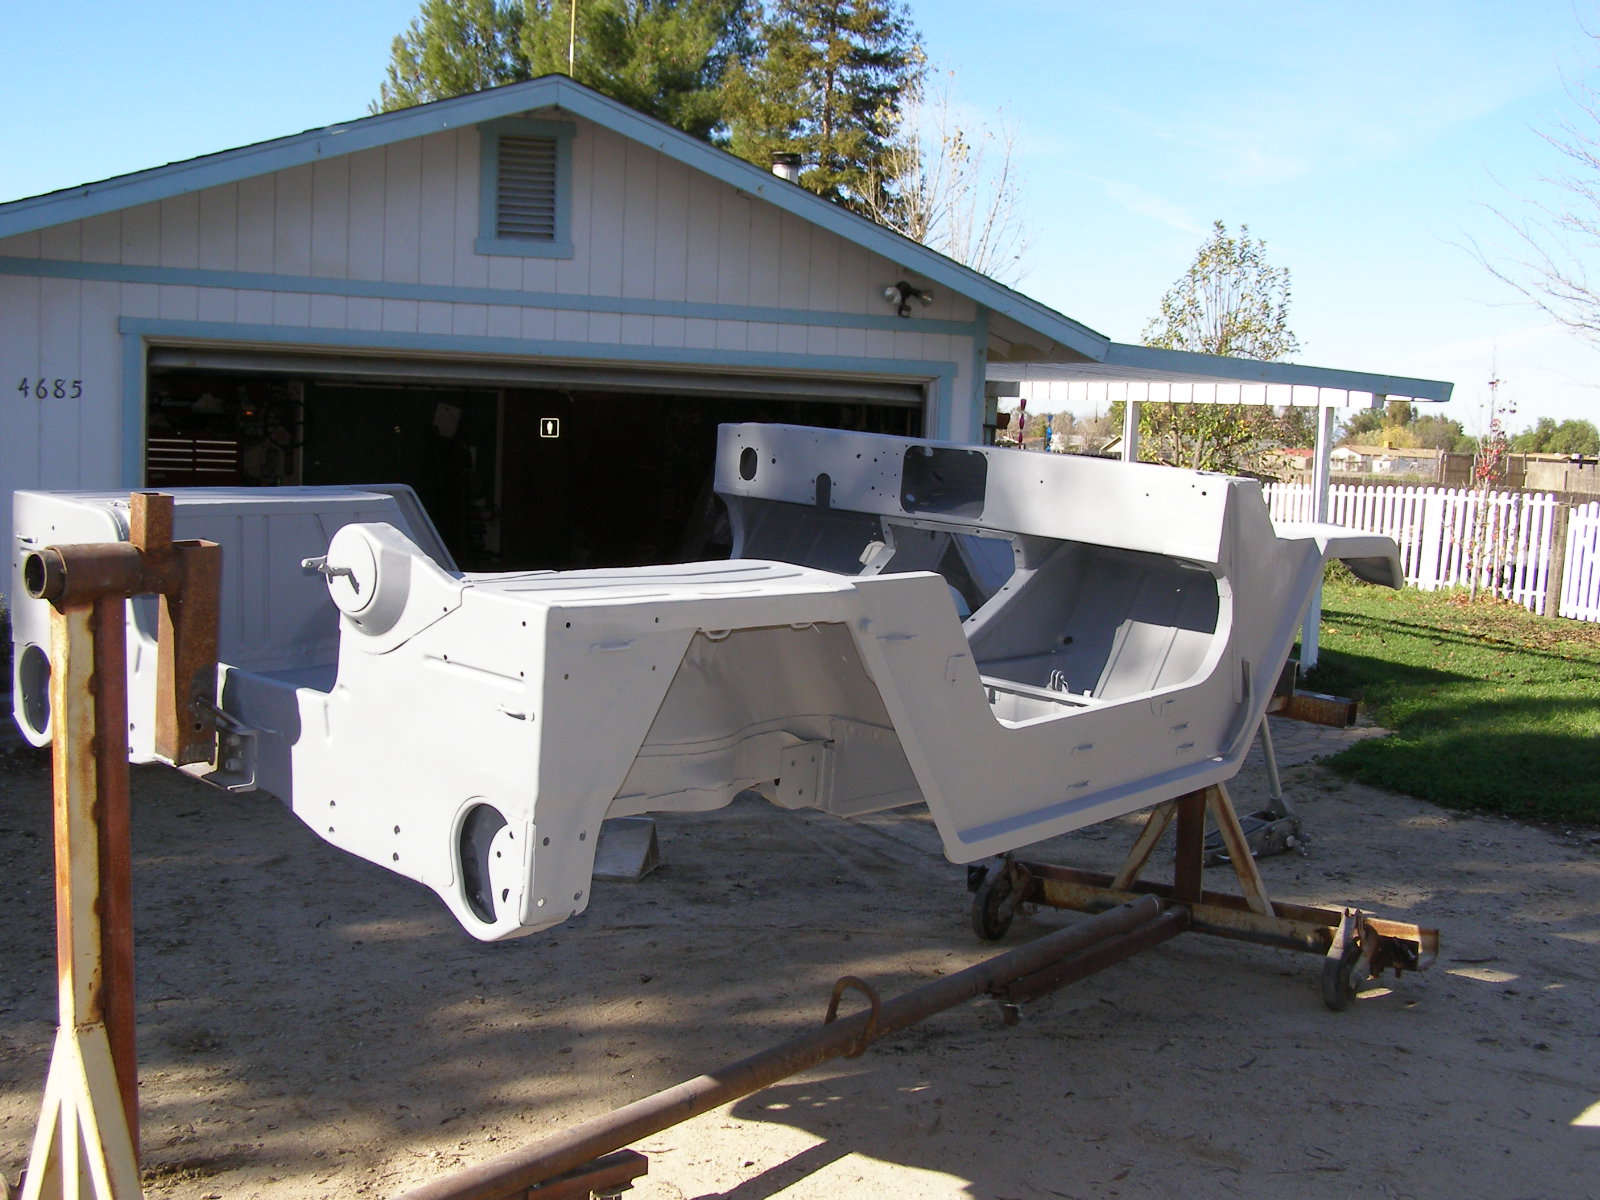
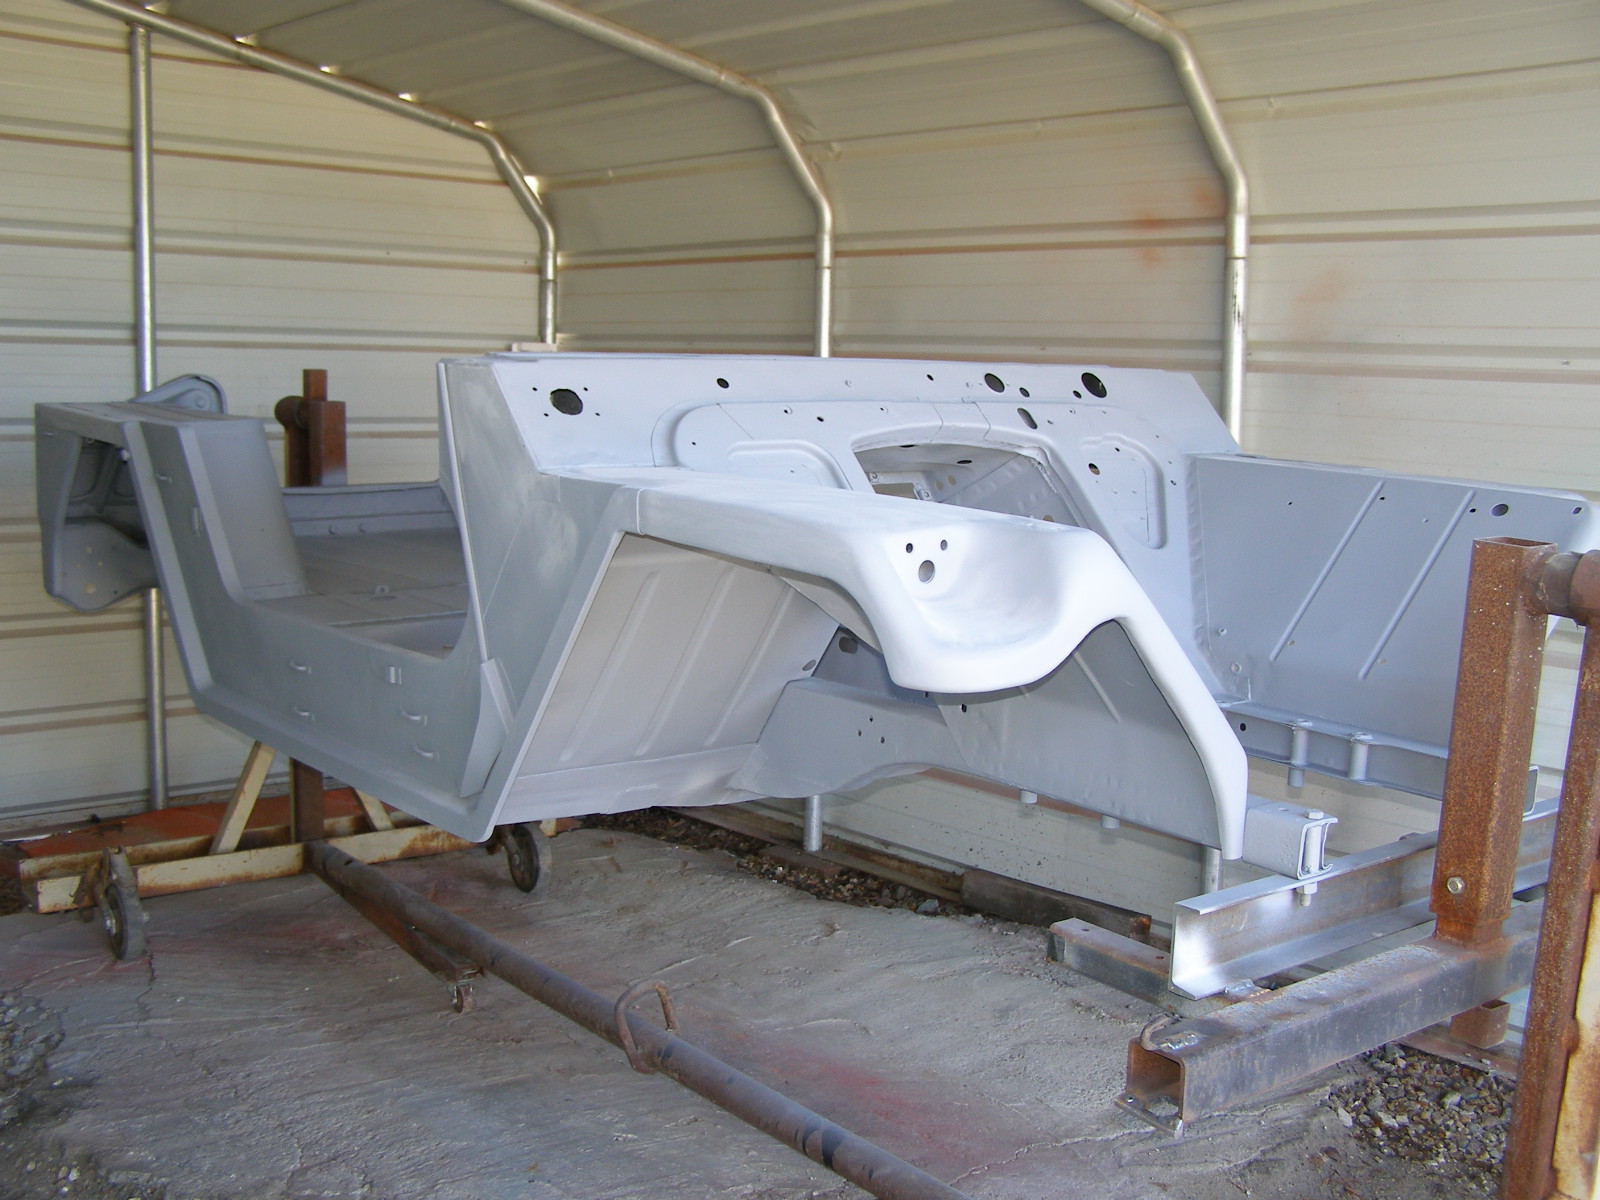
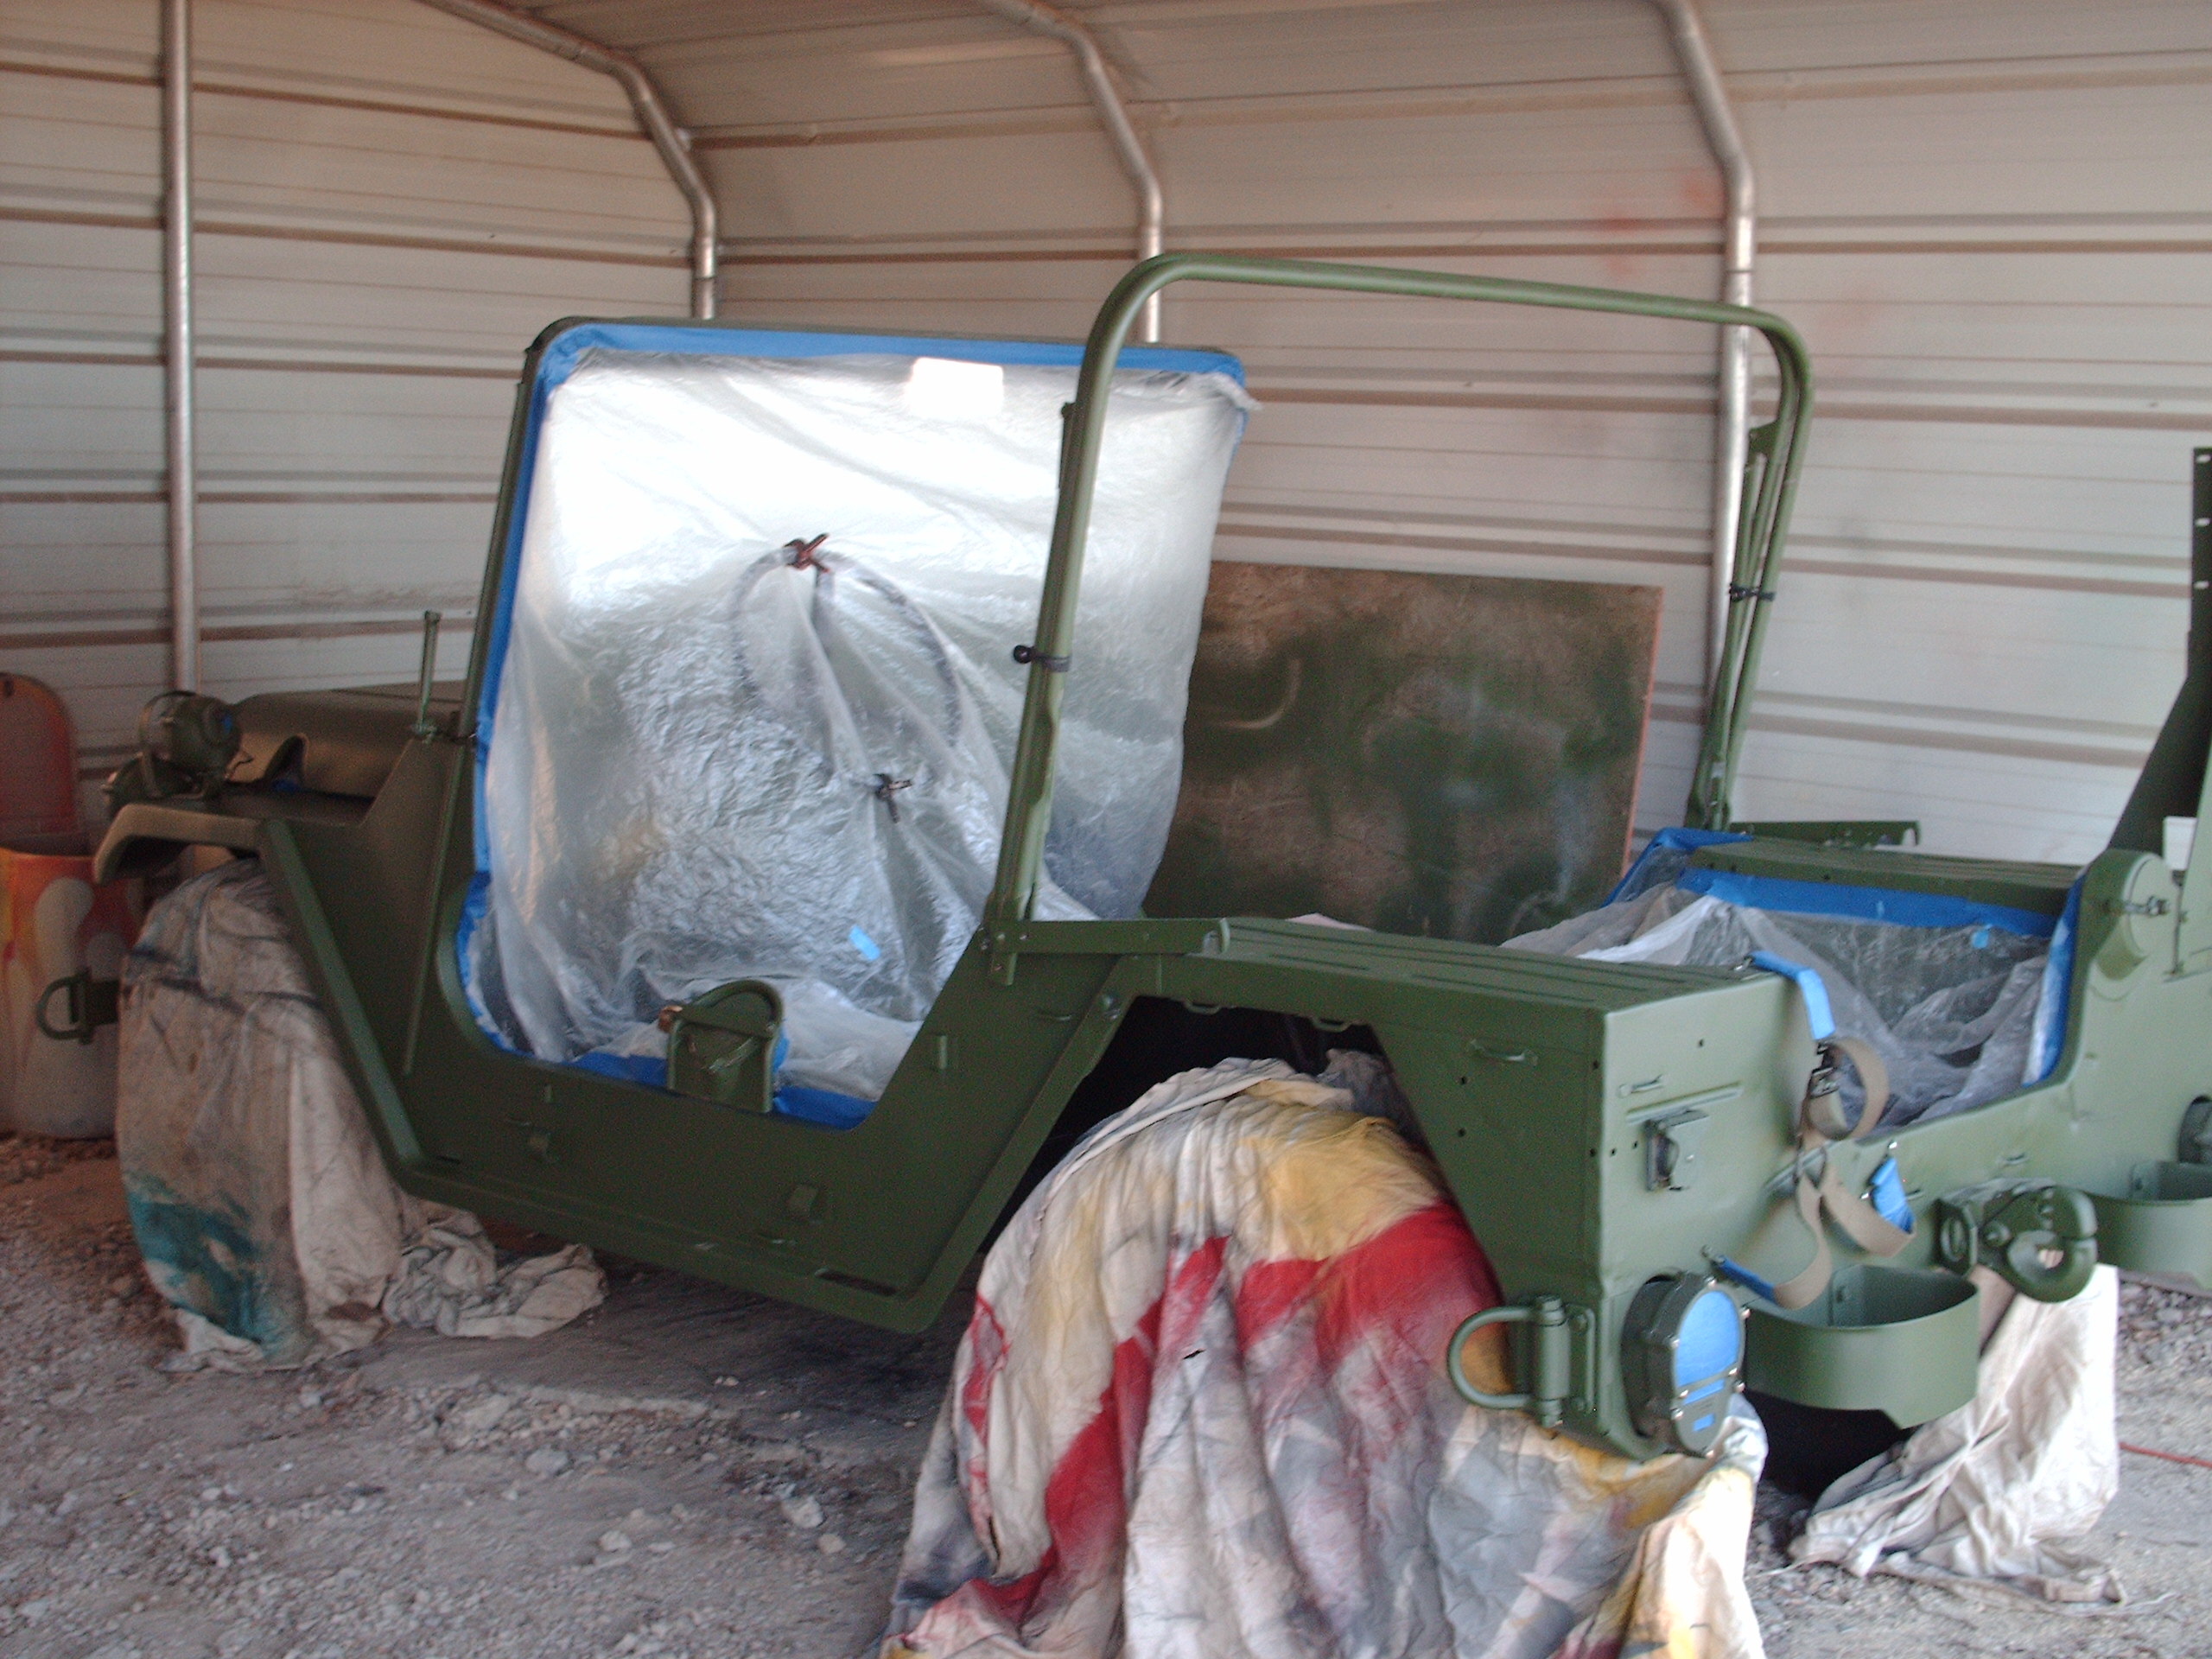
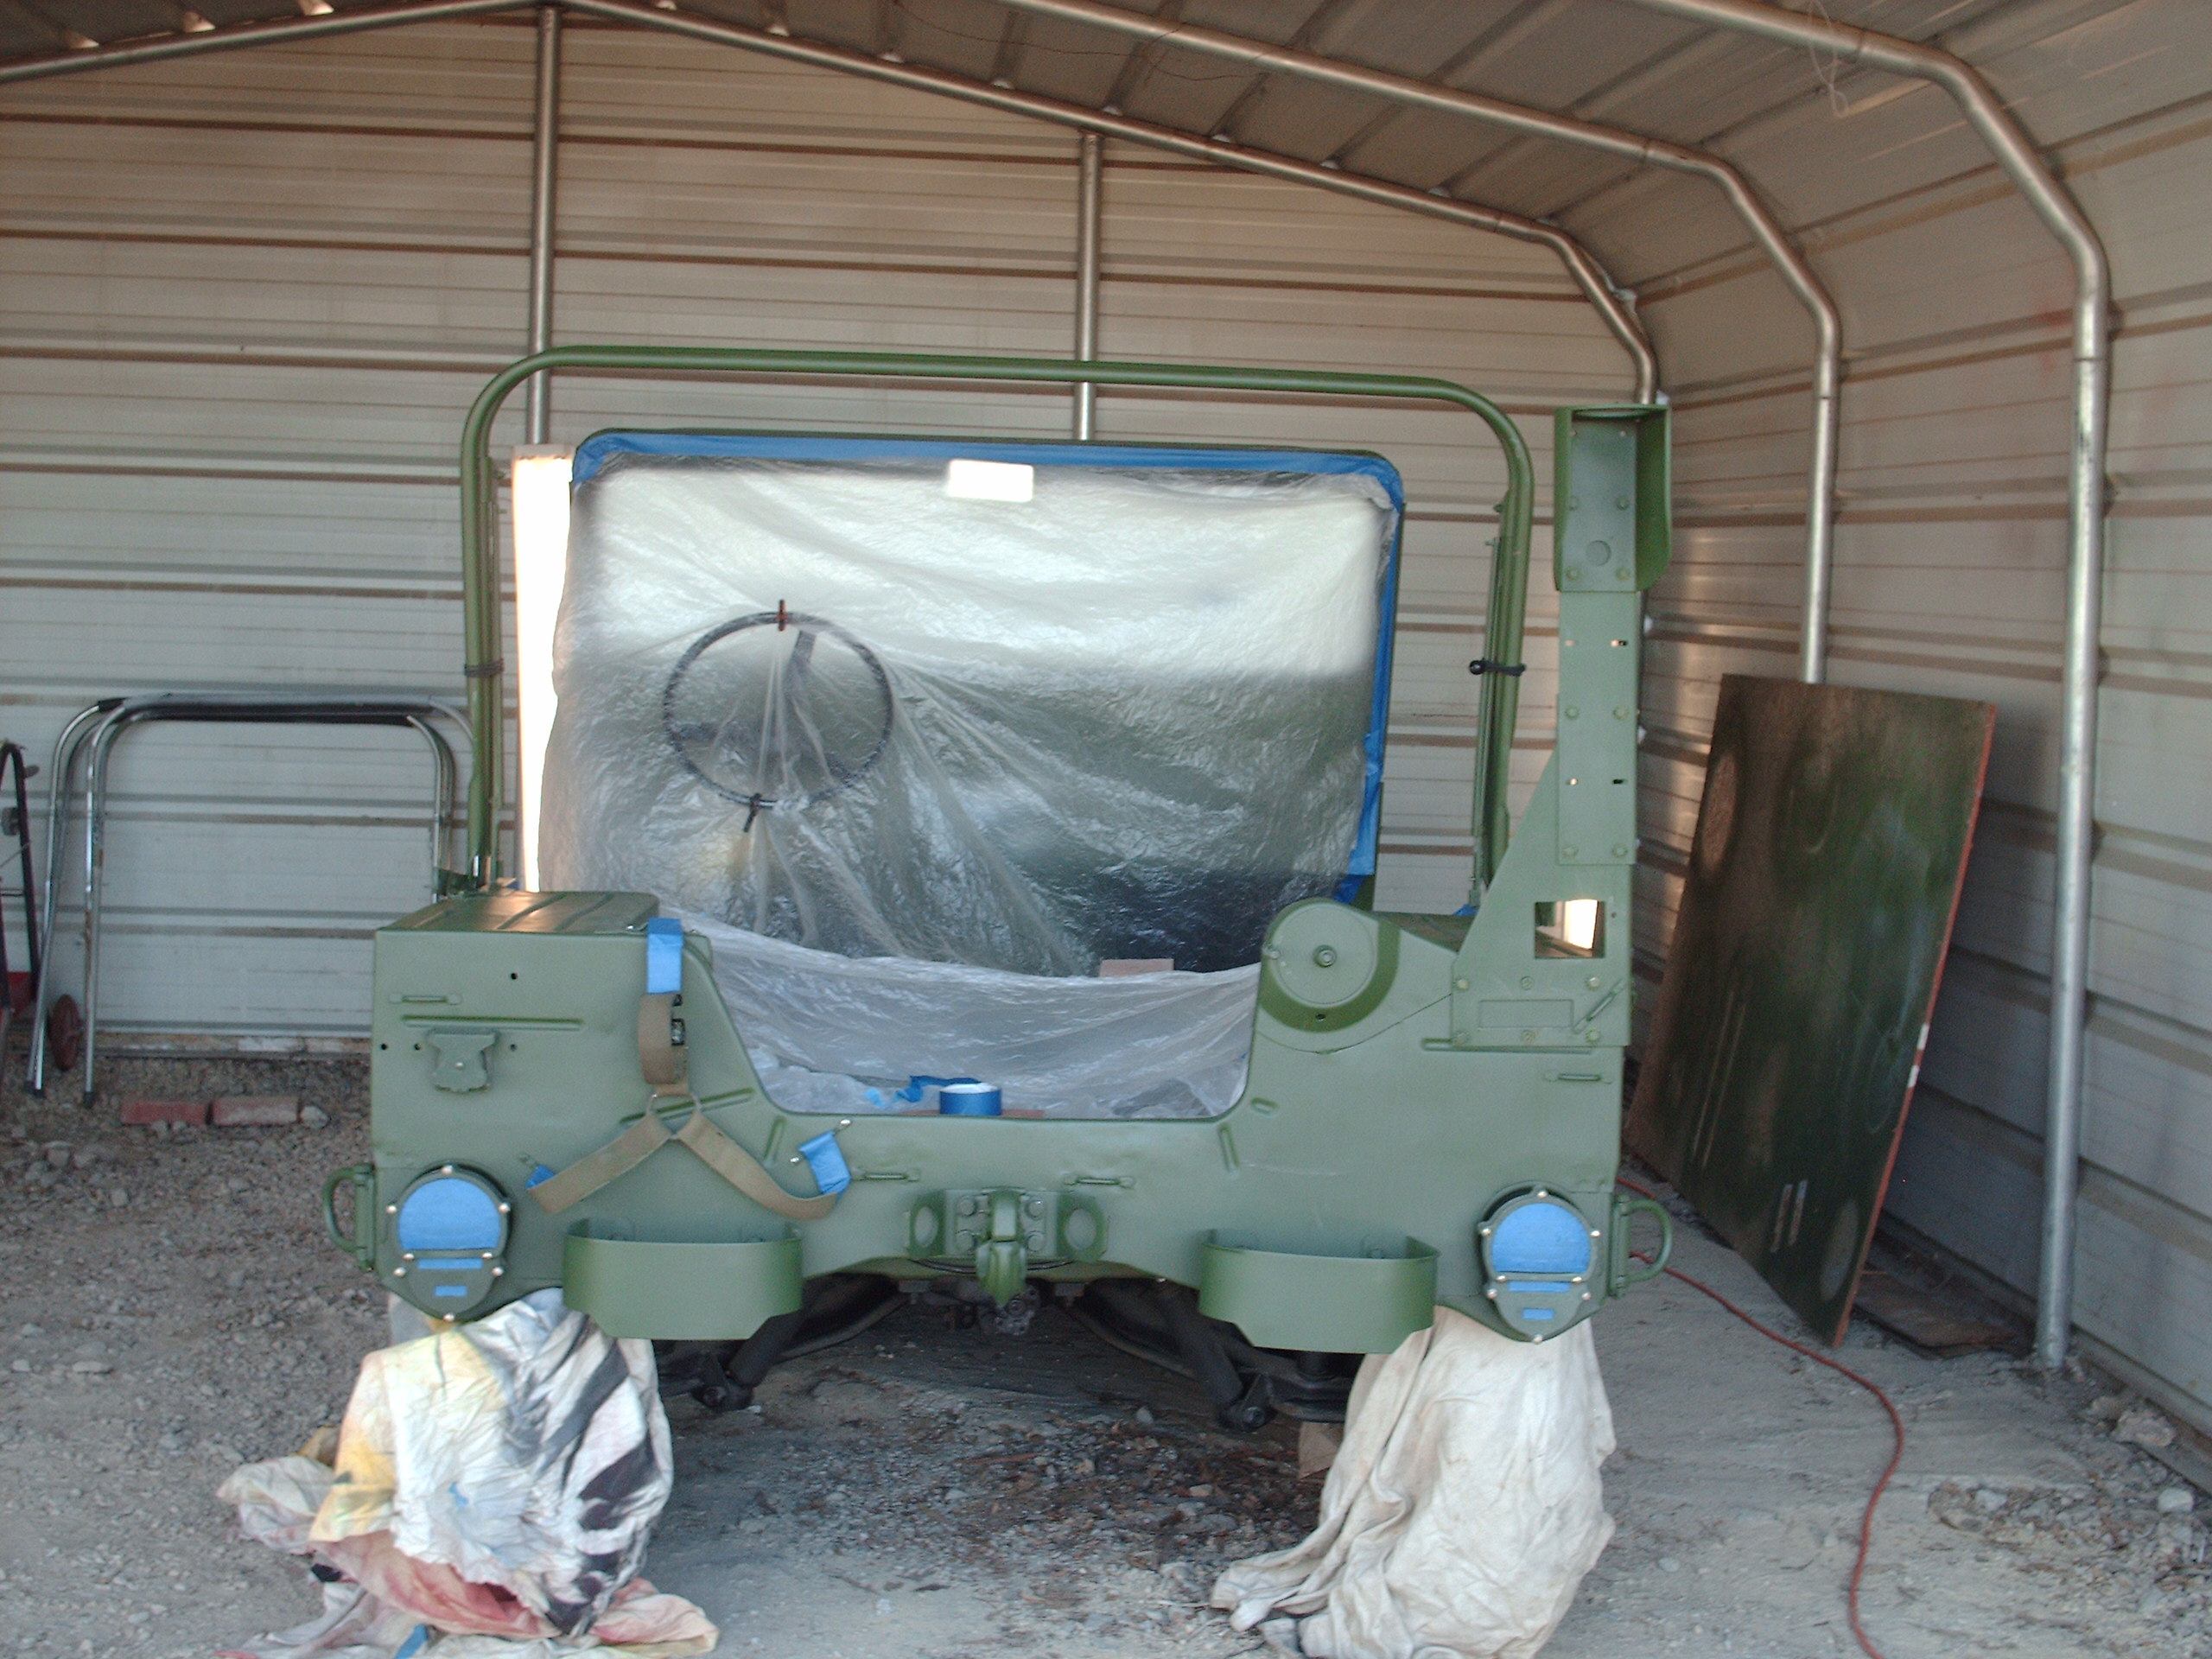
Primed and ready for painting Dec 2012
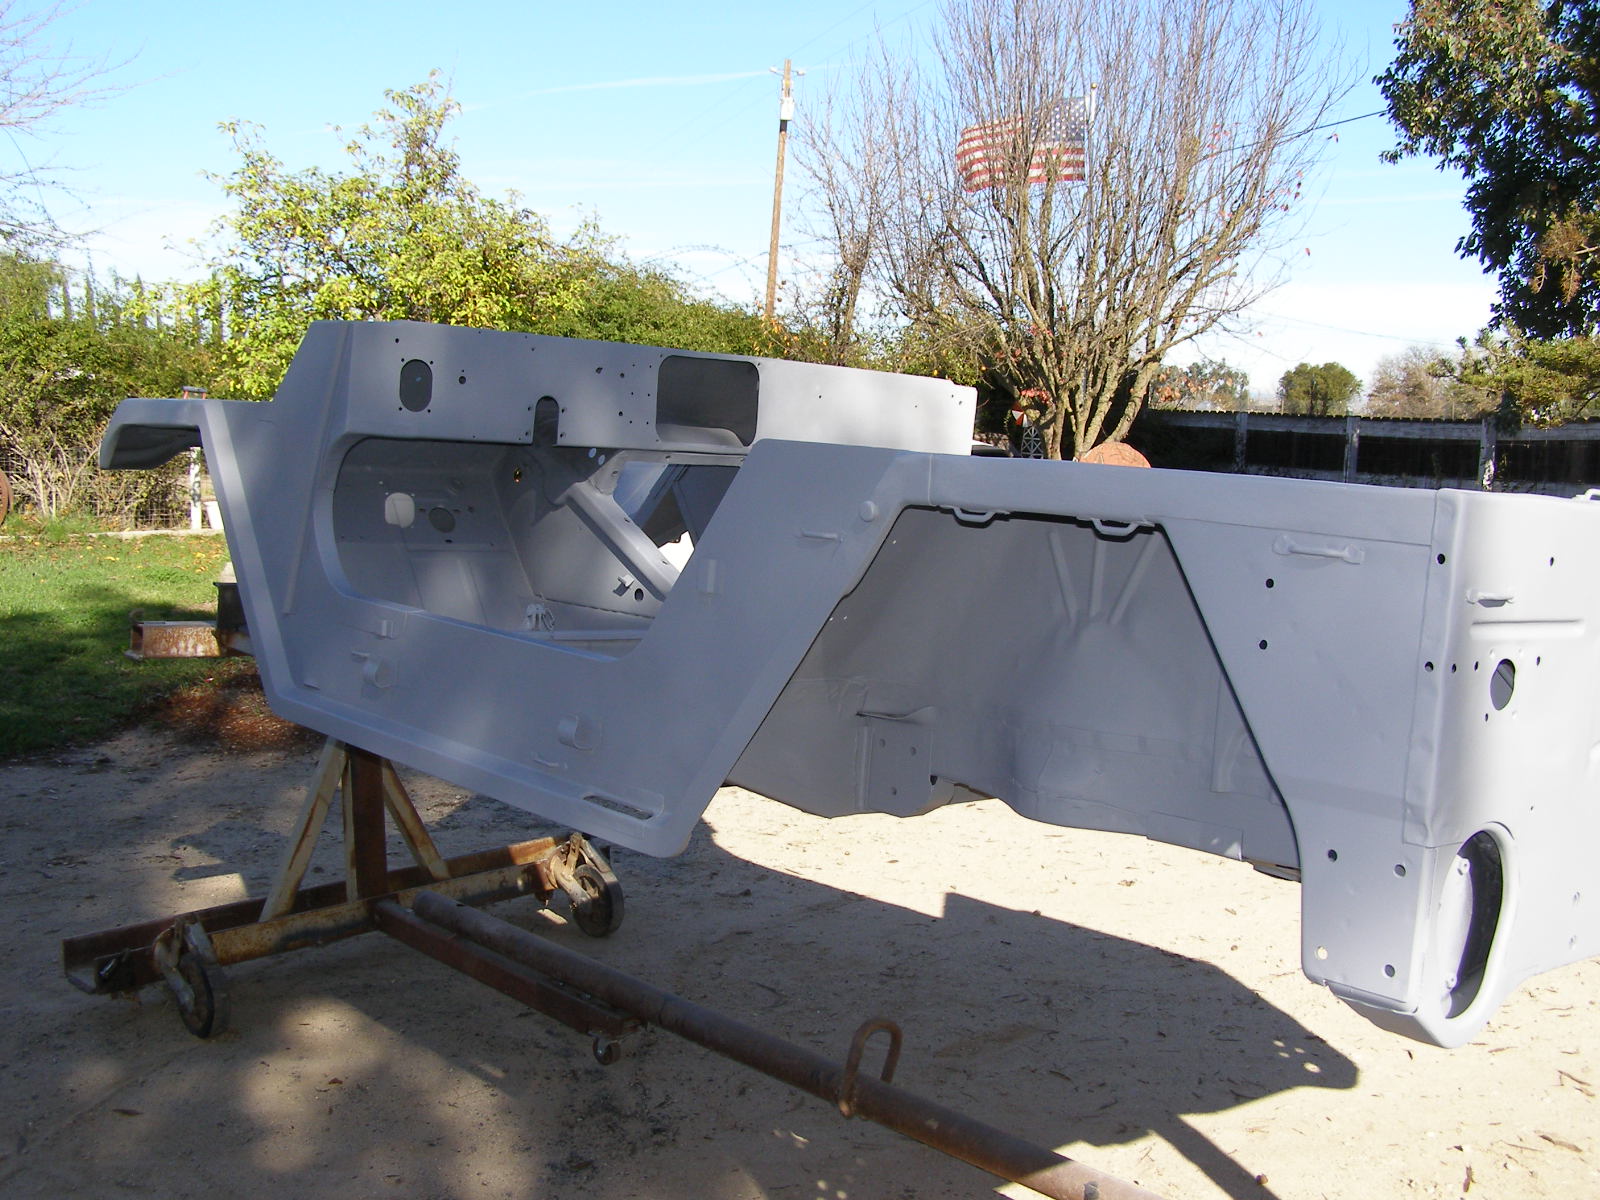
Primed
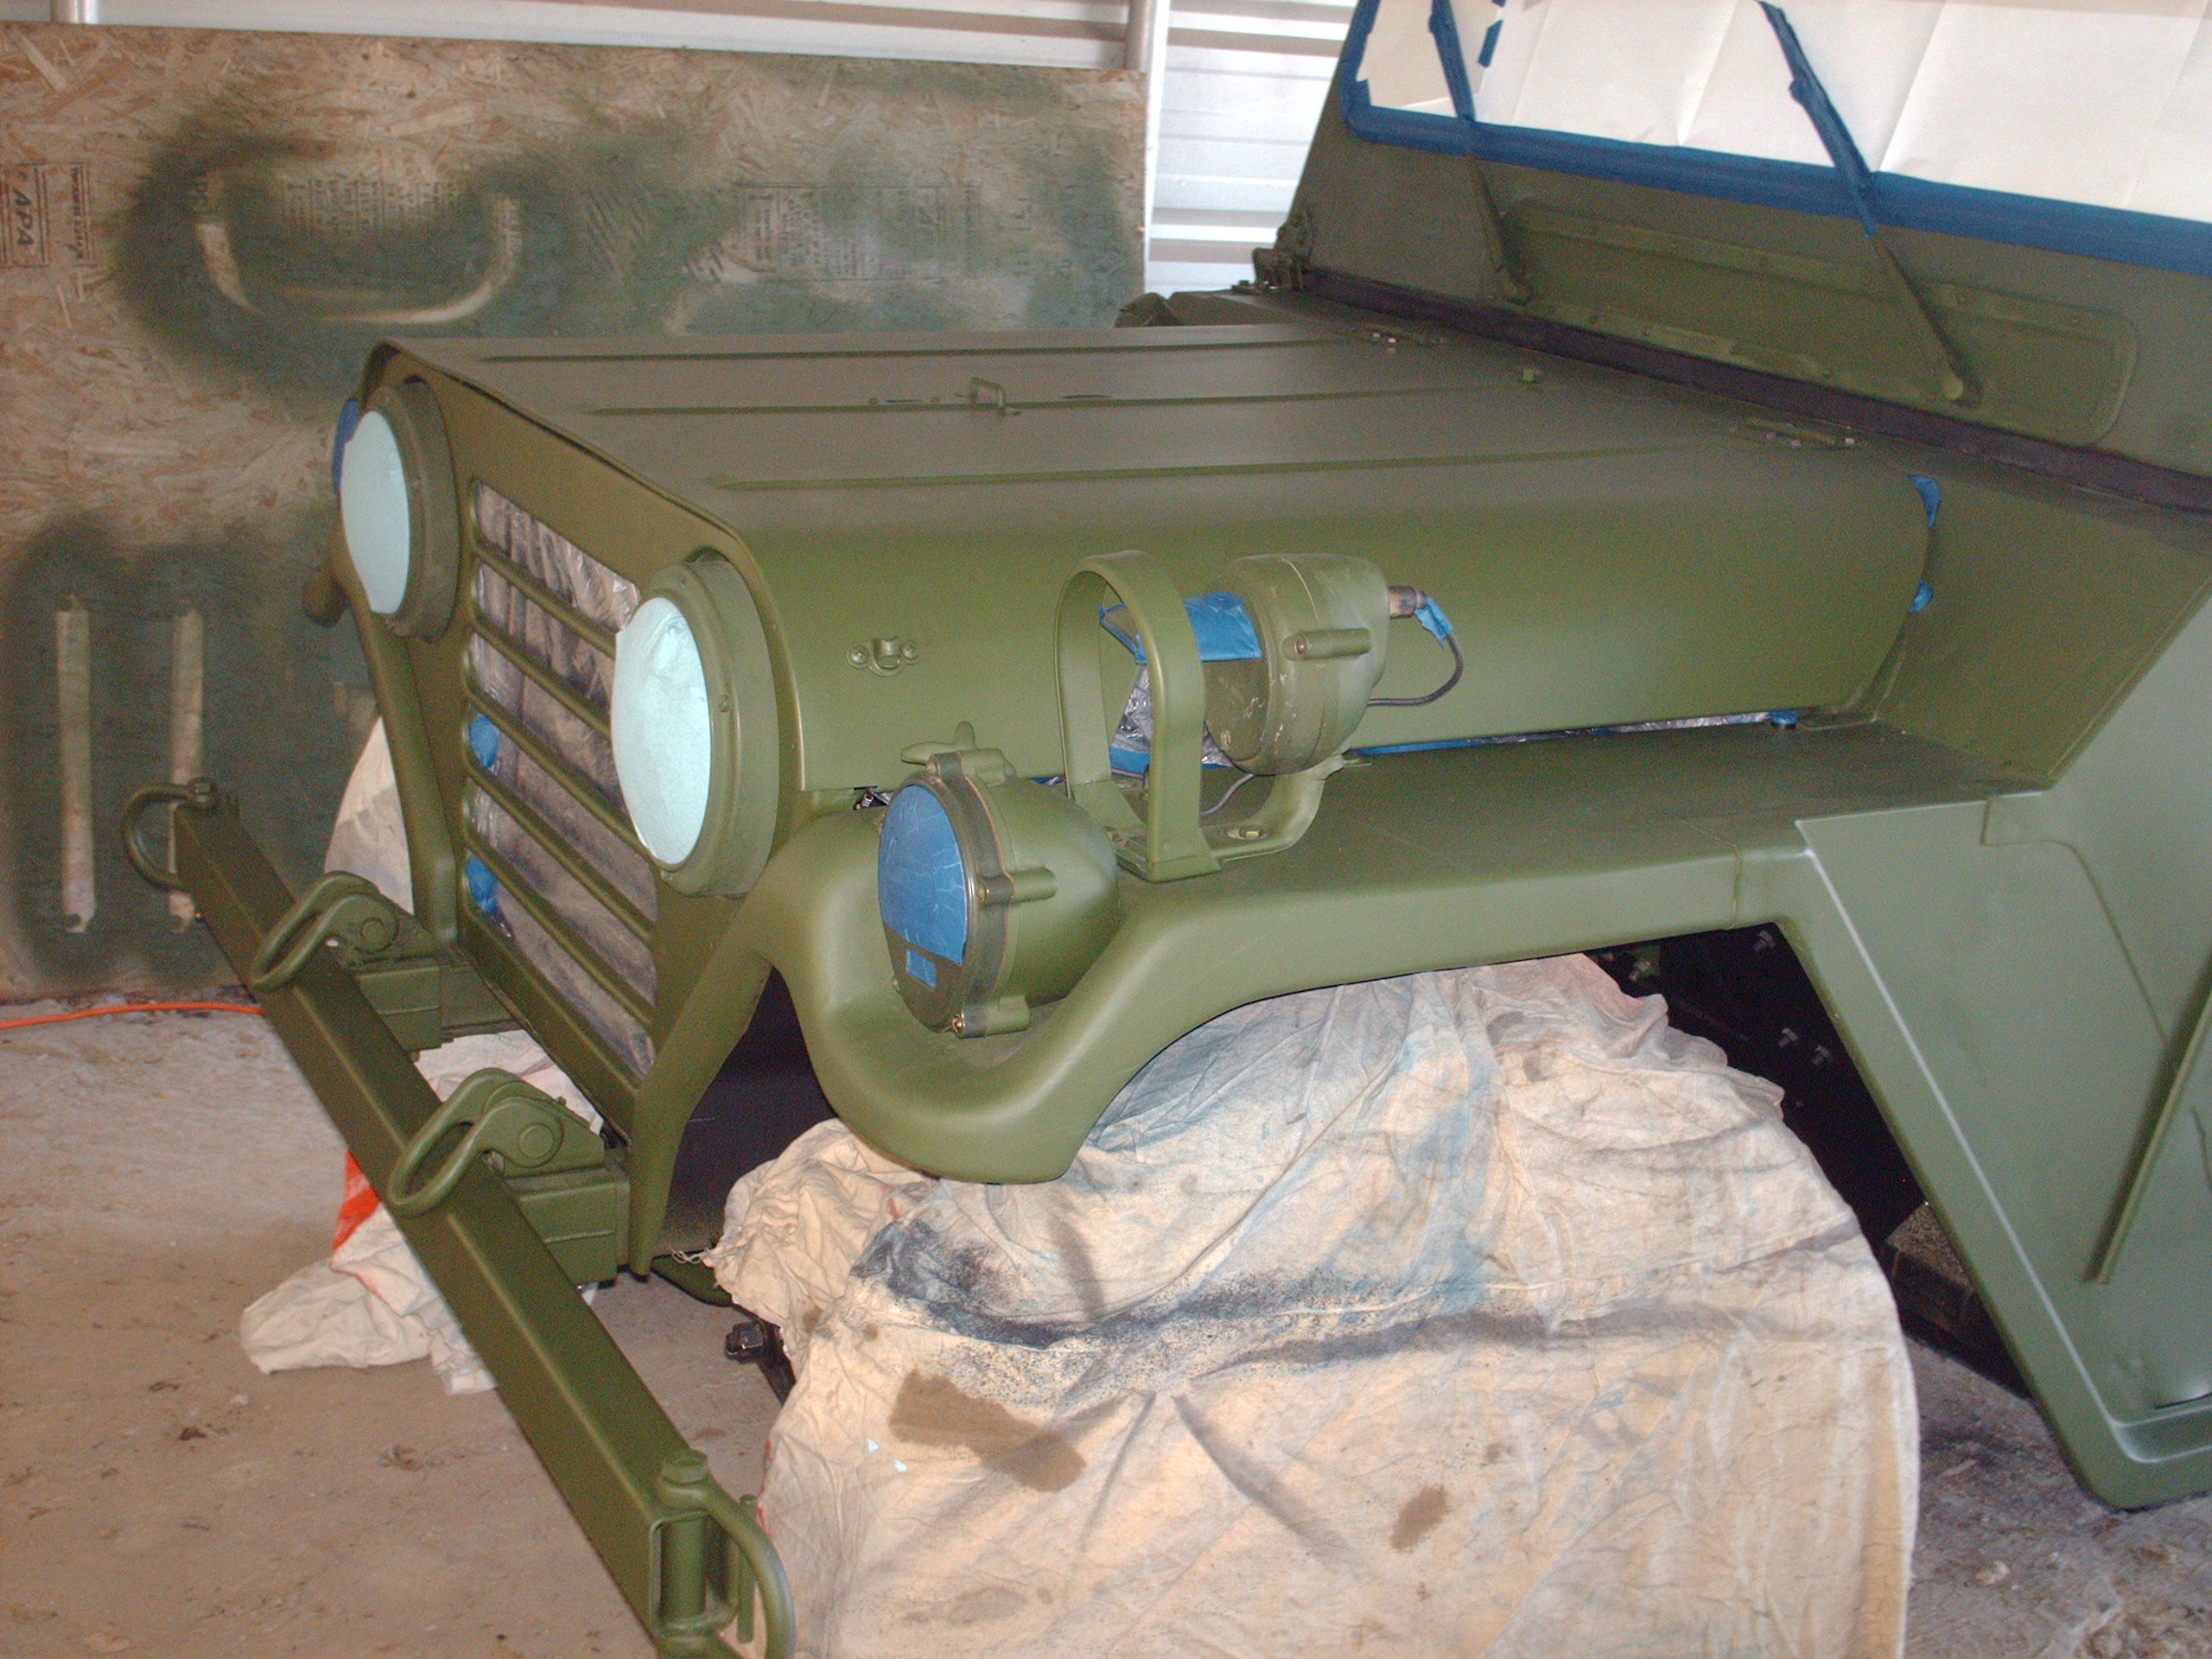
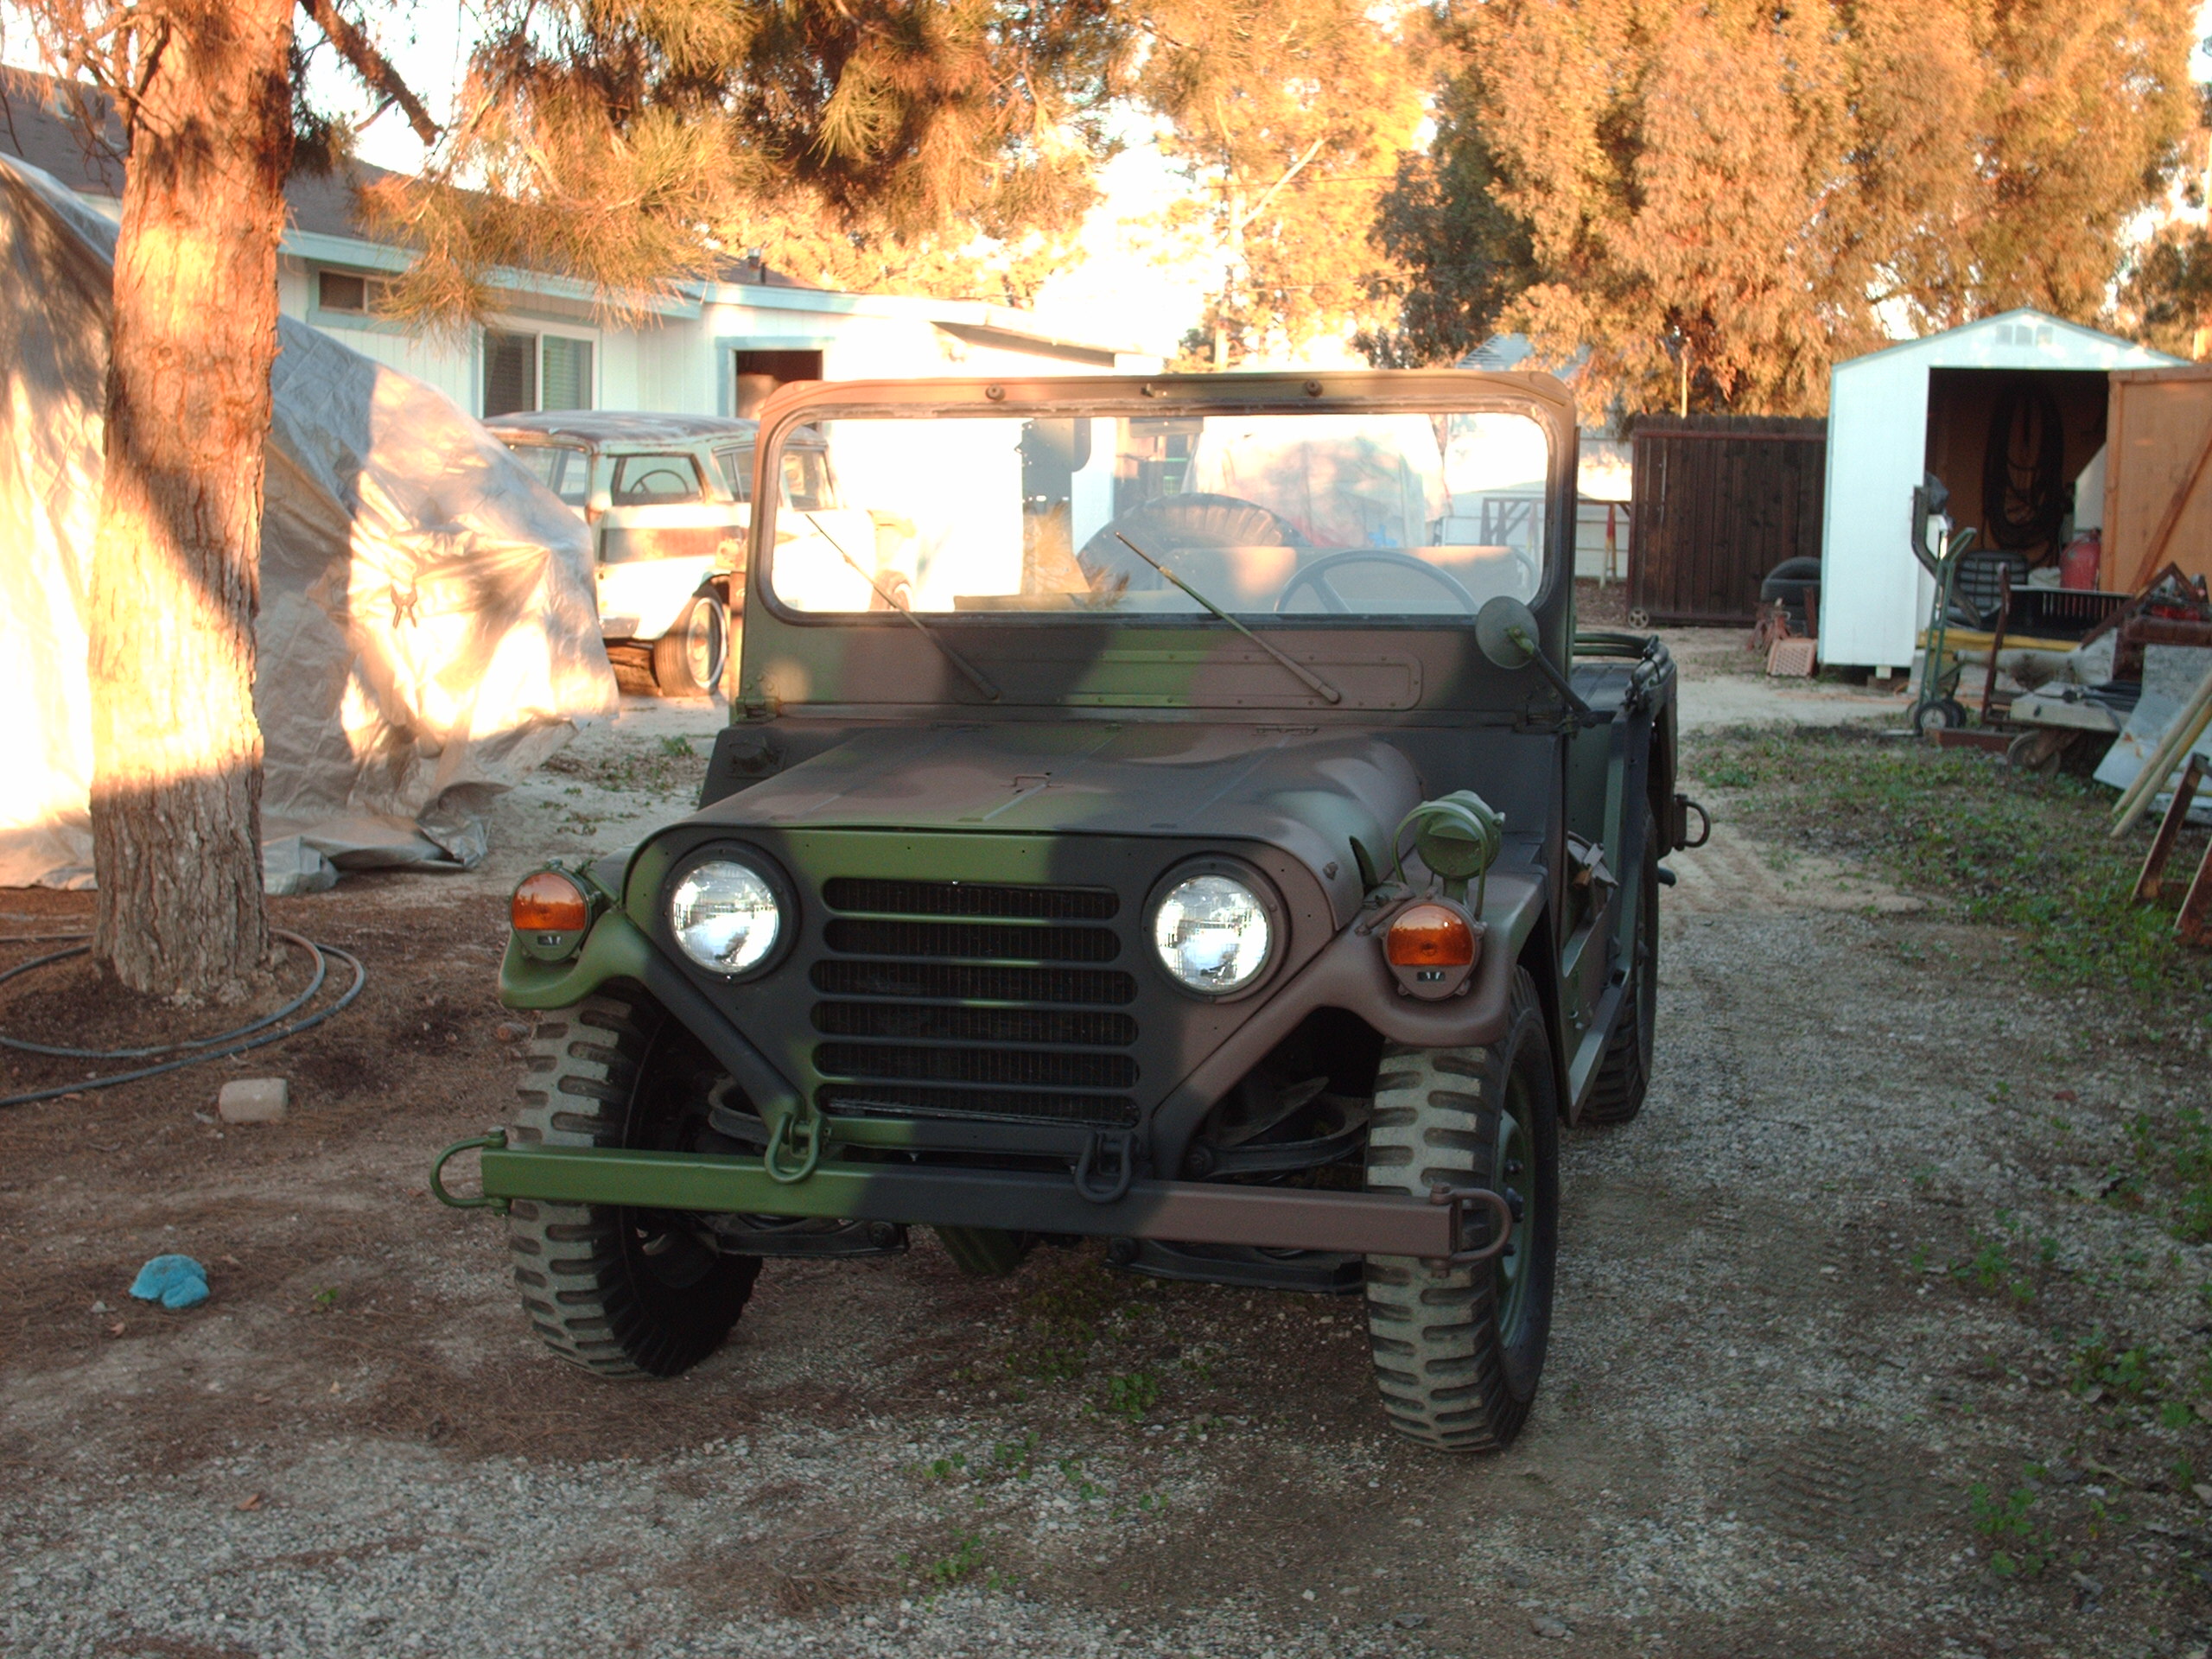
Front end
Inside ready
Inside the paint booth
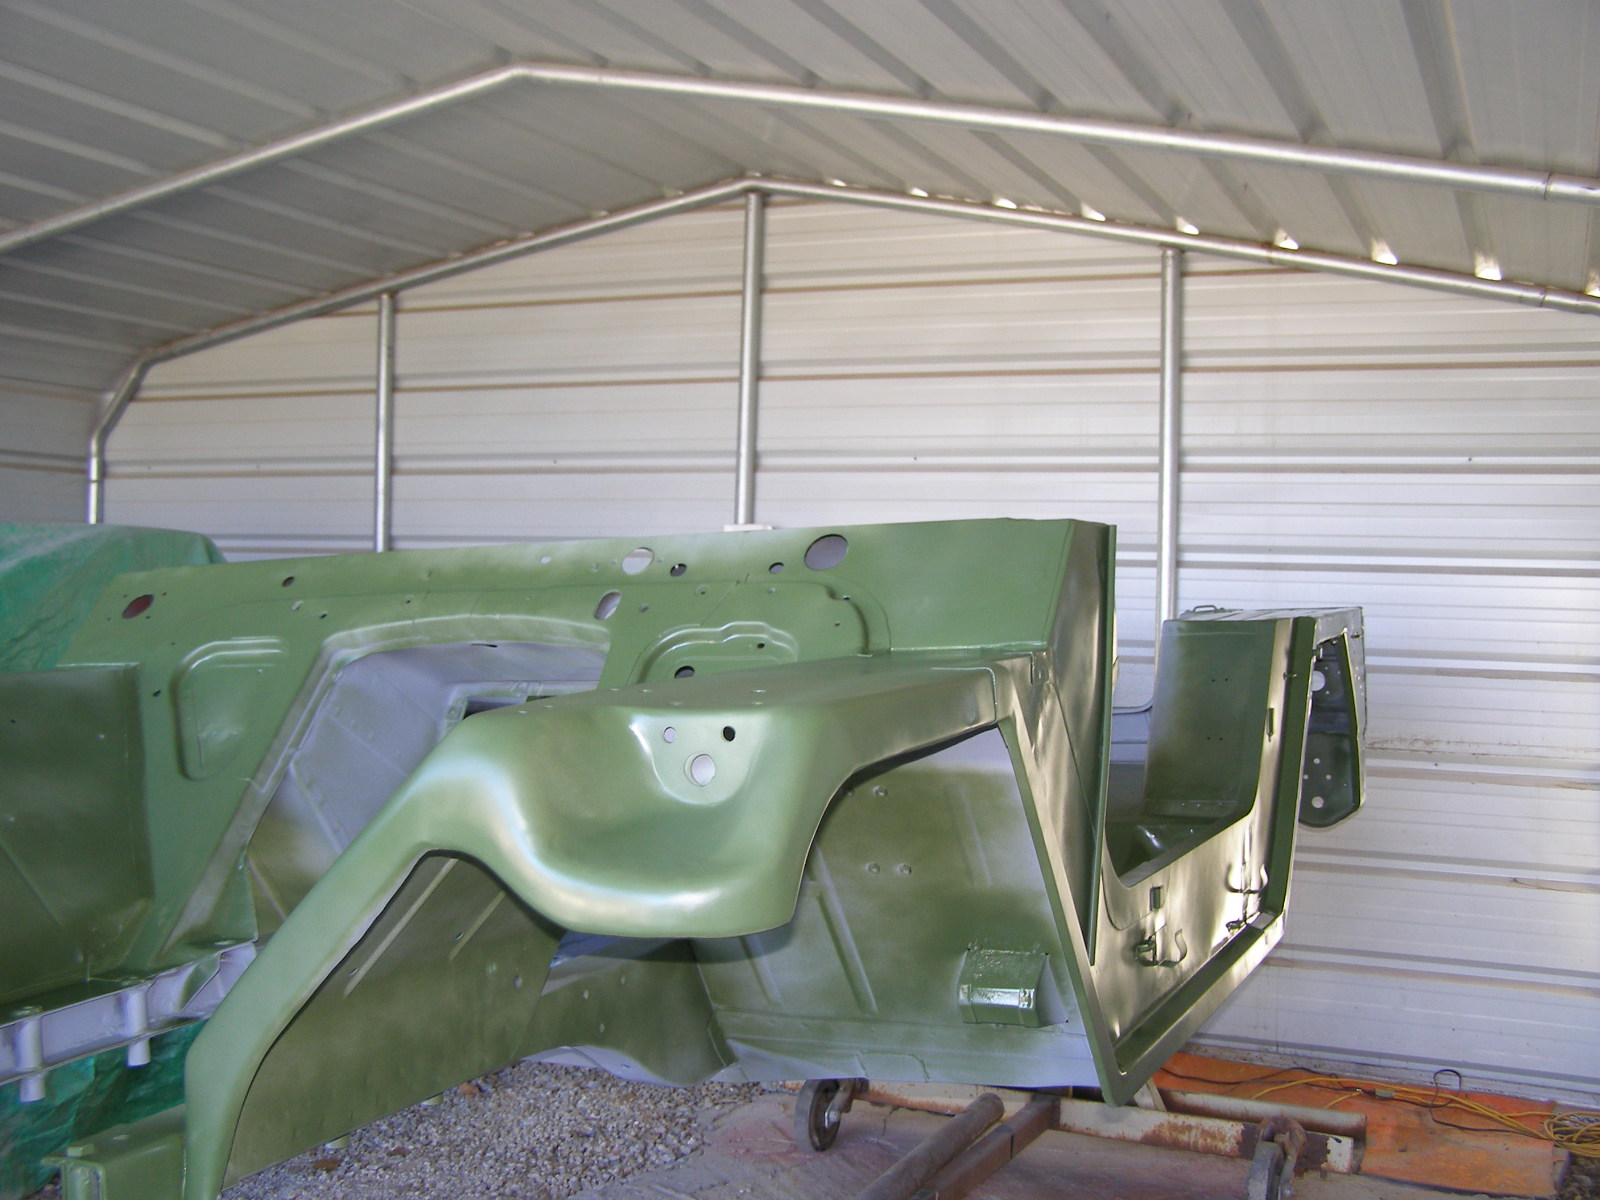
Starting the first light coast of 383
Slow but there are lots of places to cover and get it right
Looking good. Shinny still needs to dry

Starting to look good as well as drying
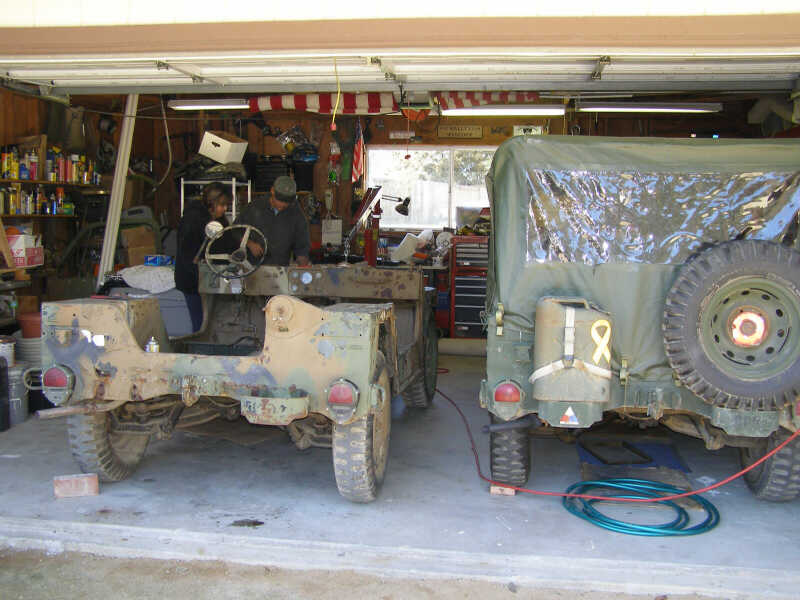
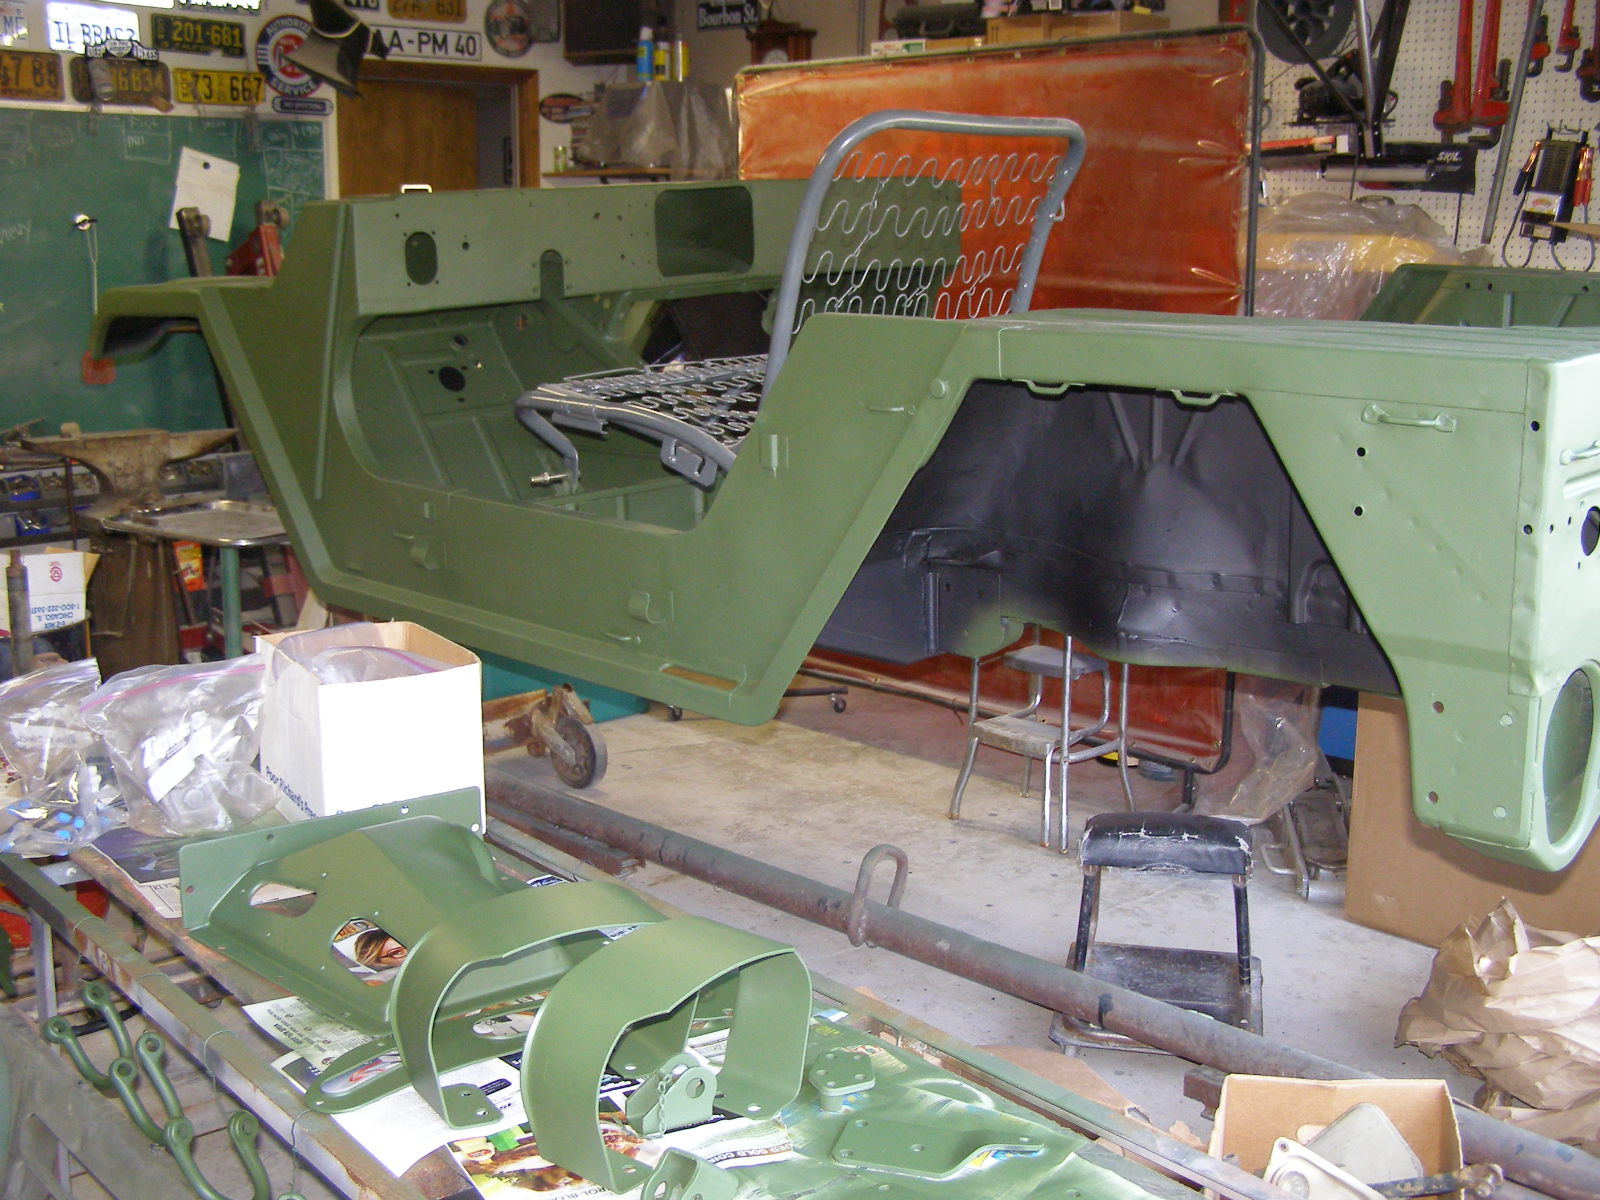
Back in the garage to start re assembly after 3 yrs of work. FINALLY
Looks great
Bring in the parts, more work
More parts for cleaning and painting
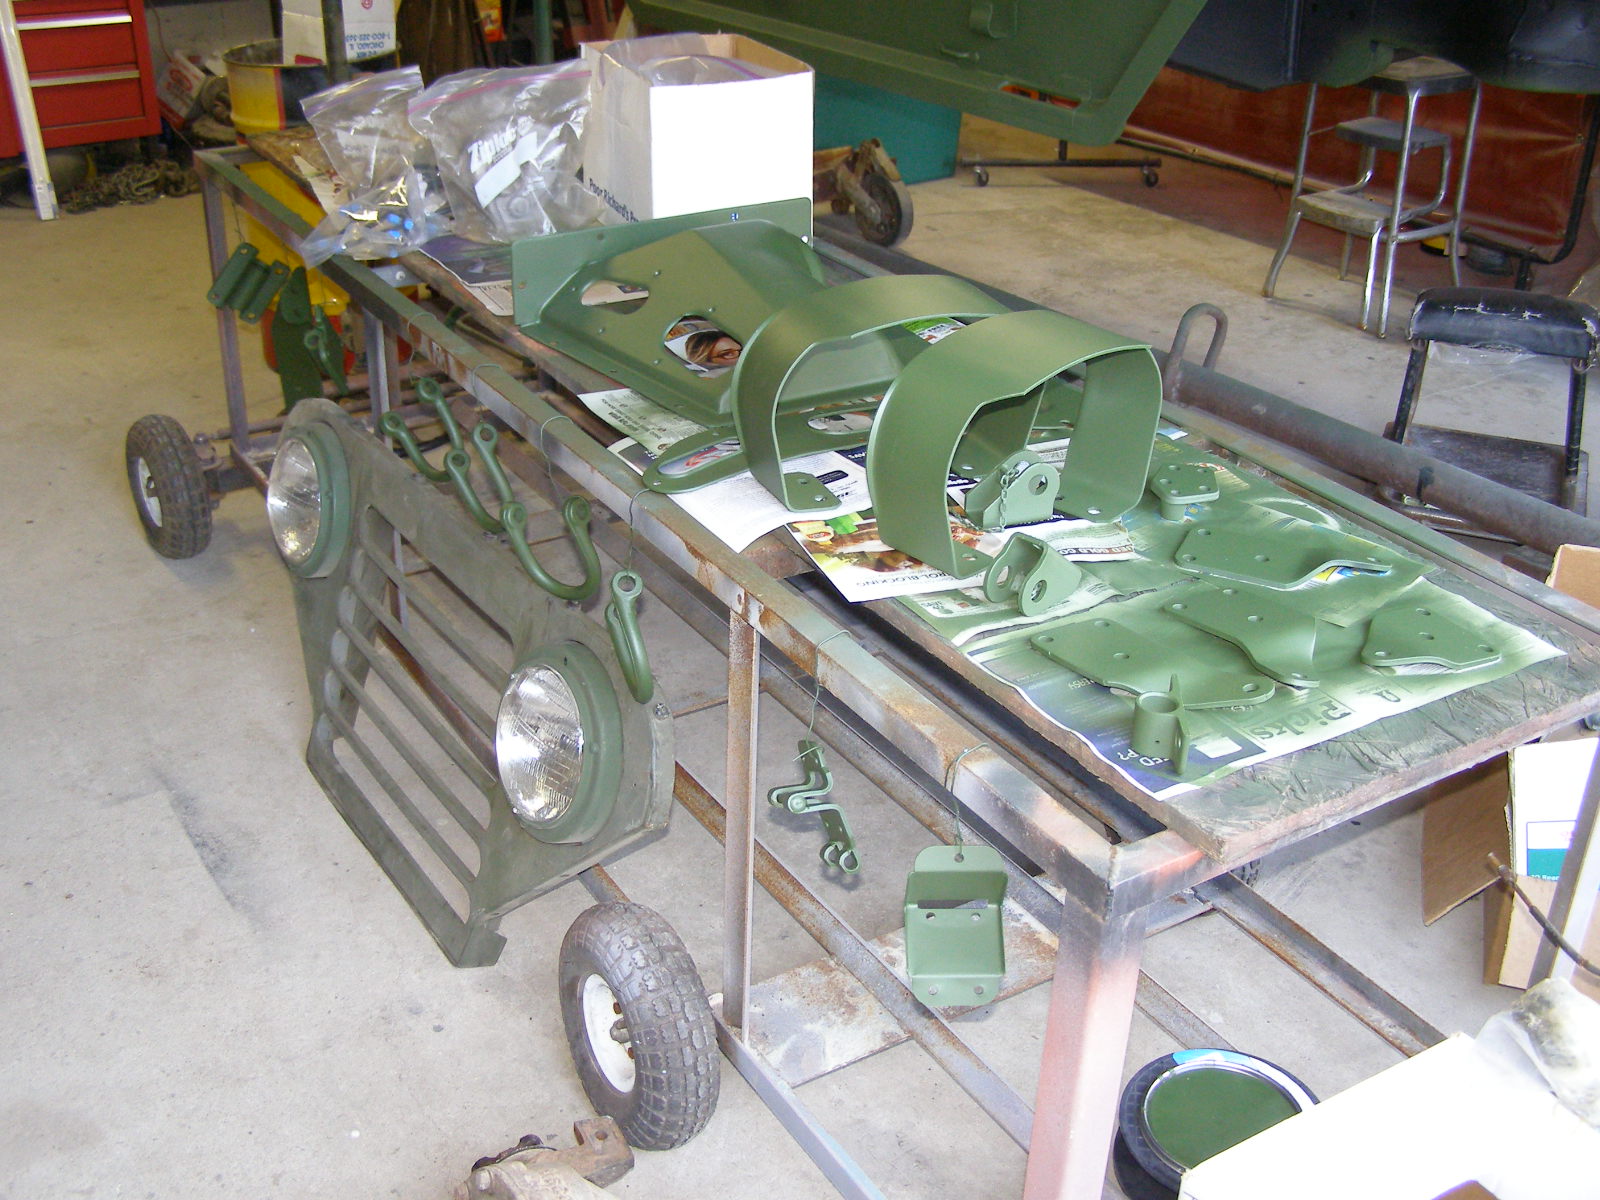
Parts is parts
Parts and under body protection coating
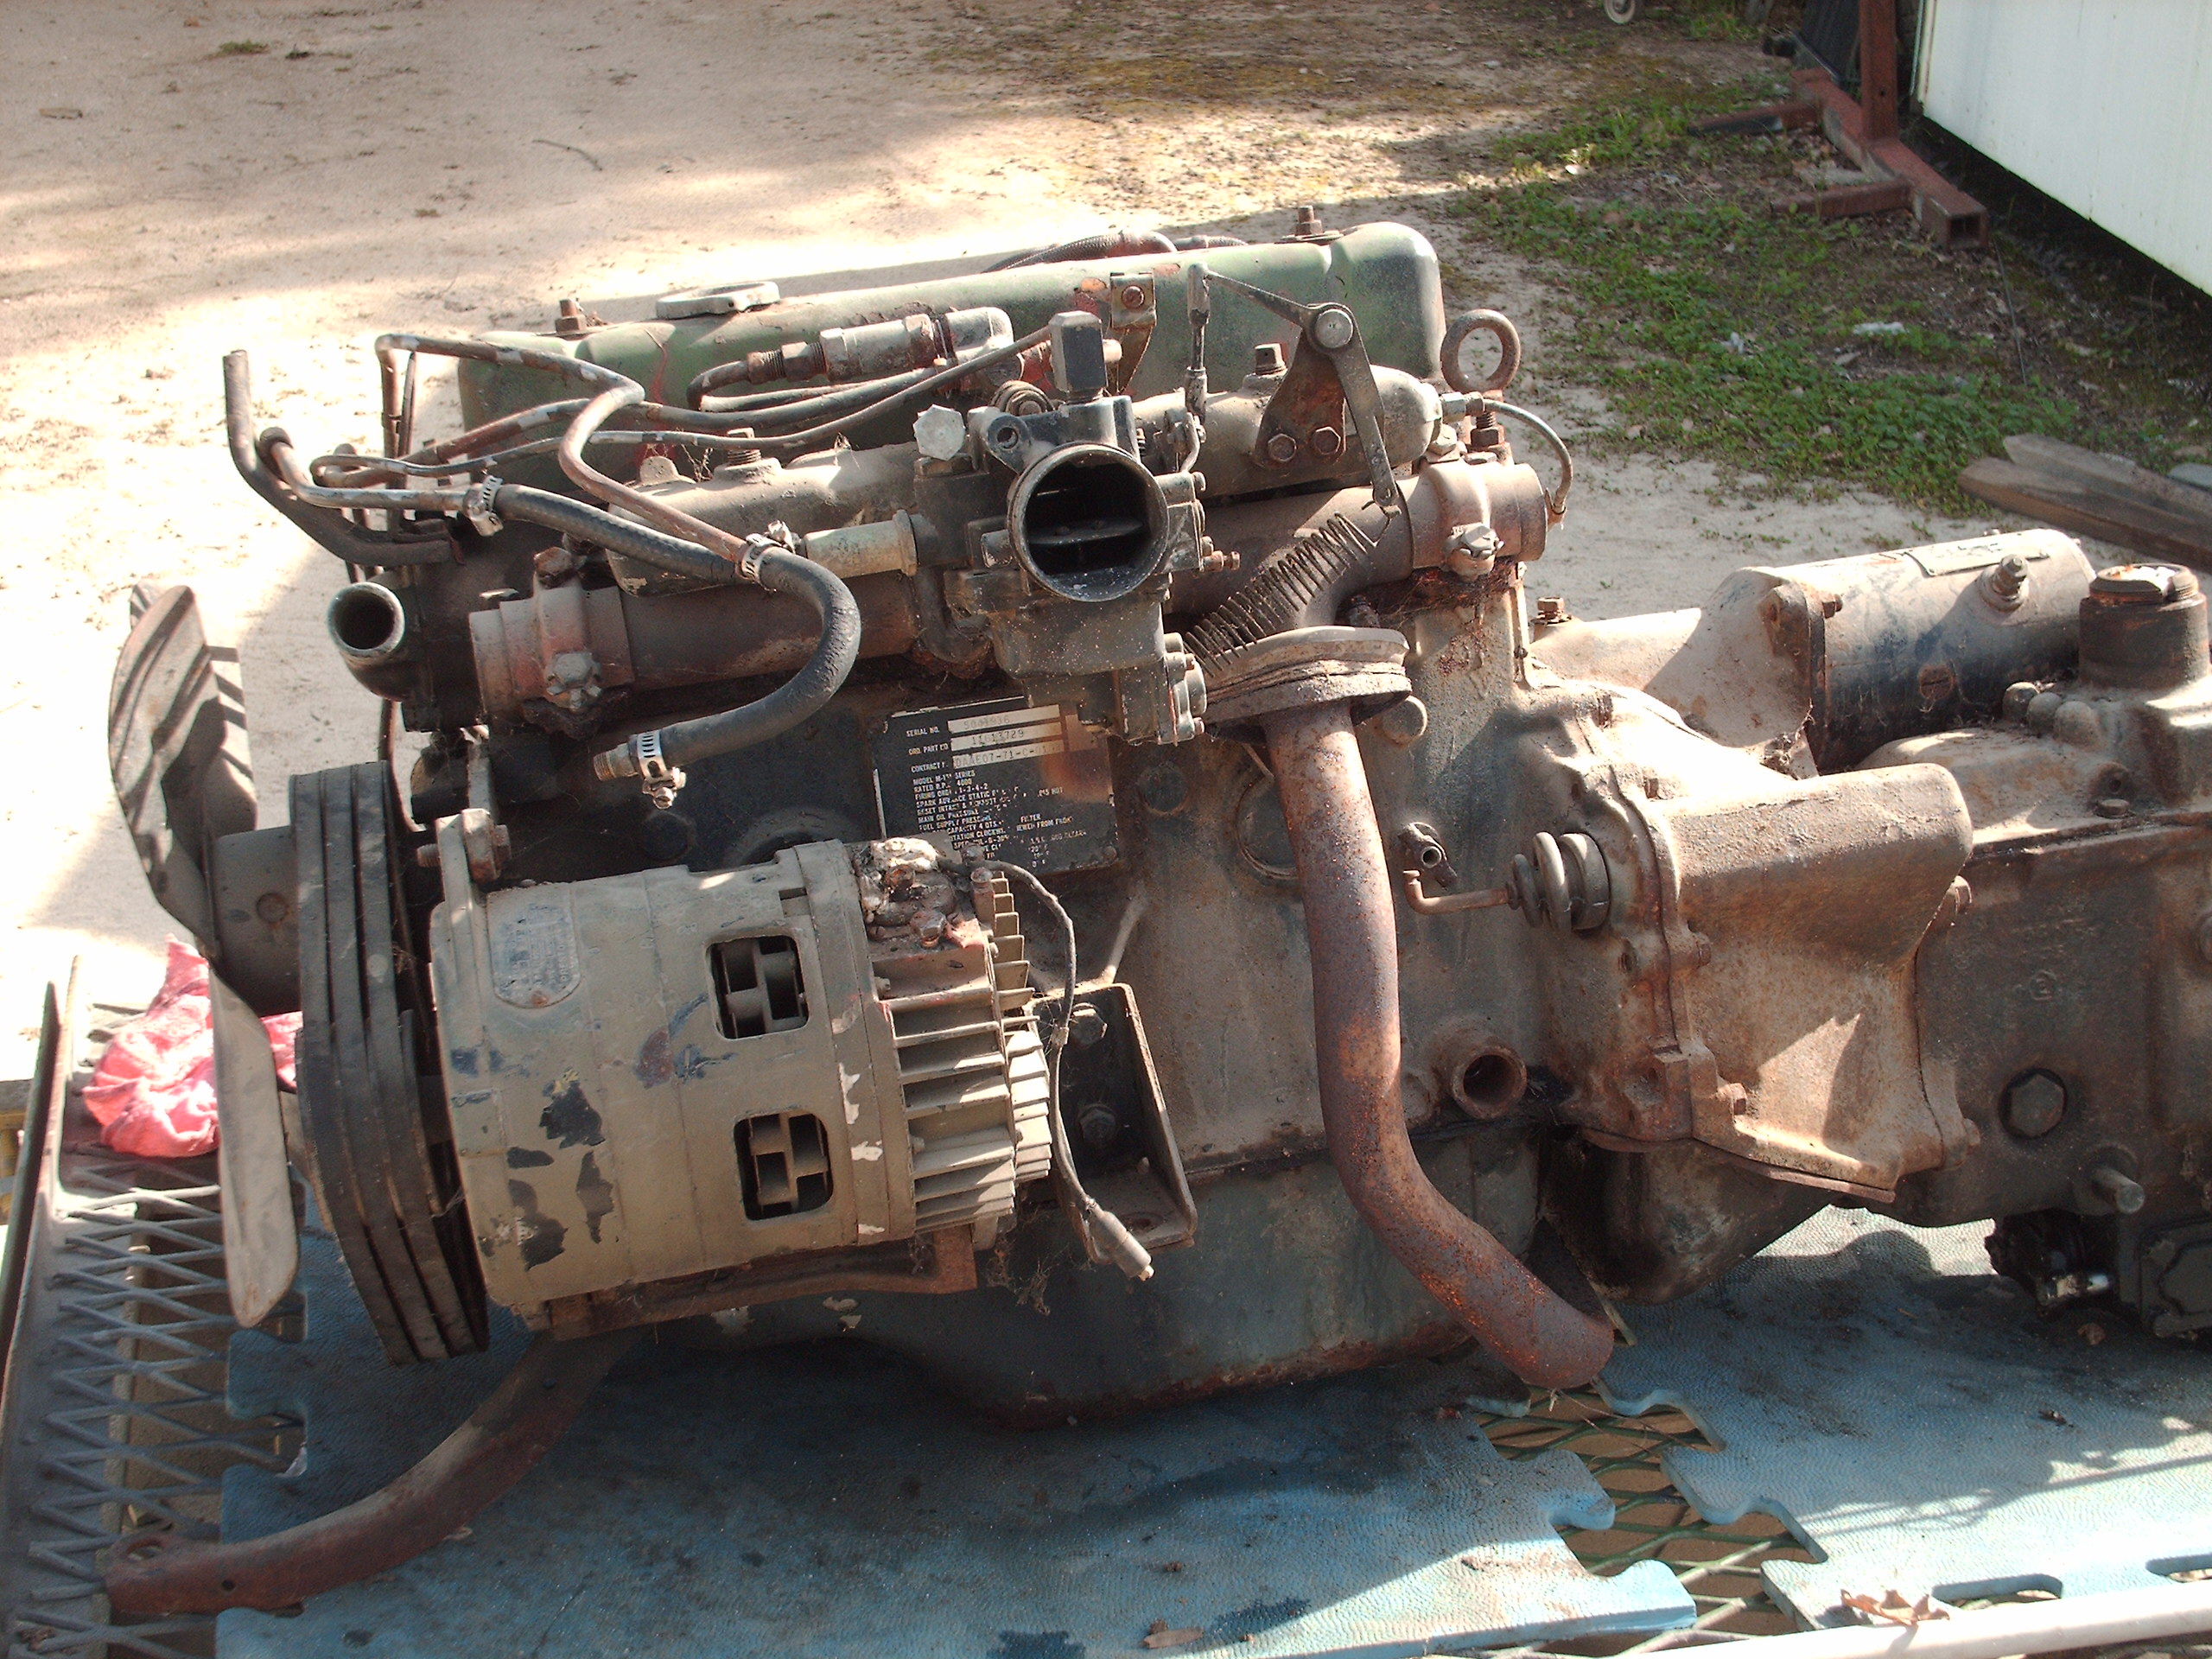
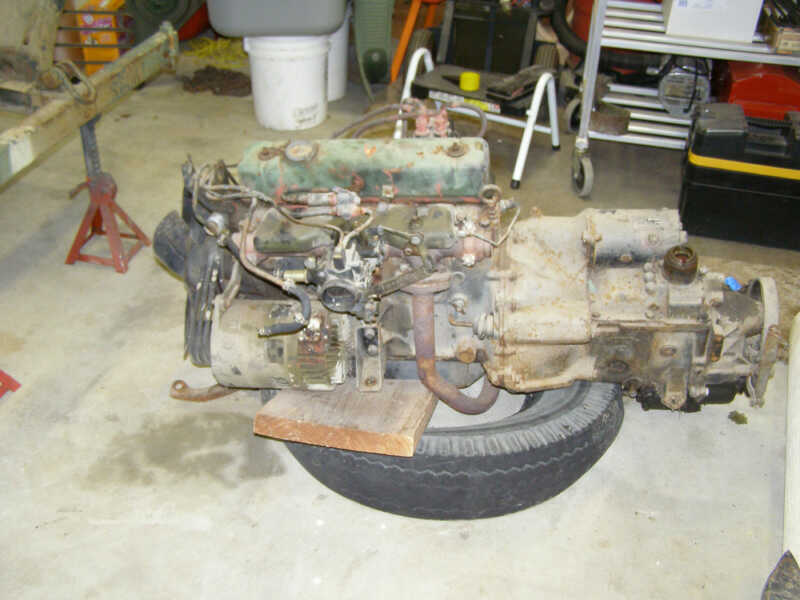
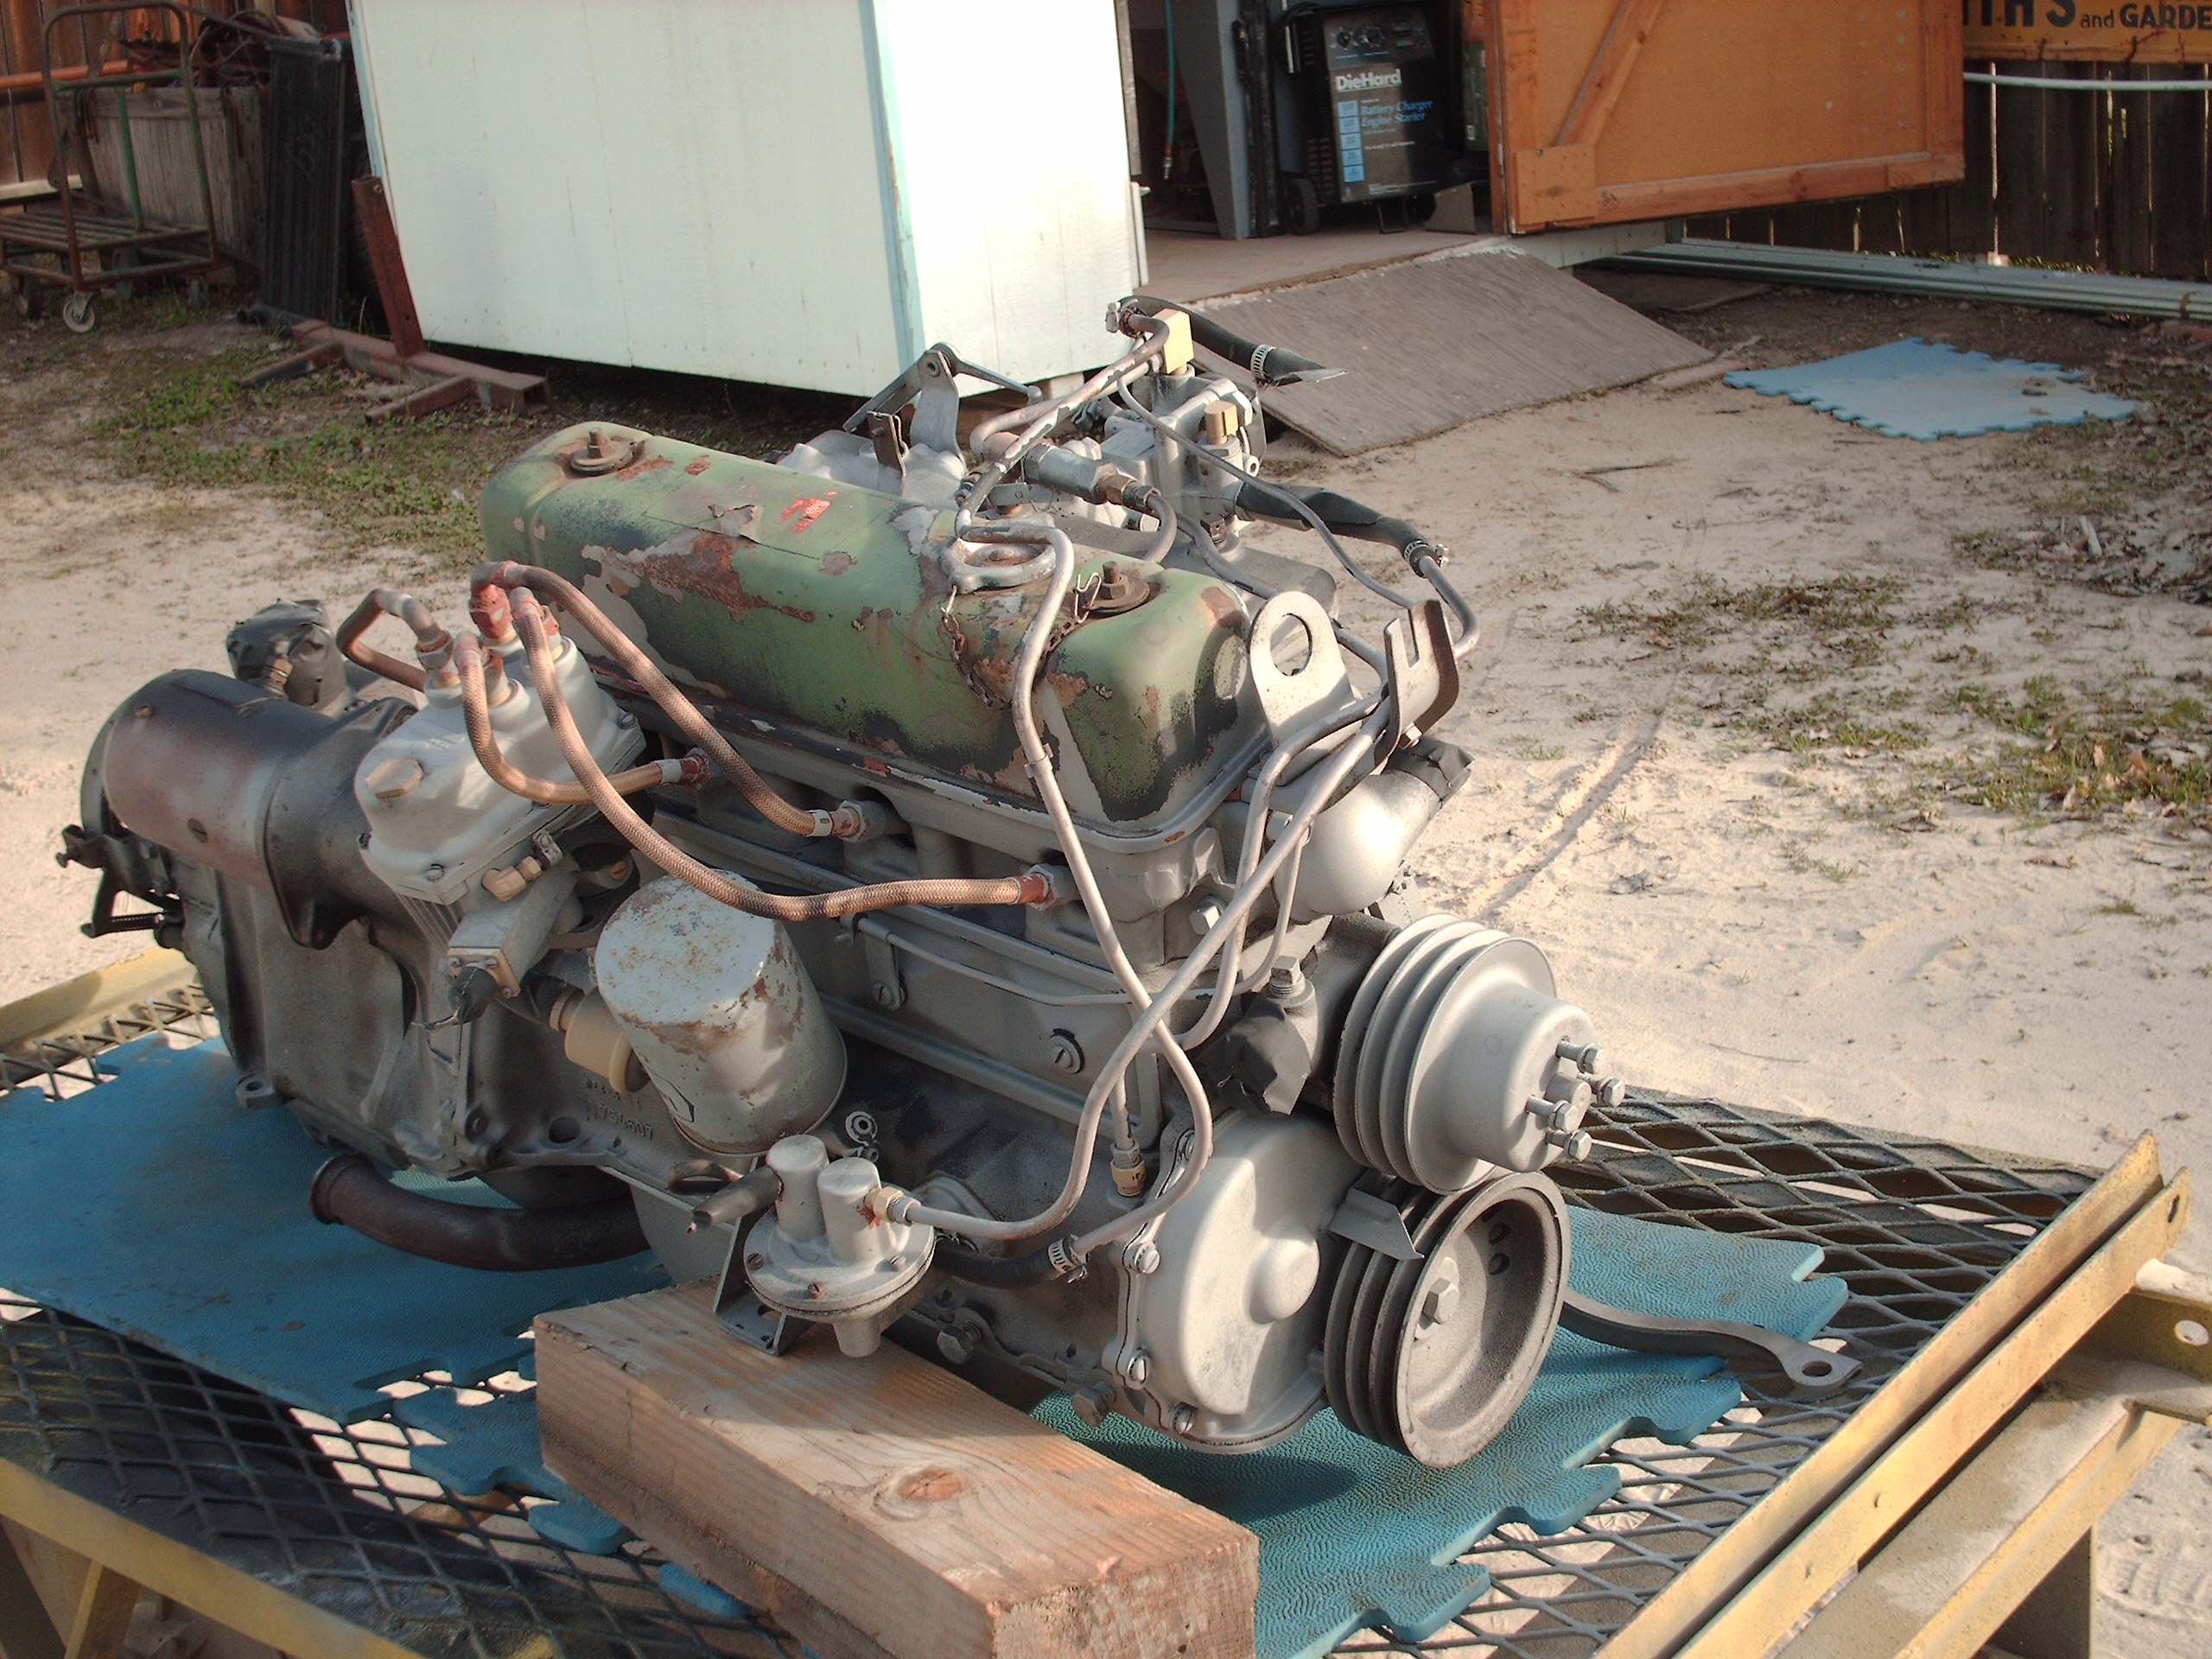
Original engine with 26K miles
Lightly blasted and ready for new paint Jan 2013
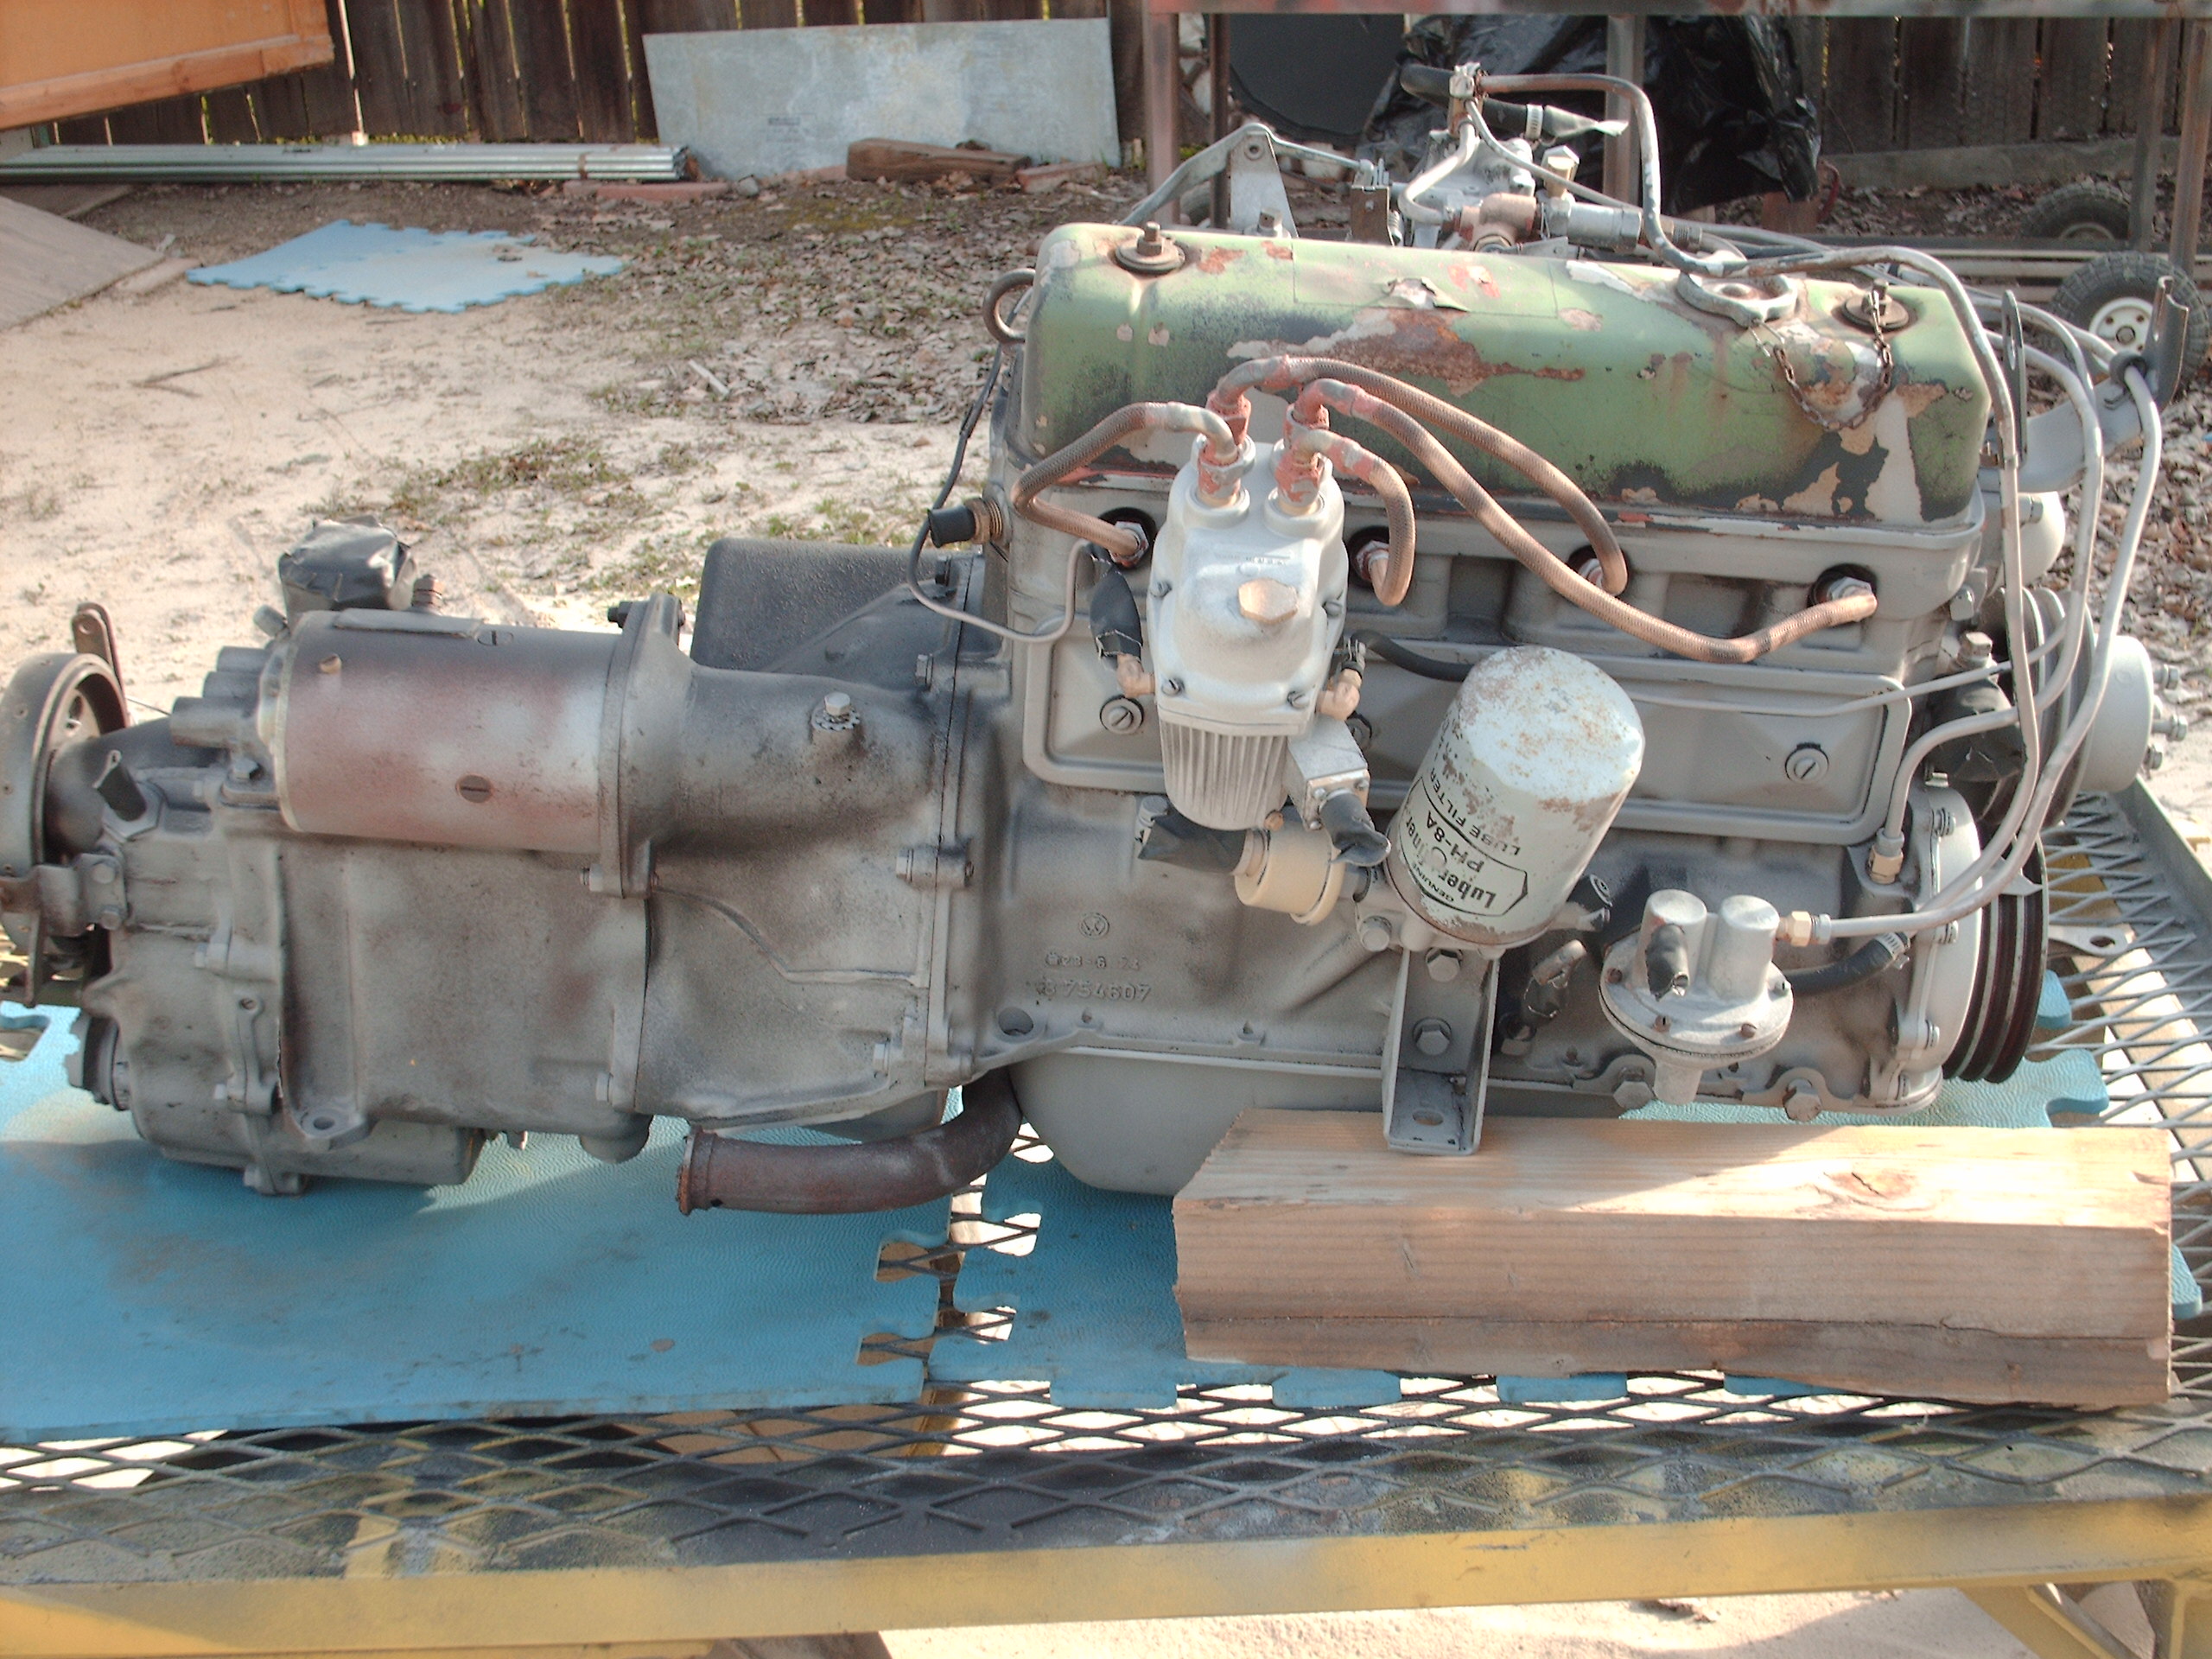
Lightly sand blasted
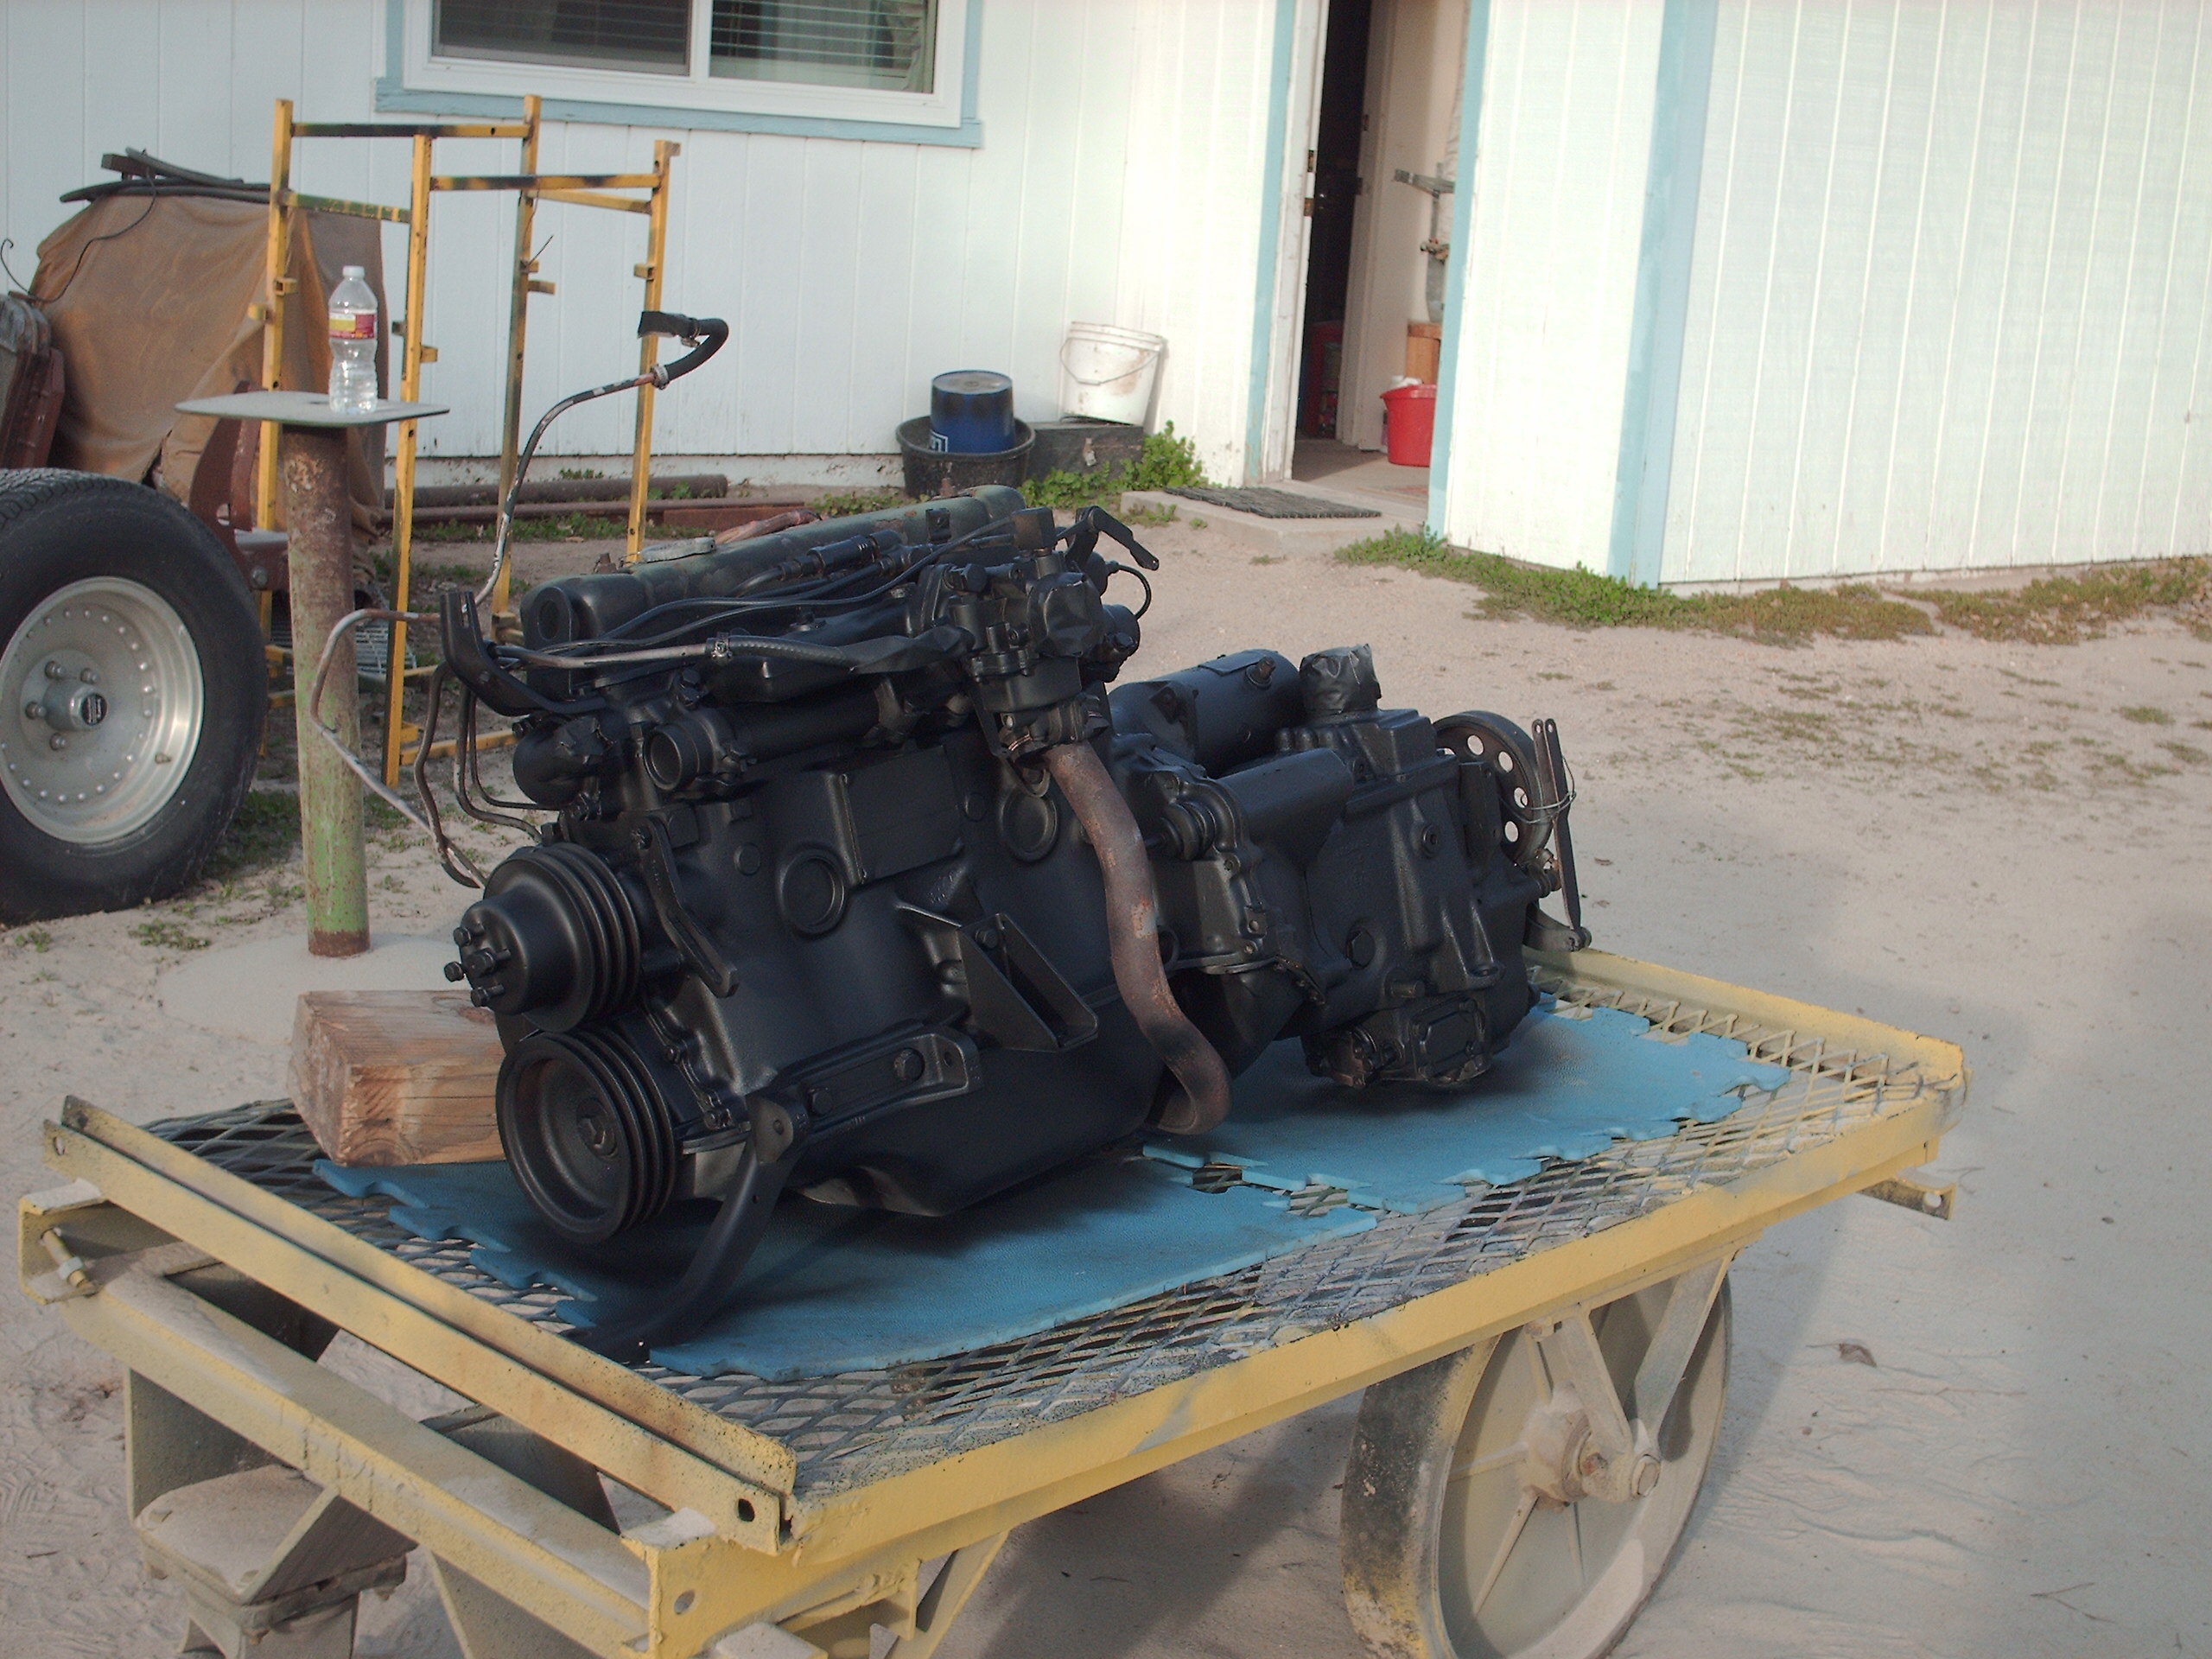
Engine painted black
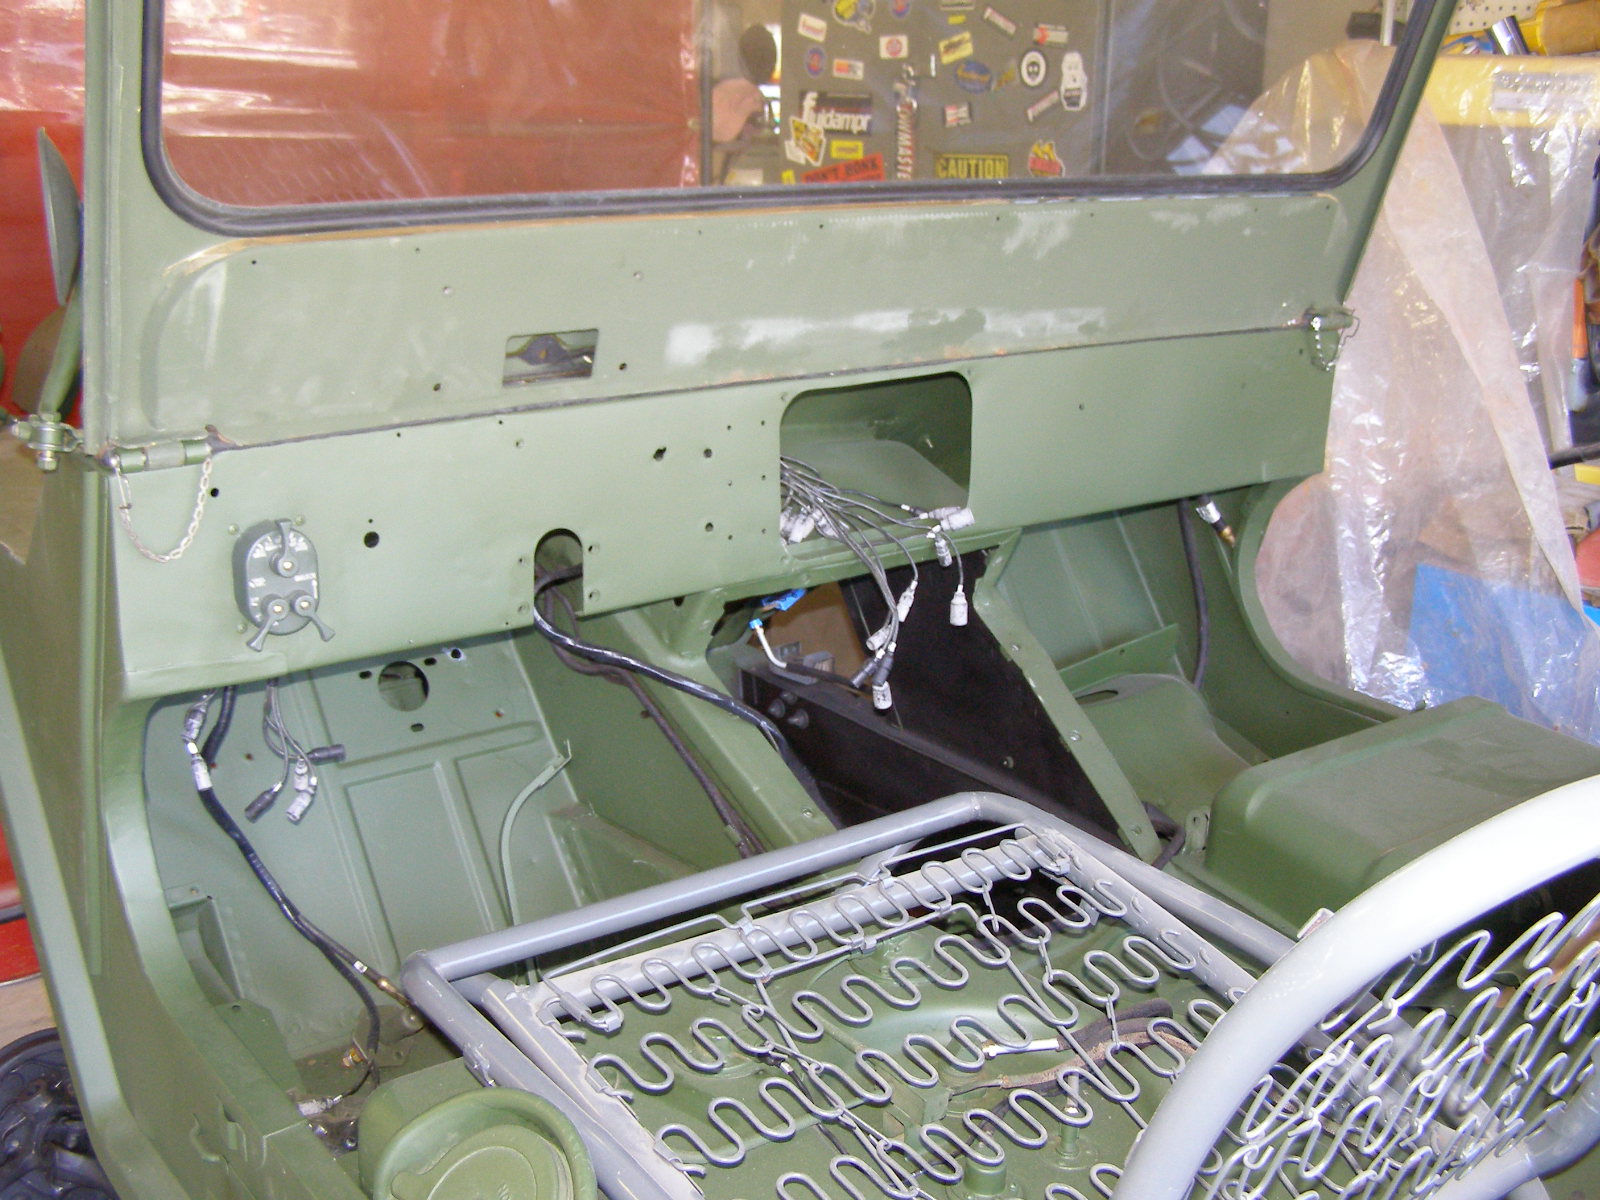
Wiring and windshield installed
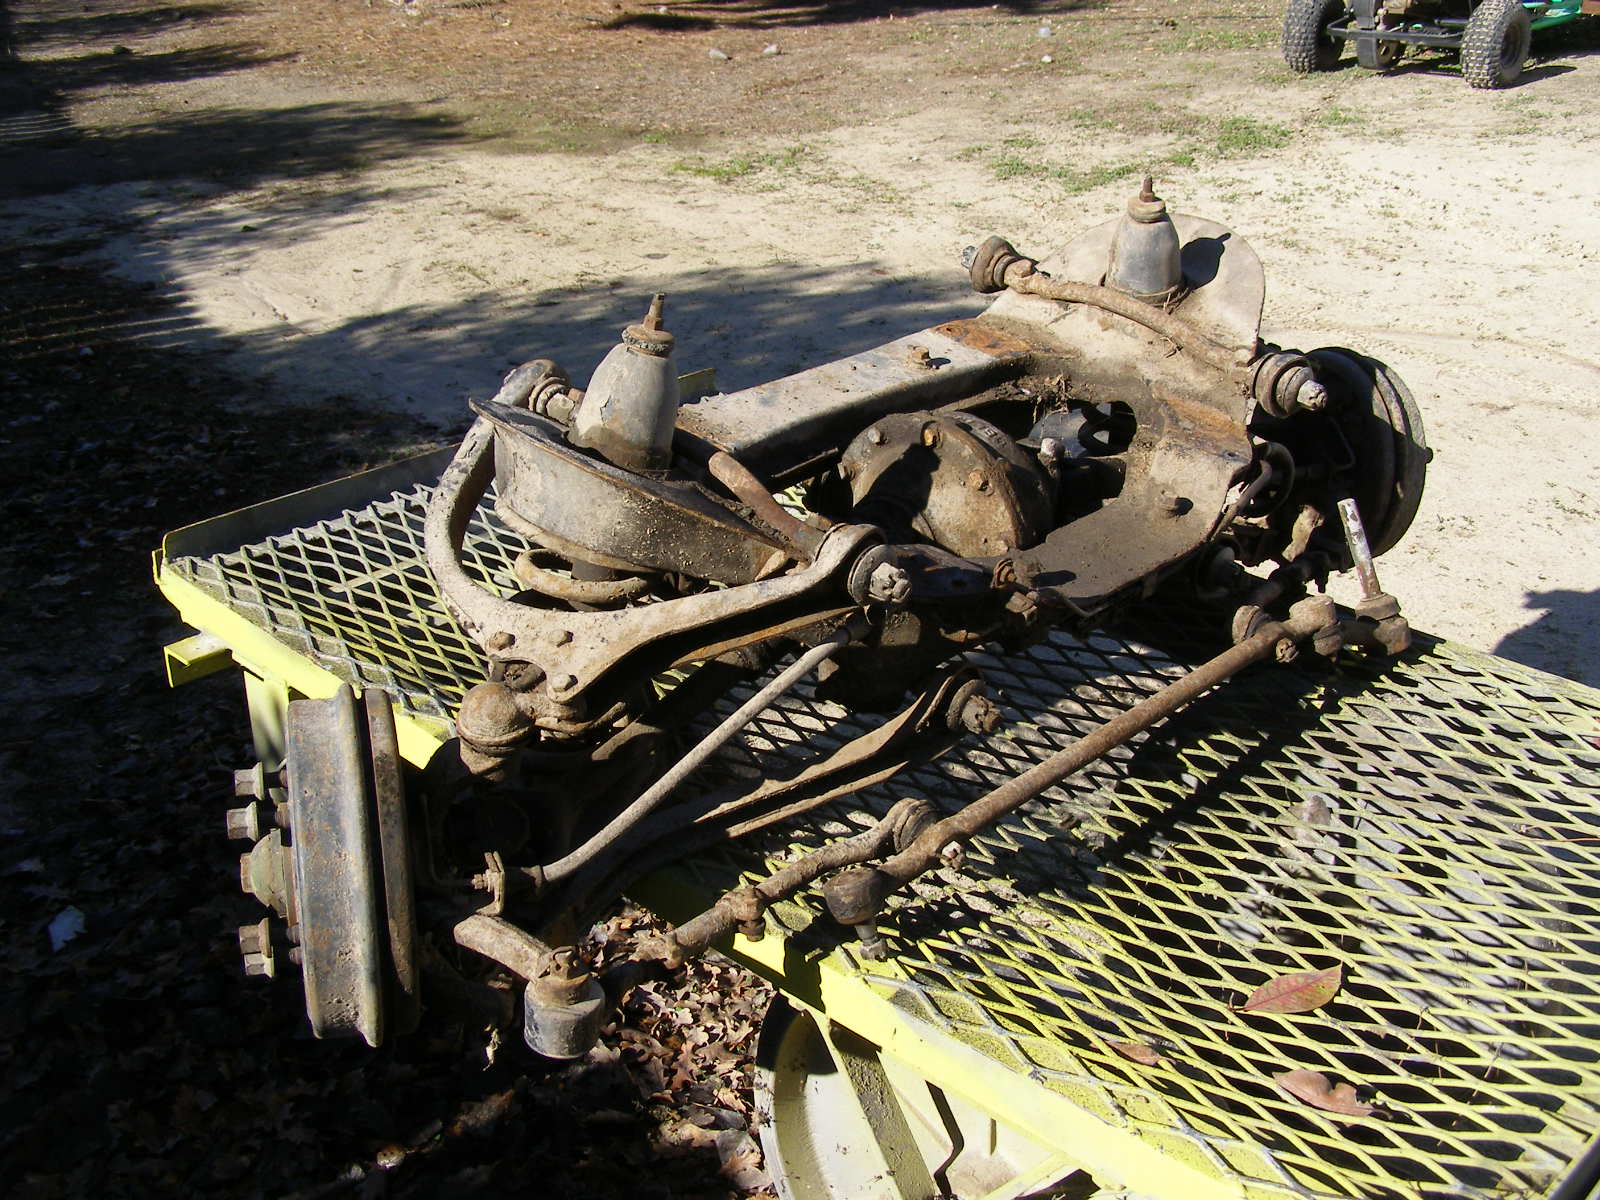
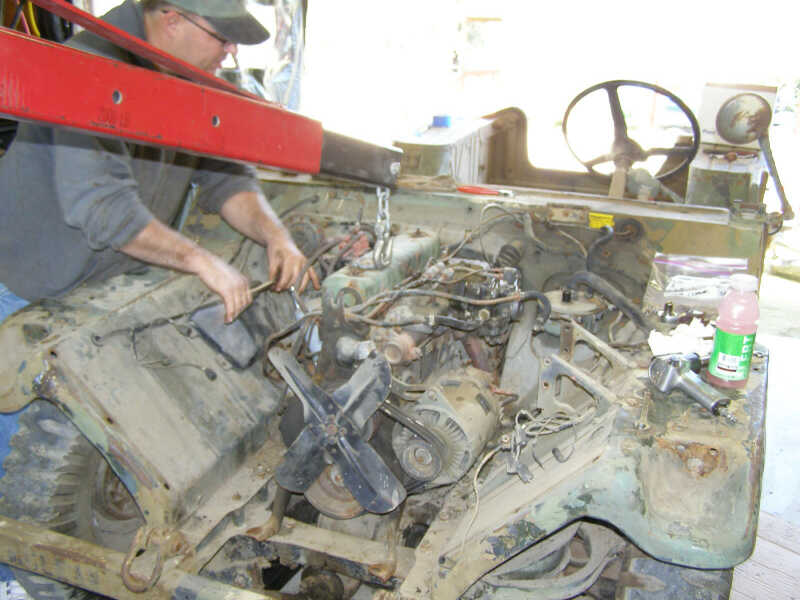
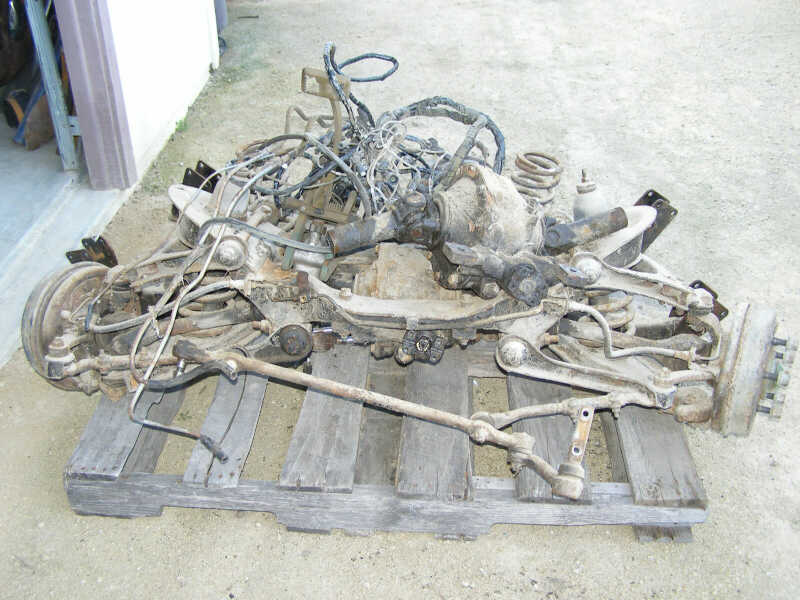
Ready to be stripped and rebuilt
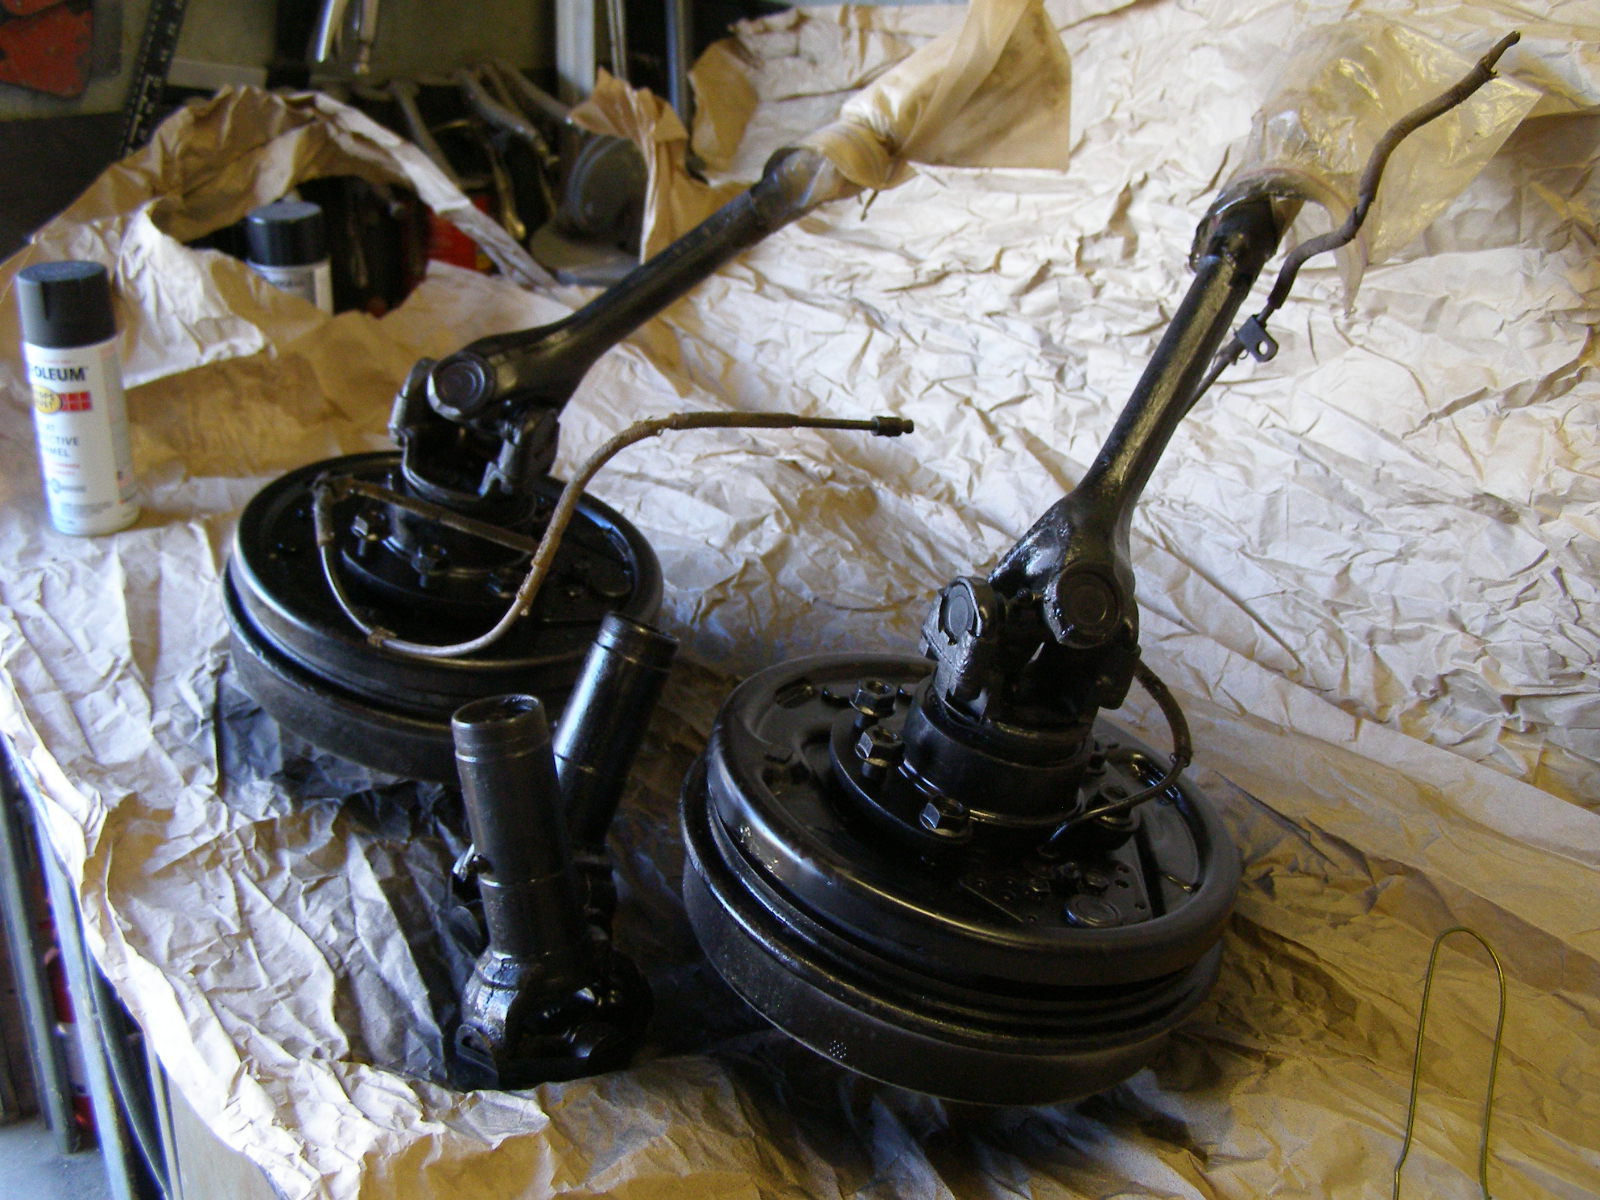
Hubs
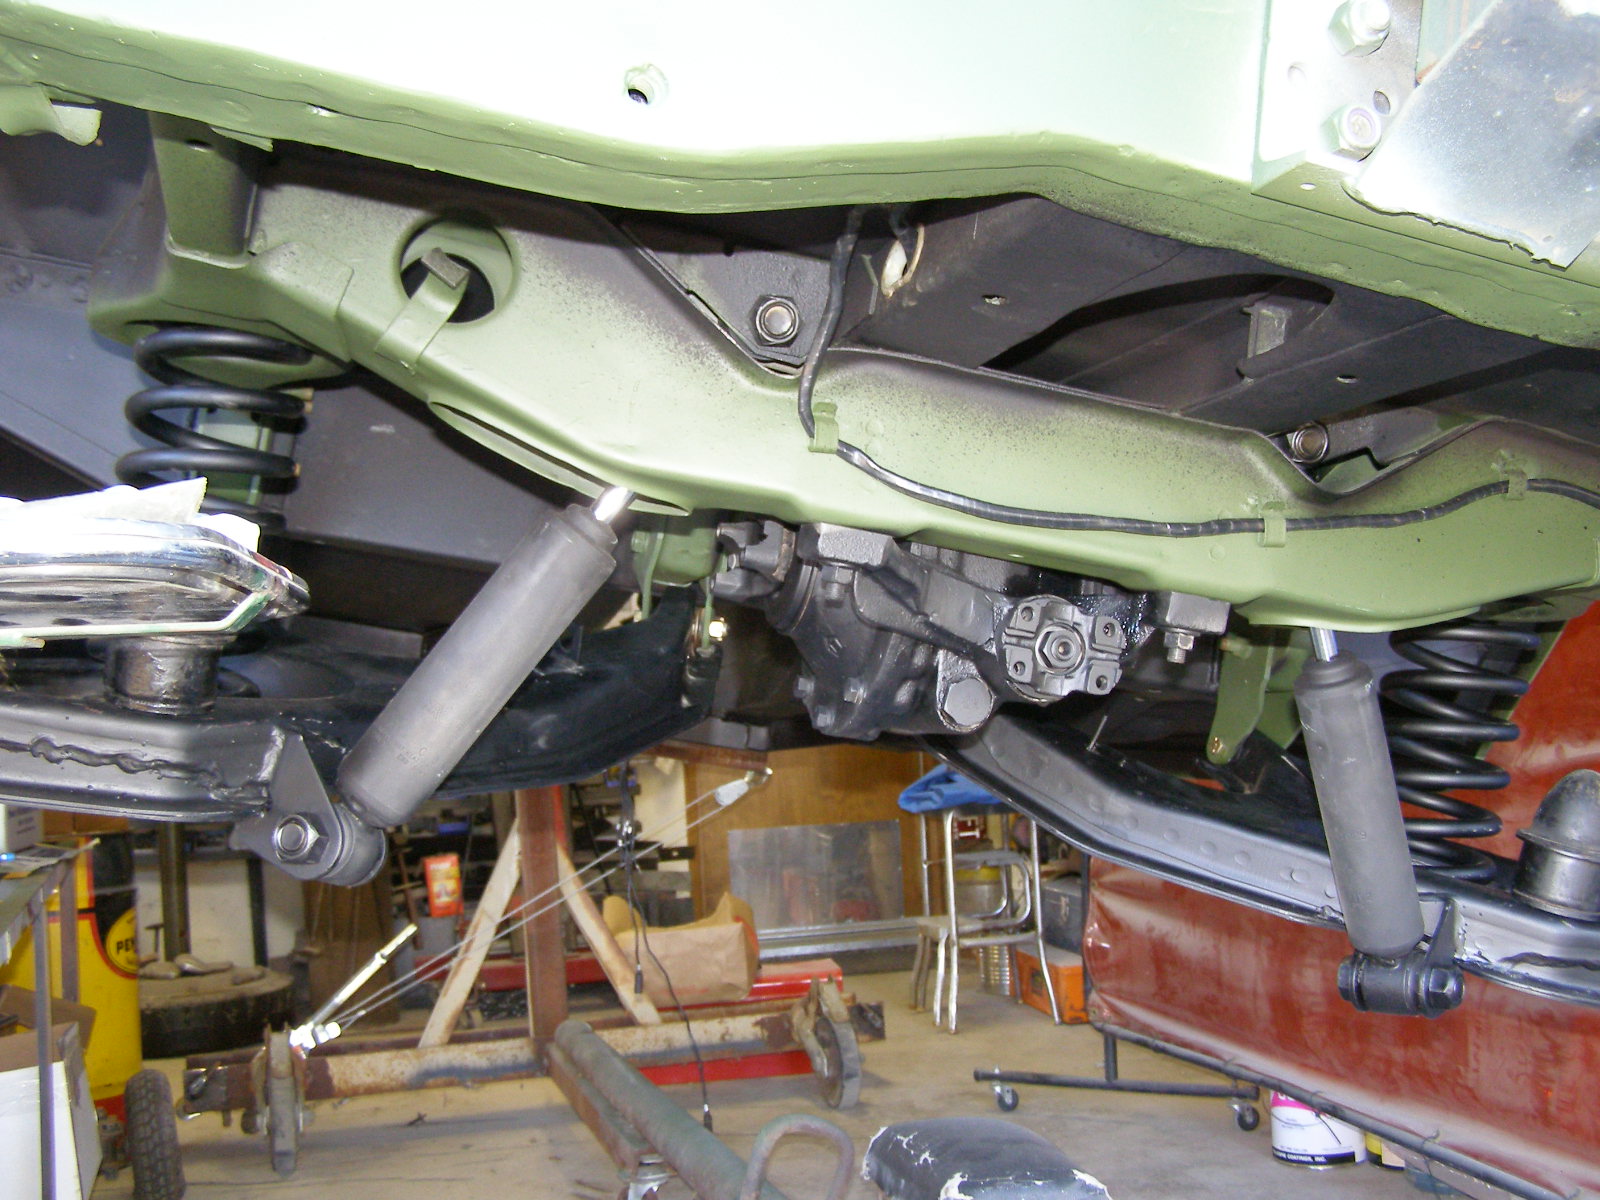
Underside with shocks etc. Getting there
Ready for an engine
Where's my engine
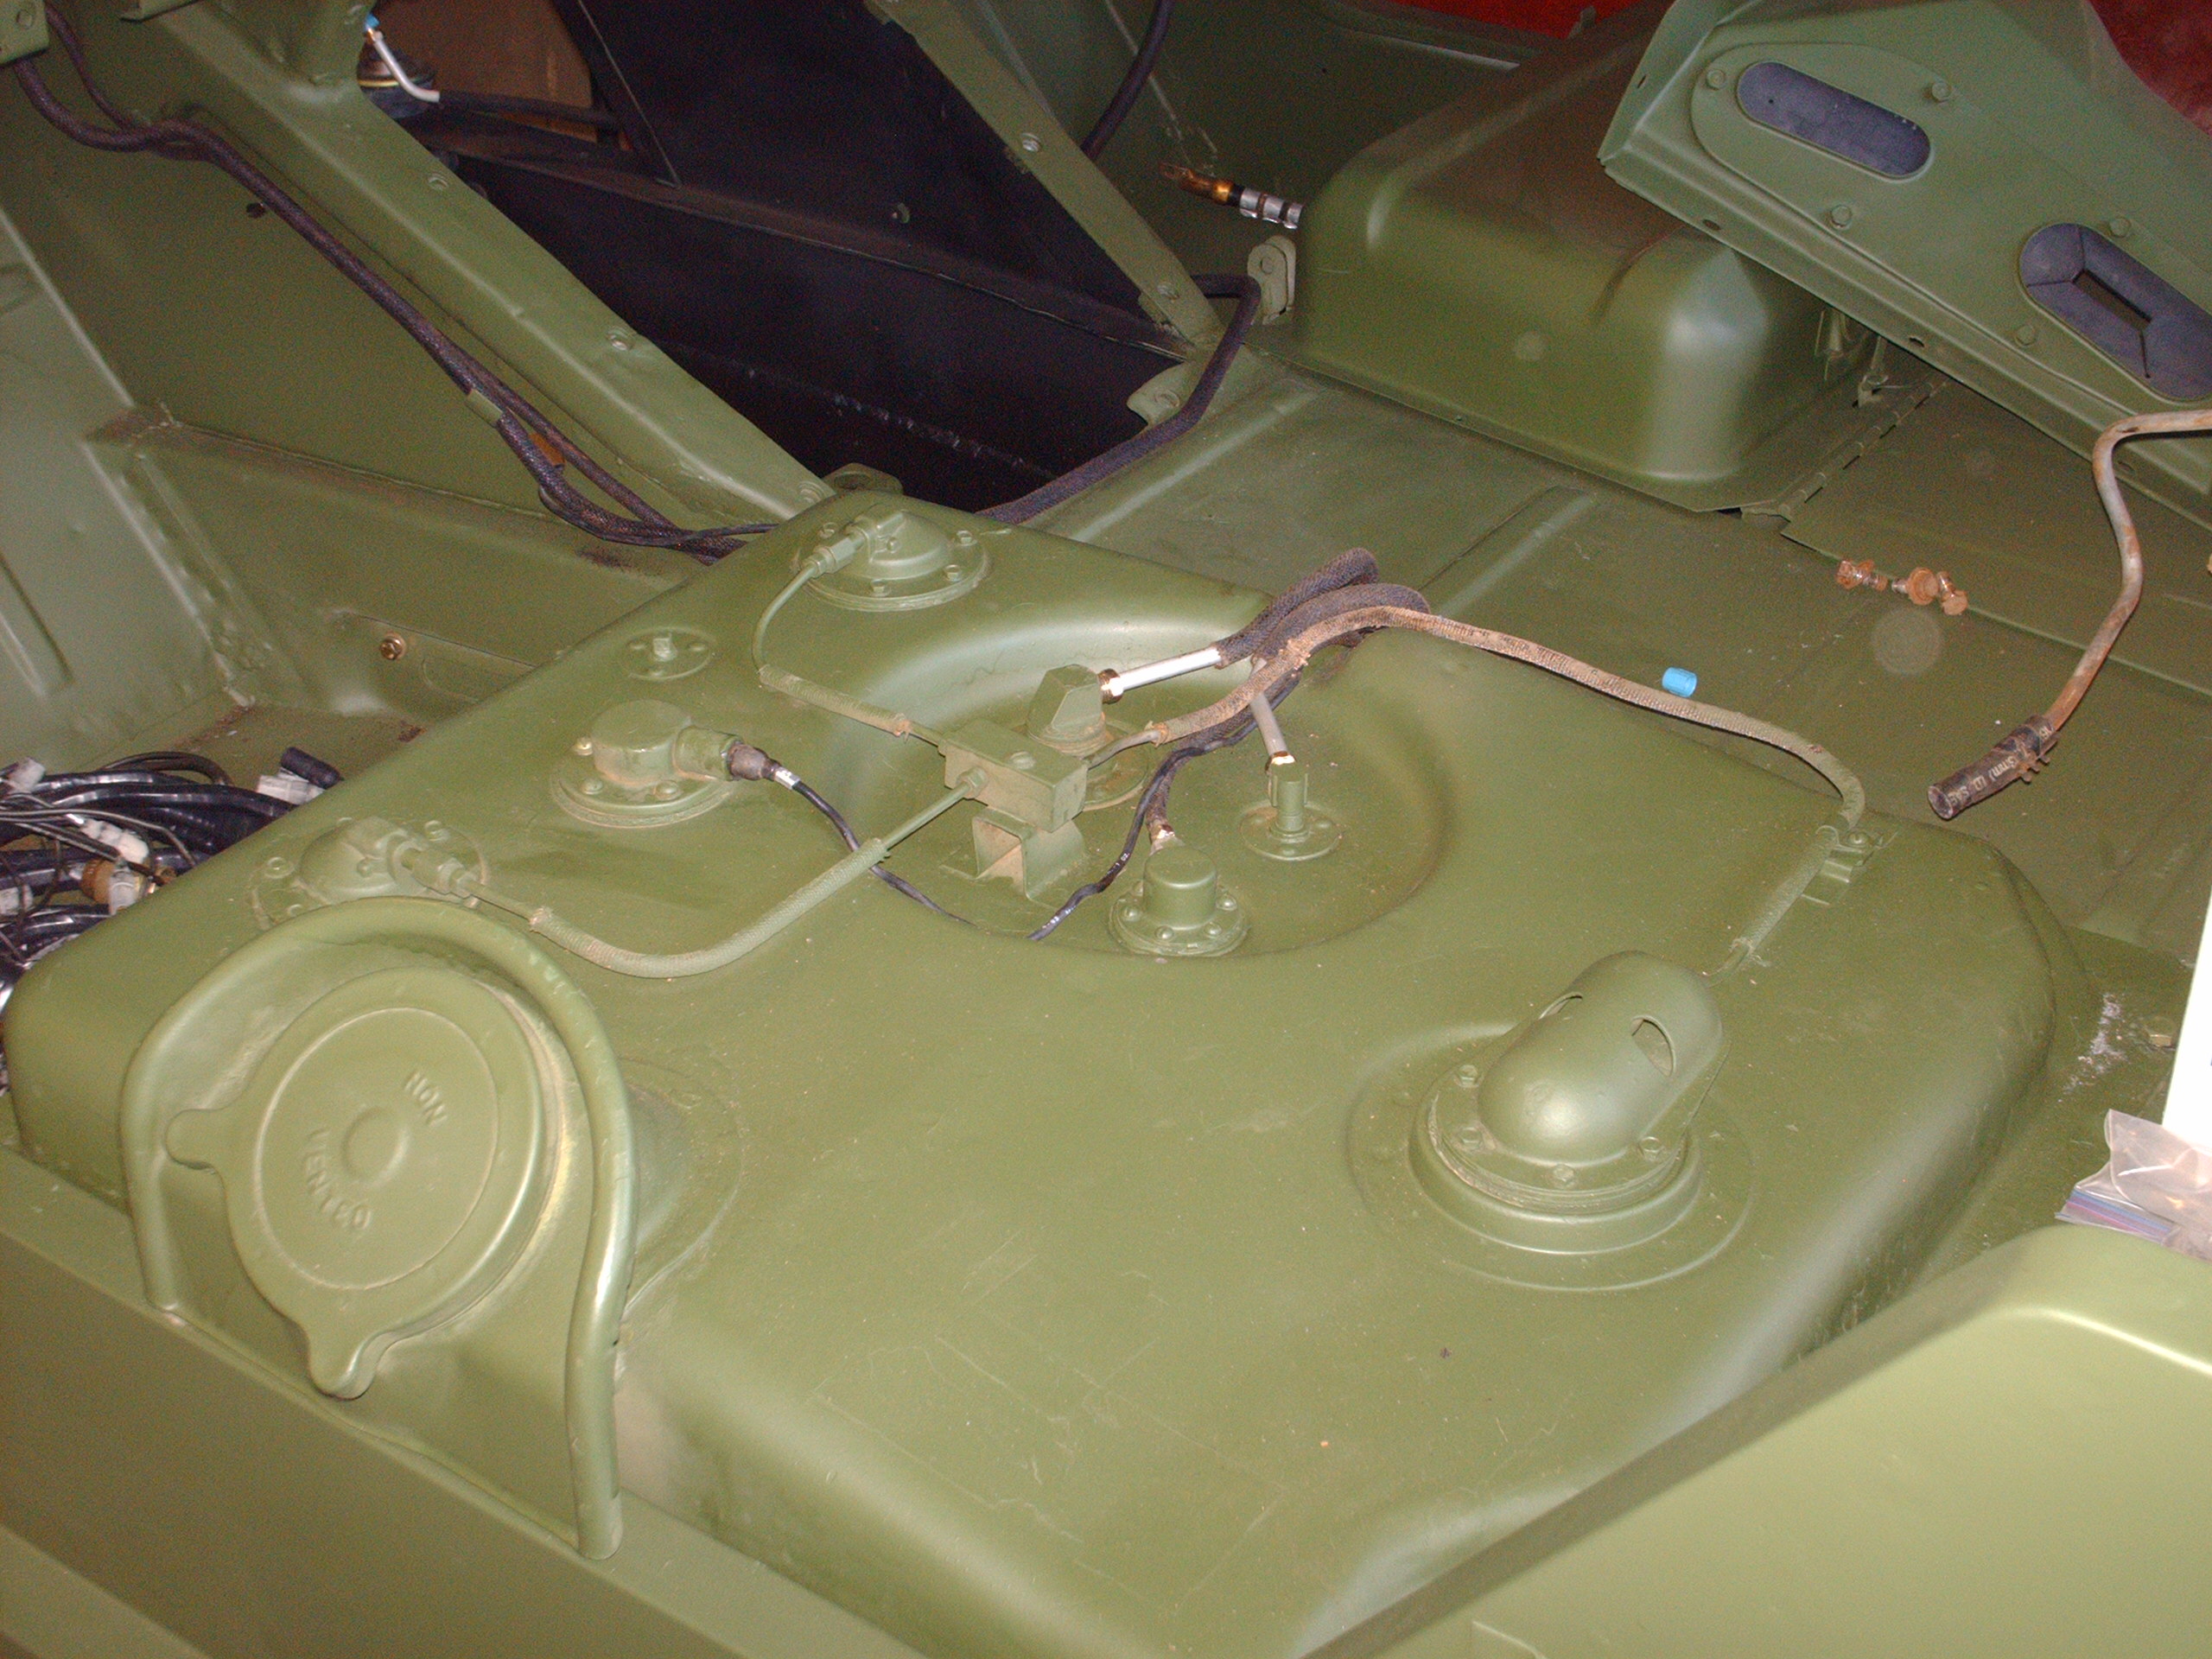
Checking old fuel line positions for replacement with all new ones
Engine in and lots of other parts installed, March 2013
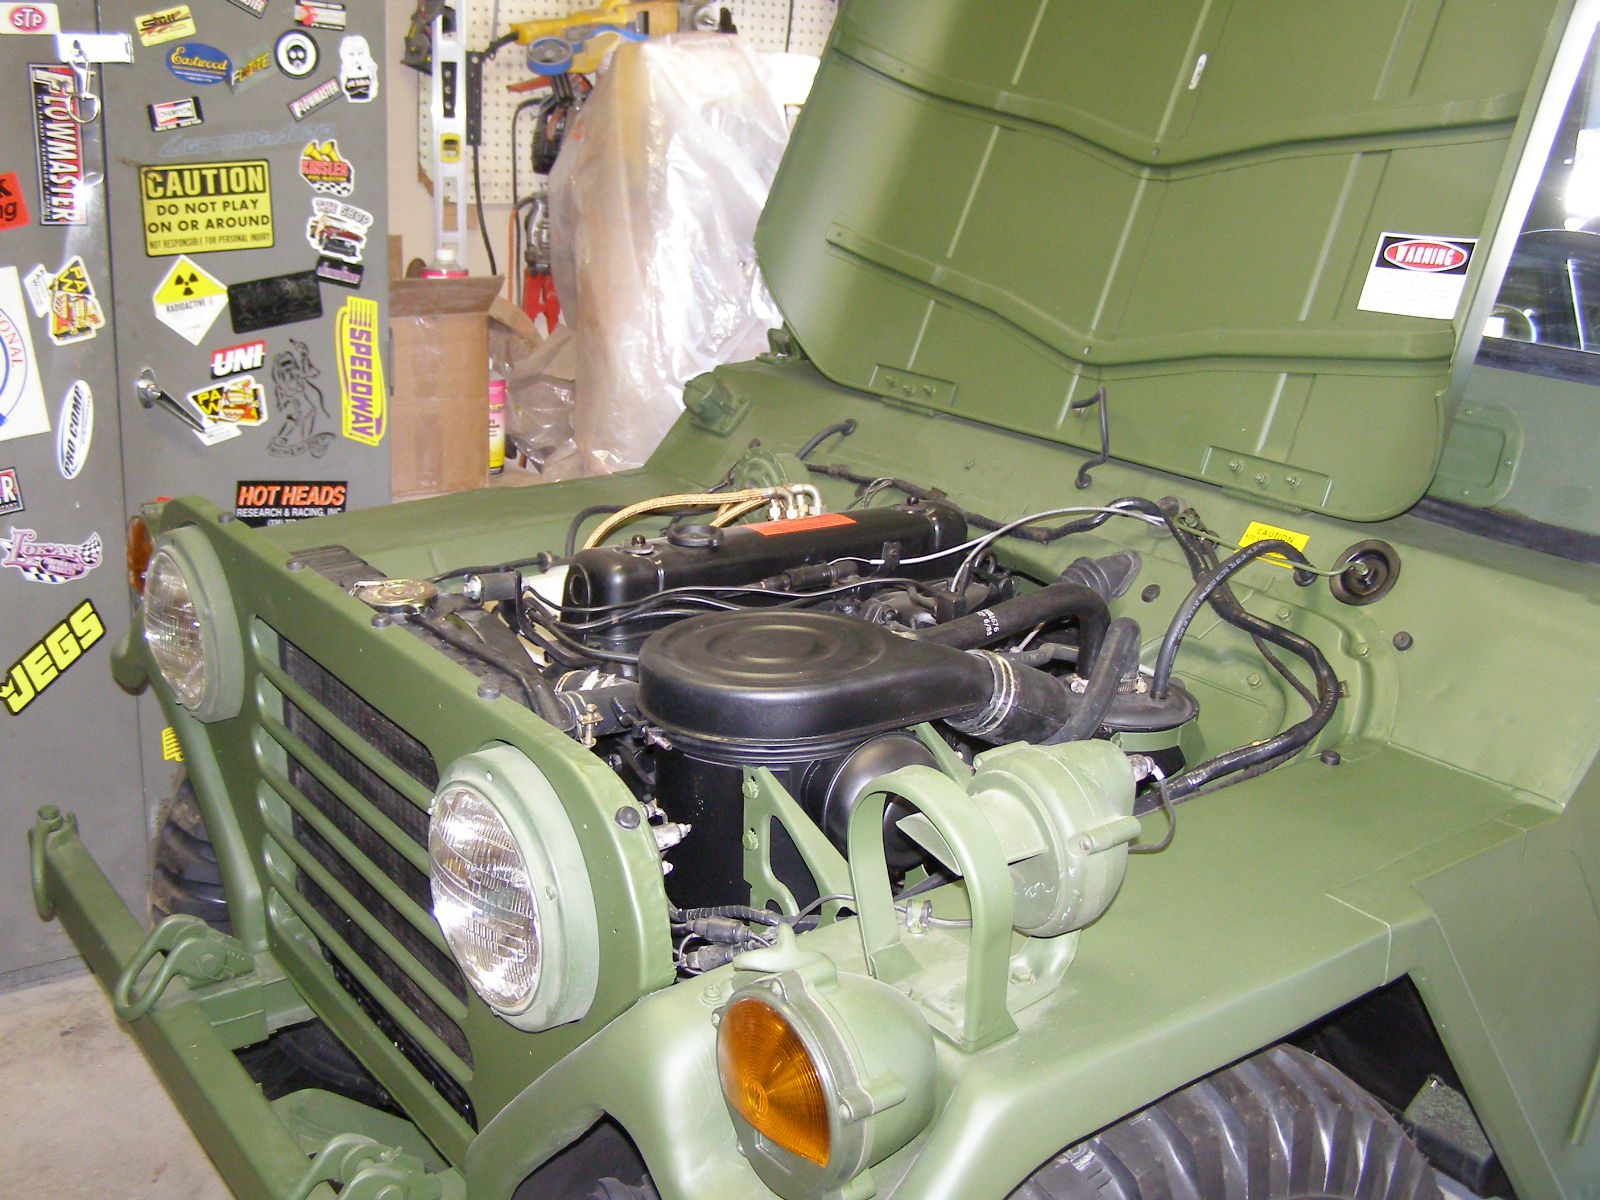
Ready to be fired up
Without the help of this Master Mechanic Body and Sheet metal man, this project would never have gone full circle. THANKS Jon
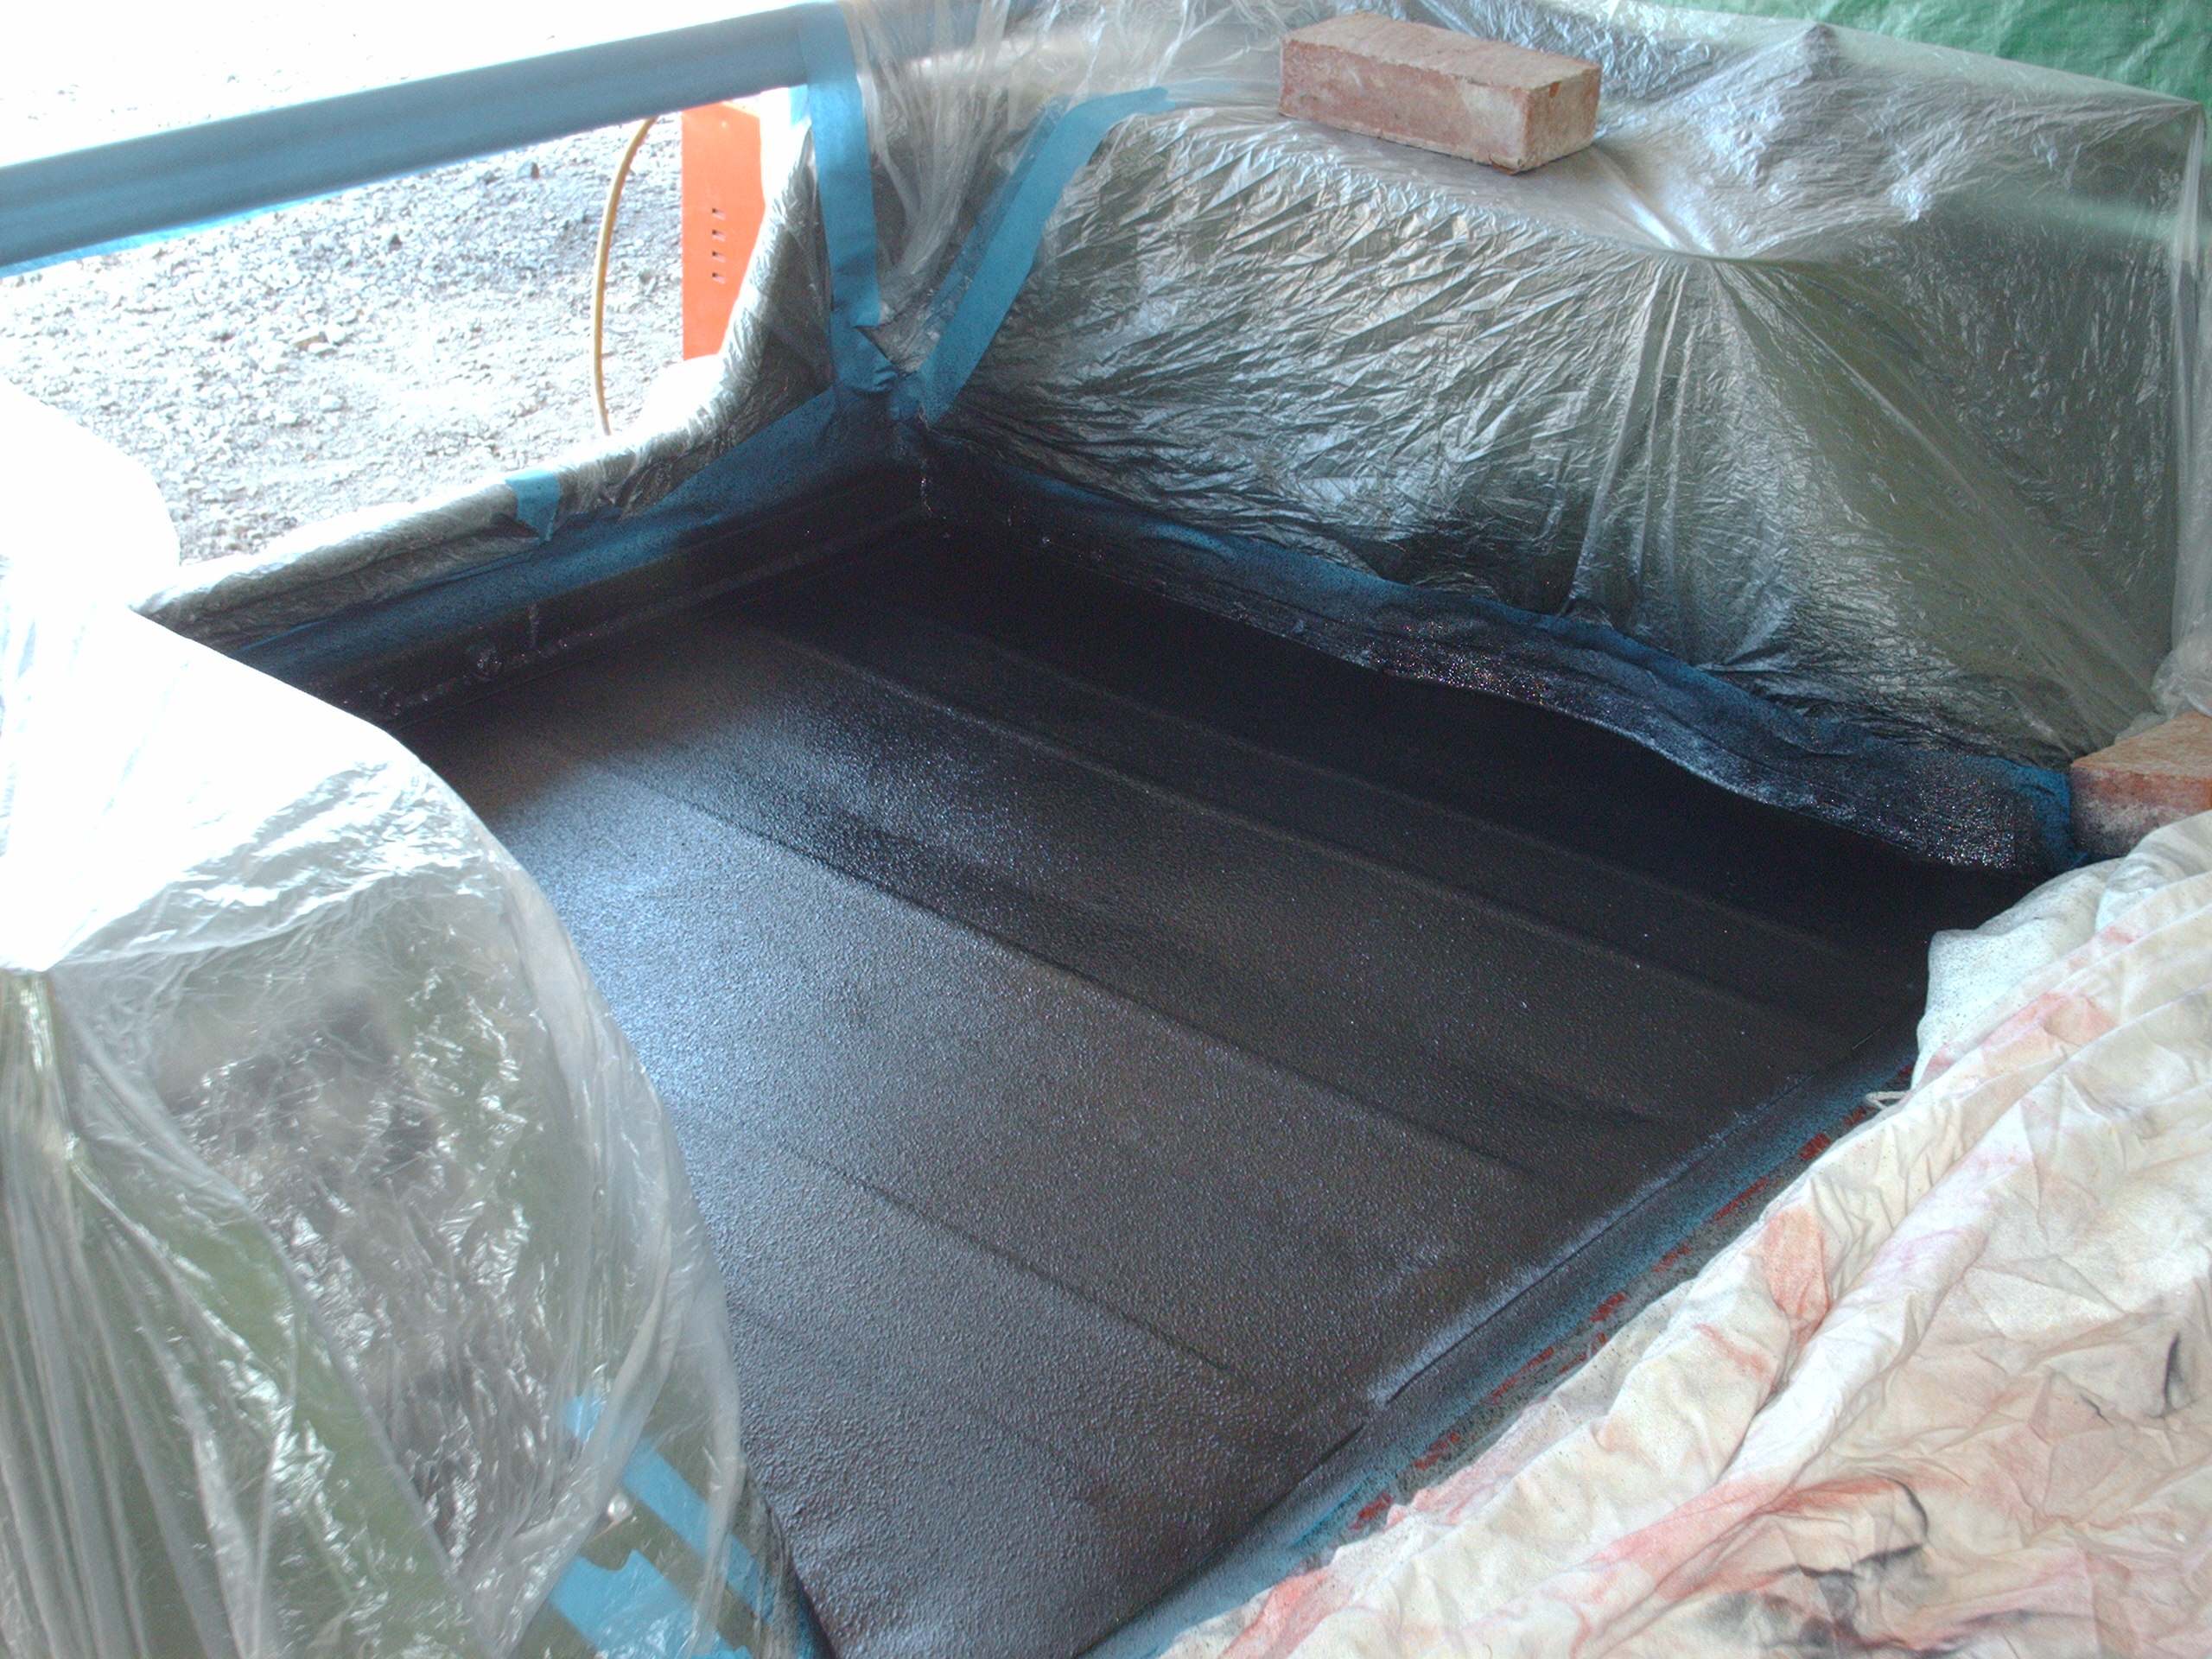
Rear bed lined
Bed liner in the drivers foot well
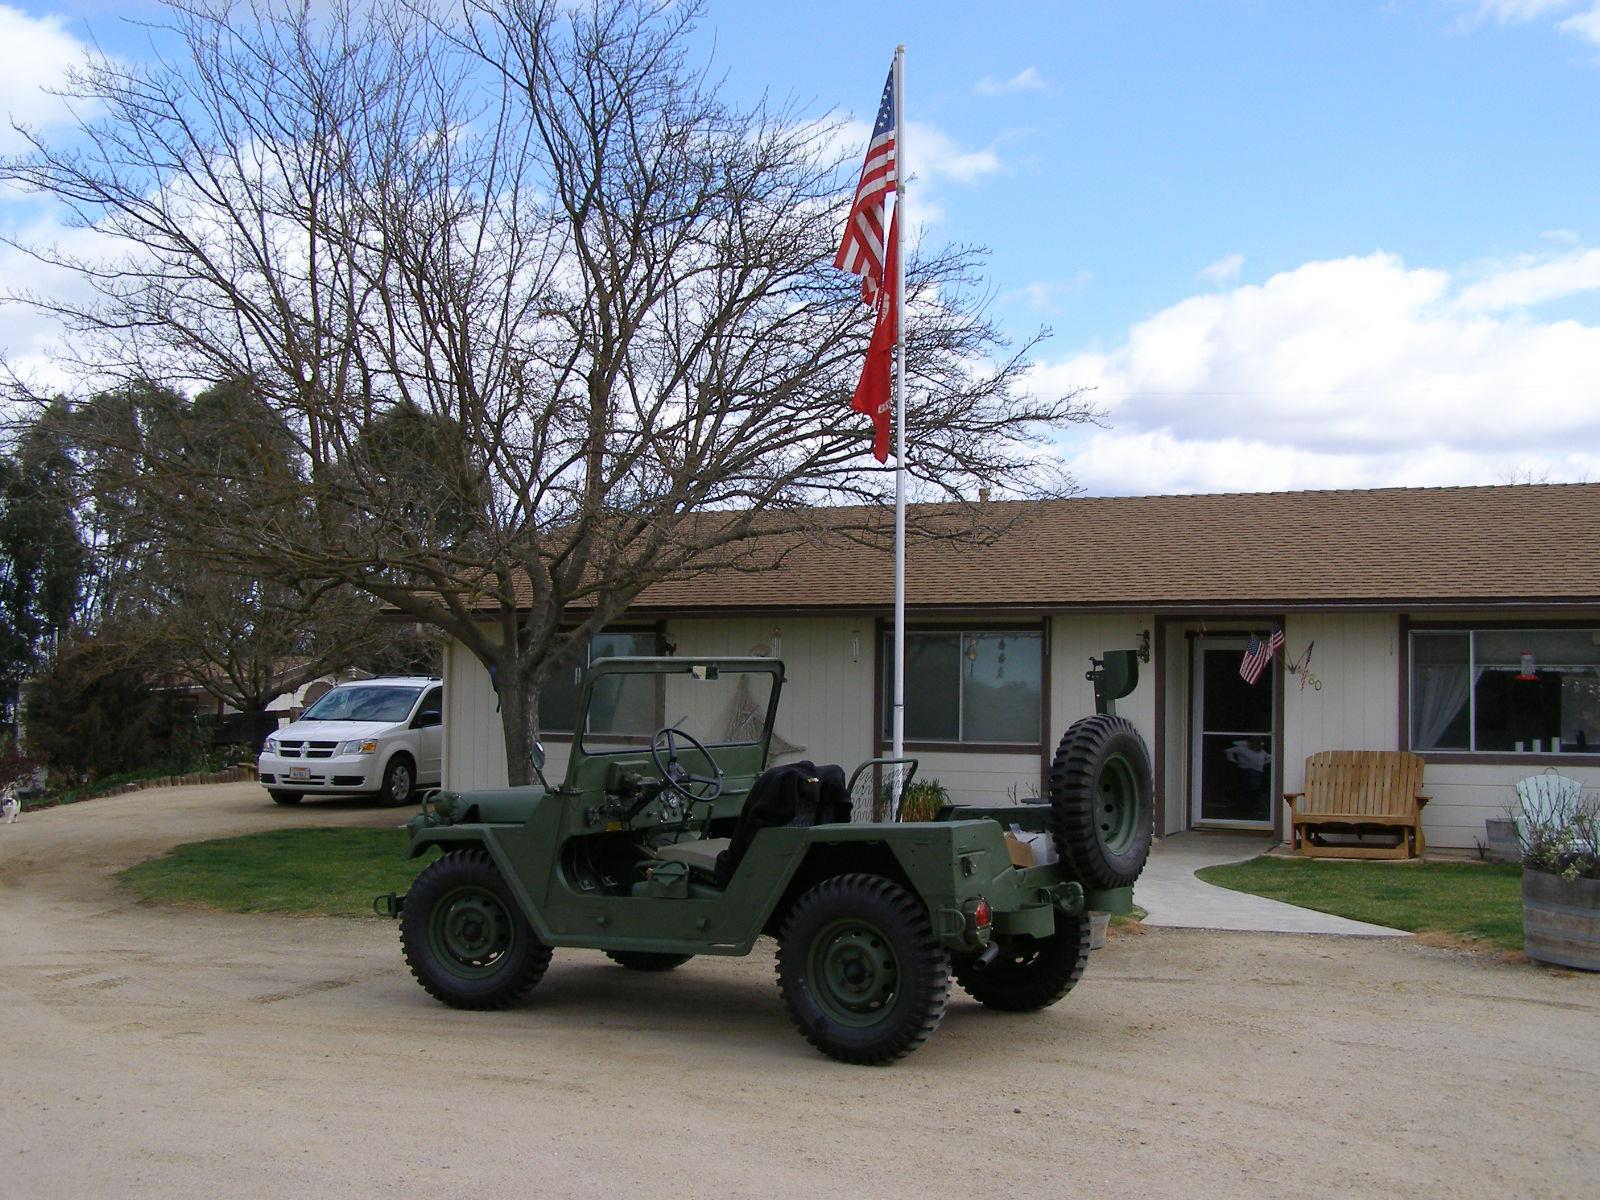
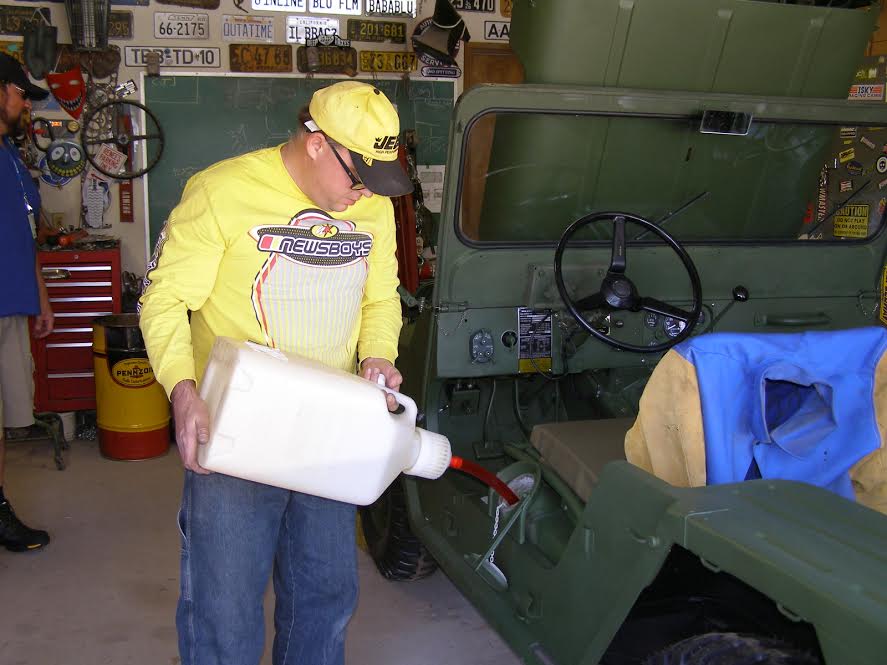
Up and running and parked under it's USMC heritage
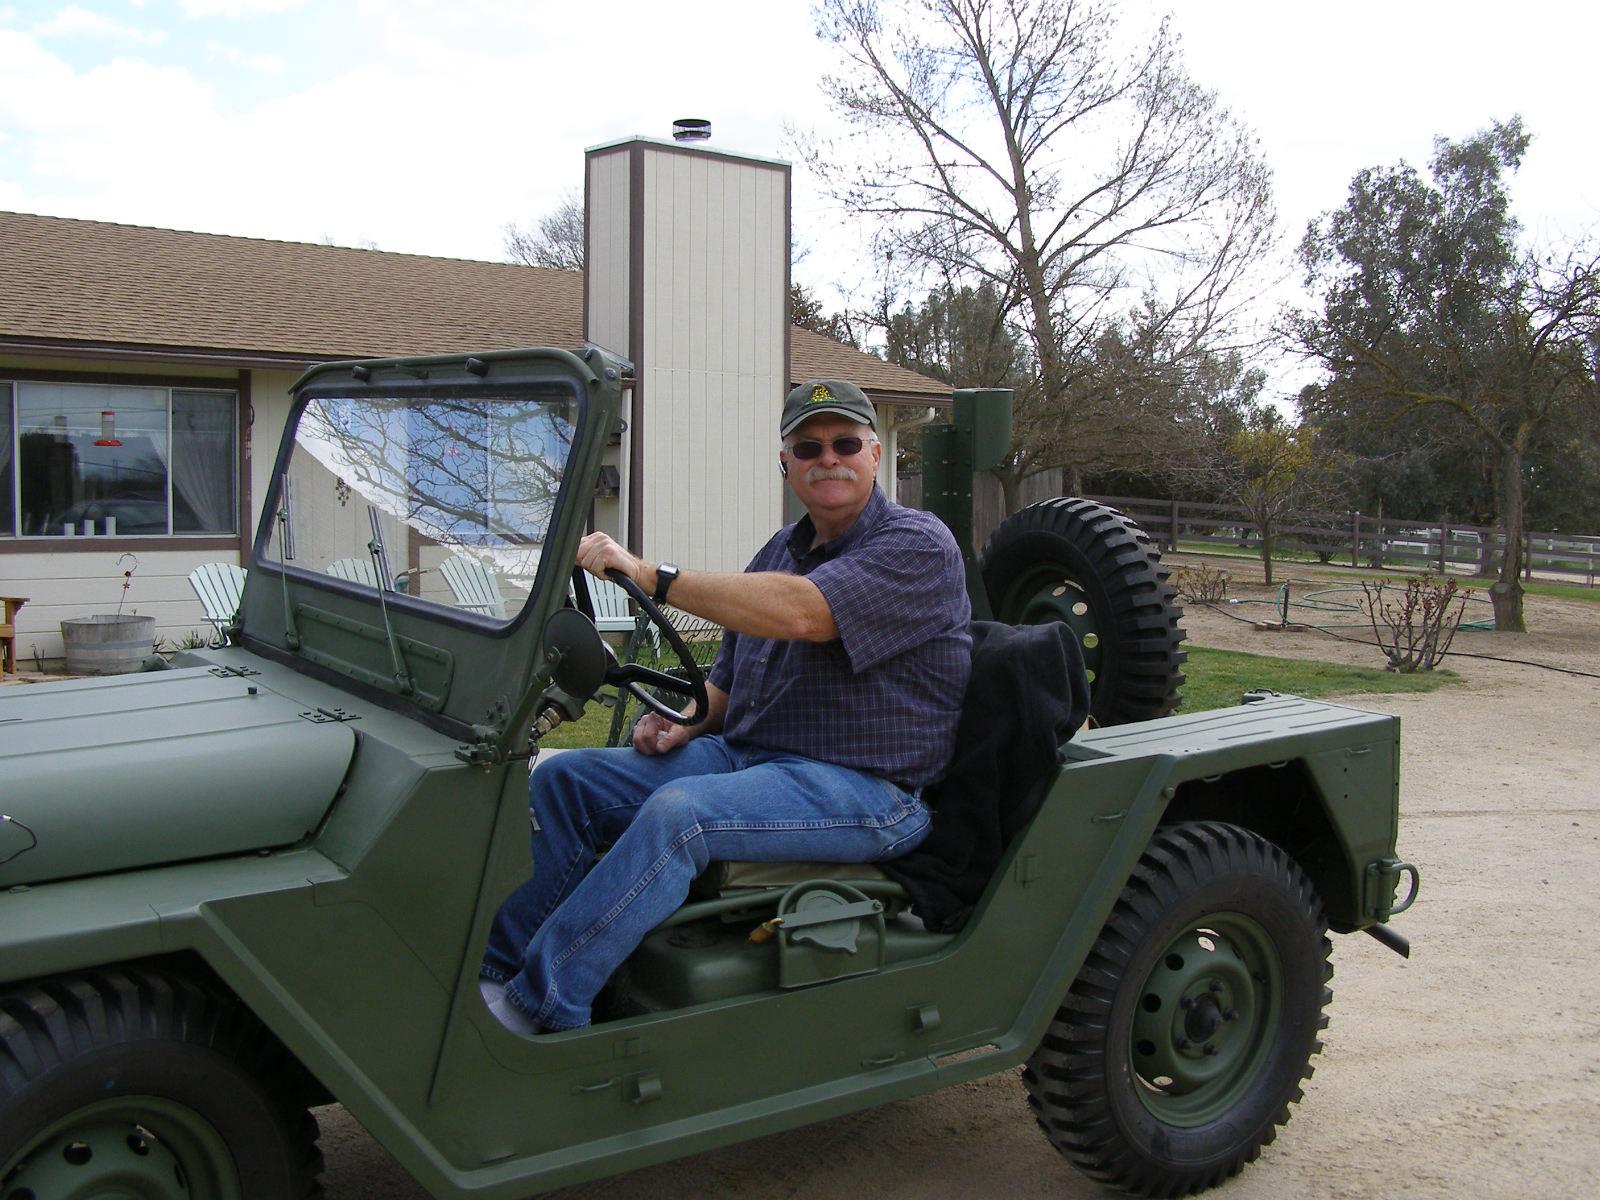
Still need the other two colors for woodland pattern. April 2013
Off color top but hey
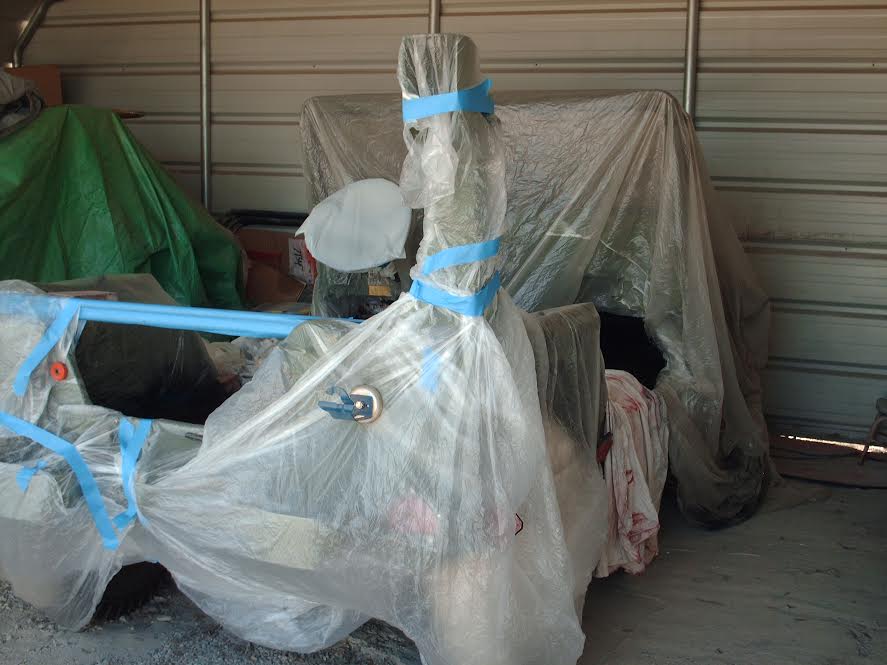
Covered and ready for the black and brown 1-24-2015
We don't want any overspray
Covered, Ready, PAINT
We have contact
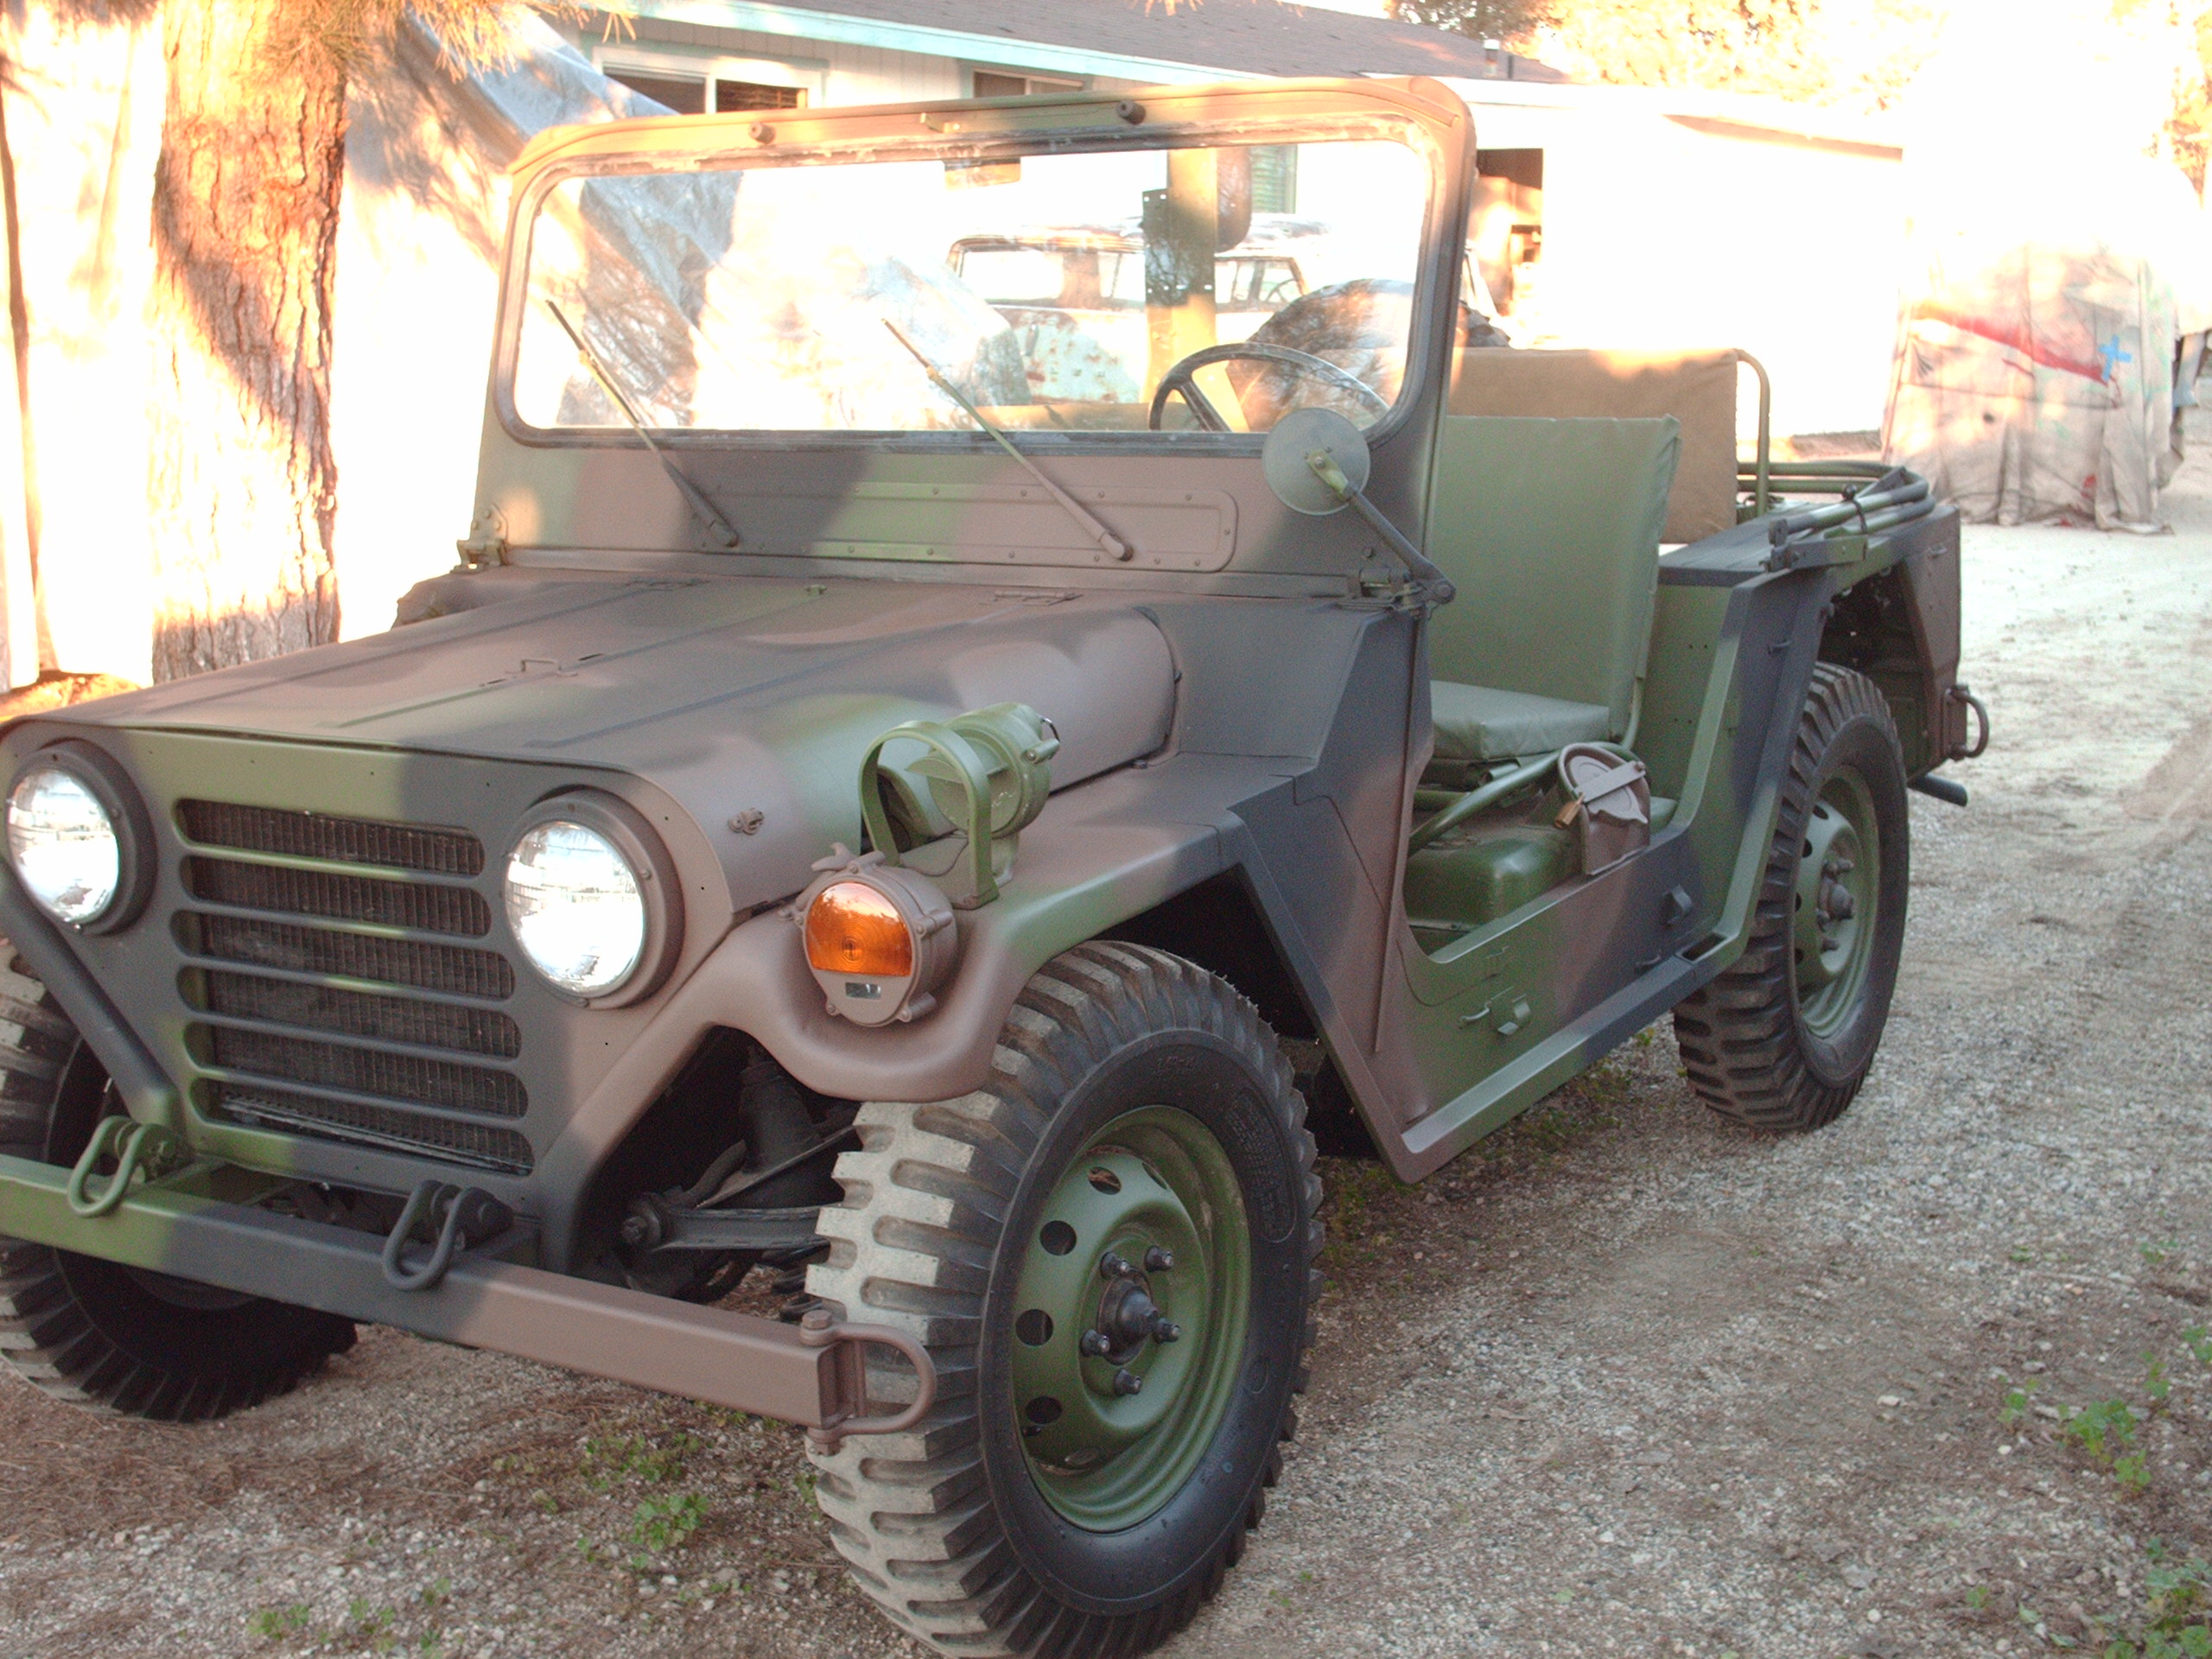
Finished
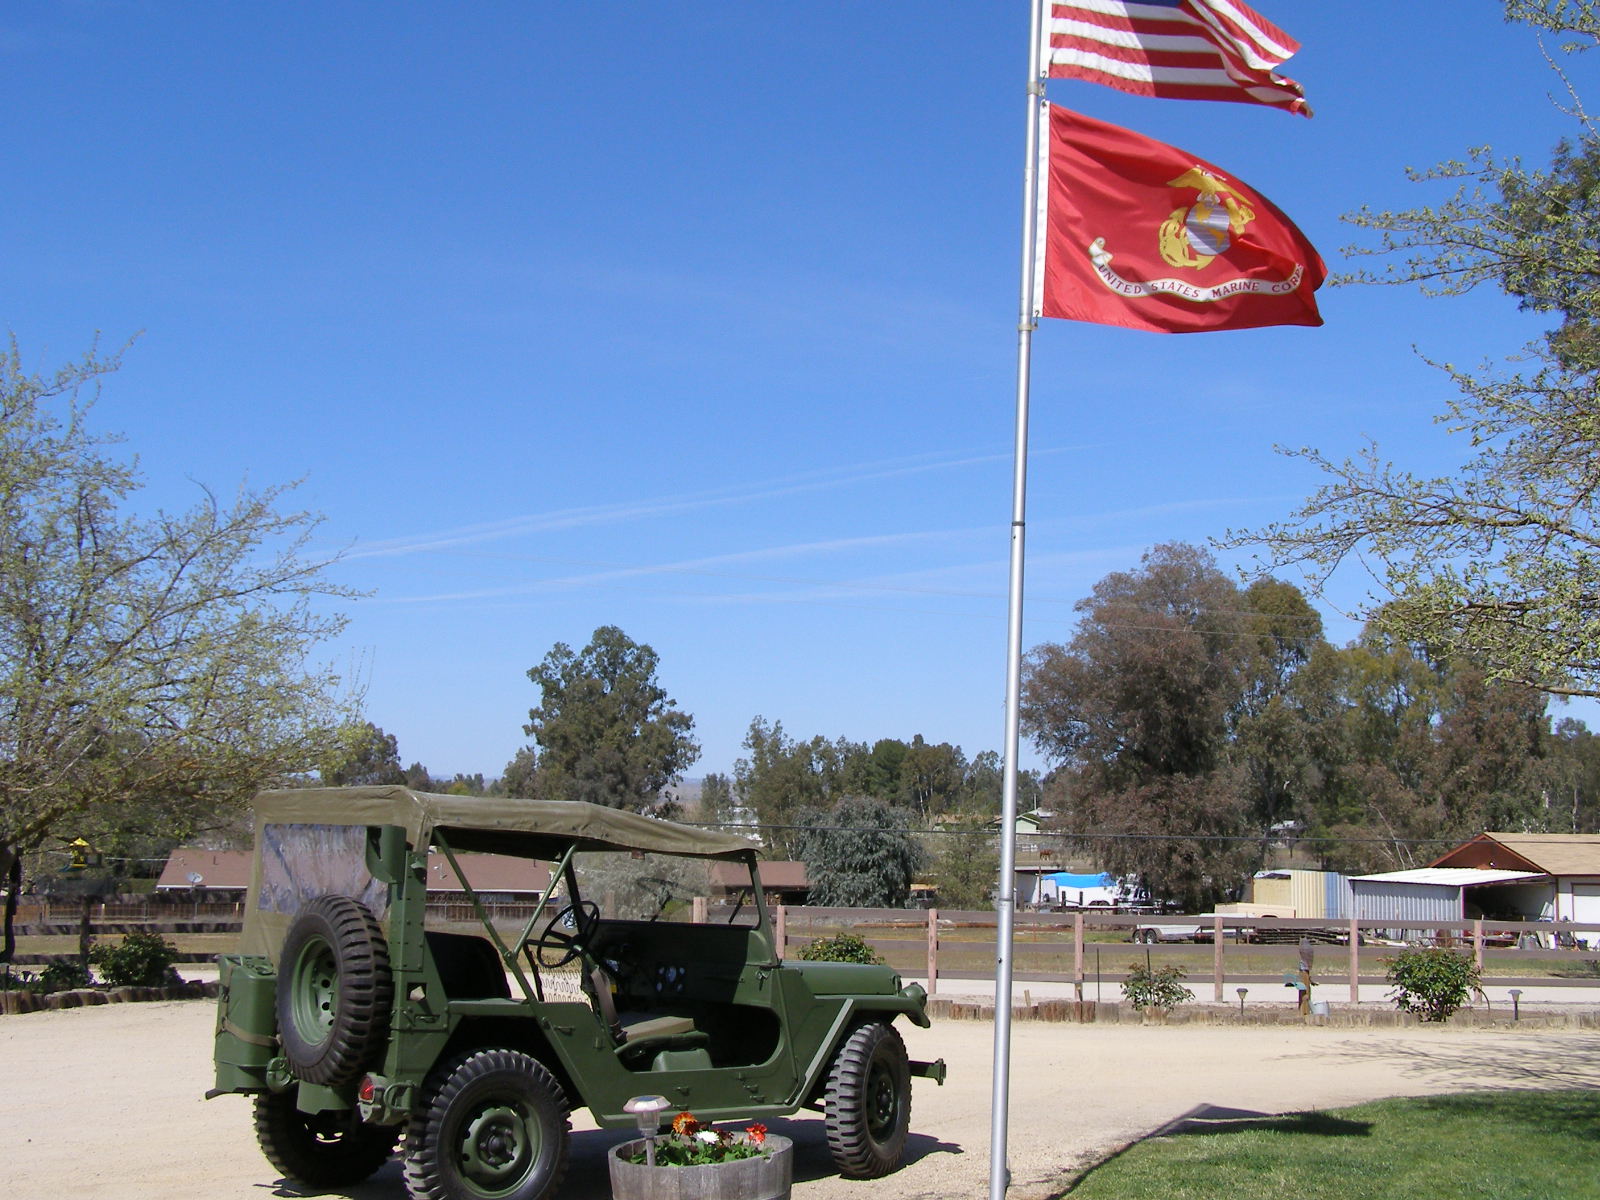
Complete in Woodland 3 color. 1-24-2015
| Military Radio Gear |
| Amatuer Radio |
| Flag Dedication Page |
| Gysgt. R. Lee Ermey |
| Military History Sites |
| Favorite Links |
| Friends Military Vehicles |
| Military Vehicle Pictures |
| Gov't Surplus Sites |
| Disclaimer |